In this blog post, we will explain how to install VirtualBox on Linux Mint 22 step- by-step.
Linux Mint is a user-friendly and popular Linux distribution known for its ease of use and robust performance. If you are planning to run virtual machines on your Linux Mint 22 system, VirtualBox is an excellent choice.
VirtualBox is a powerful open-source virtualization tool that lets you run multiple operating systems on your Linux Mint 22 machine. Whether you need to run different Linux distributions, Windows, or any other operating system, VirtualBox provides a versatile and efficient solution.
Why Use VirtualBox on Linux Mint 22?
VirtualBox provides:
- Cross-platform compatibility: Run Windows, macOS, or other Linux distributions on your Linux Mint 22.
- Snapshots: Save the state of your virtual machines for easy restoration.
- Portability: Transfer virtual machines between systems effortlessly.
Prerequisites
- Pre-Install Linux Mint 22 System
- Sudo User with admin access
- Reliable Internet Connectivity
Without any delay, let’s jump into VirtualBox Installation steps.
1) Install Updates on Your System
It is highly recommended to install all available updates on Linux Mint 22 system. Open the terminal and run following apt command.
$ sudo apt update
$ sudo apt upgrade -y
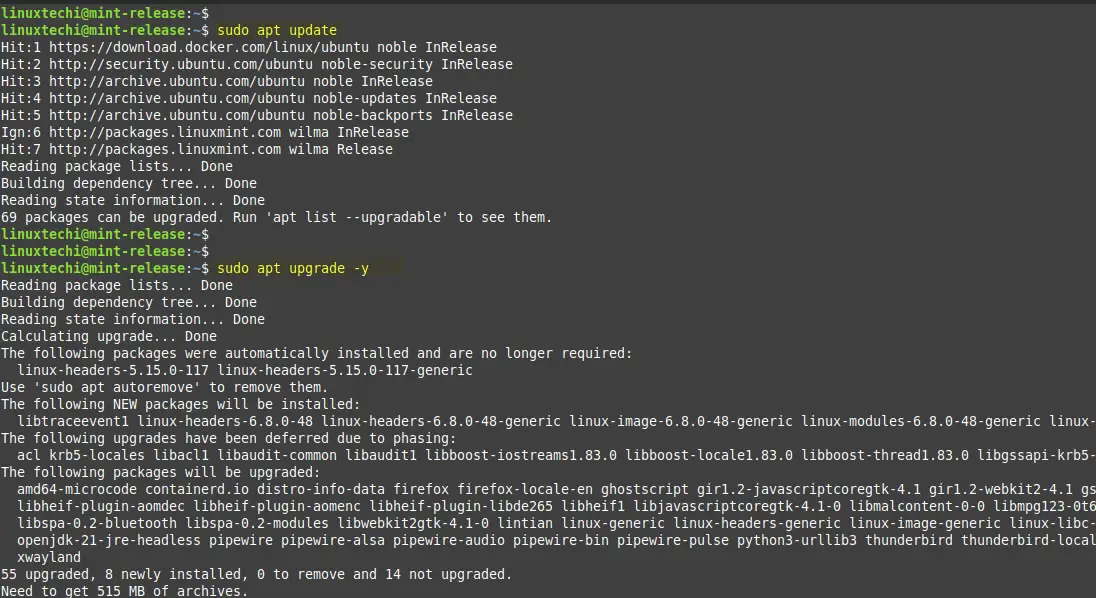
Post installing updates, reboot your system using following command.
$ sudo reboot
2) Install VirtualBox Dependencies
VirtualBox requires some dependencies to be installed on your system. To do this, enter the following command:
$ sudo apt install dkms build-essential linux-headers-$(uname -r) -y
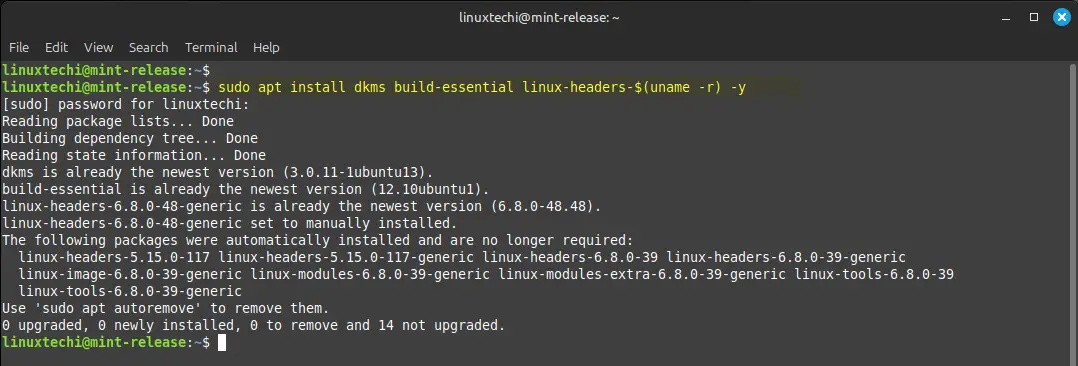
This command will install the necessary components for building and installing VirtualBox kernel modules.
3) Add VirtualBox Apt Repository
At time of writing this post, VirtualBox 7.1 is available. But it’s package is not available in the default package repositories of Linux Mint 22. So, in order to install latest version of VirtualBox, add it’s official apt repository. Execute the following commands one after the another.
$ sudo apt install curl wget apt-transport-https gnupg2 -y
$ wget -O- https://www.virtualbox.org/download/oracle_vbox_2016.asc | sudo gpg --yes --output /usr/share/keyrings/oracle-virtualbox-2016.gpg --dearmor
$ echo "deb [arch=amd64 signed-by=/usr/share/keyrings/oracle-virtualbox-2016.gpg] https://download.virtualbox.org/virtualbox/debian noble contrib" | sudo tee /etc/apt/sources.list.d/virtualbox.list
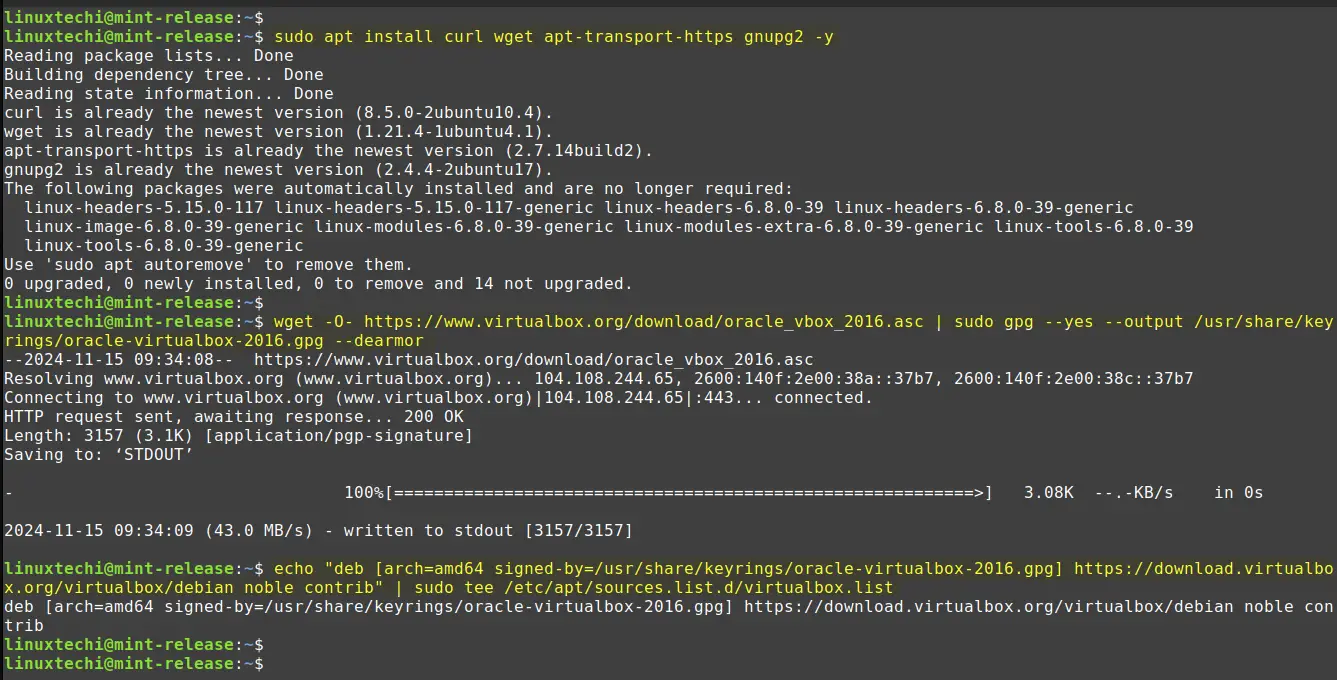
Output above shows that VirtualBox APT repository has been added on your system.
4) Install VirtualBox on Linux Mint 22
Now, we are all set to install VirtualBox, run beneath apt commands,
$ sudo apt update
$ sudo apt install virtualbox-7.1 -y
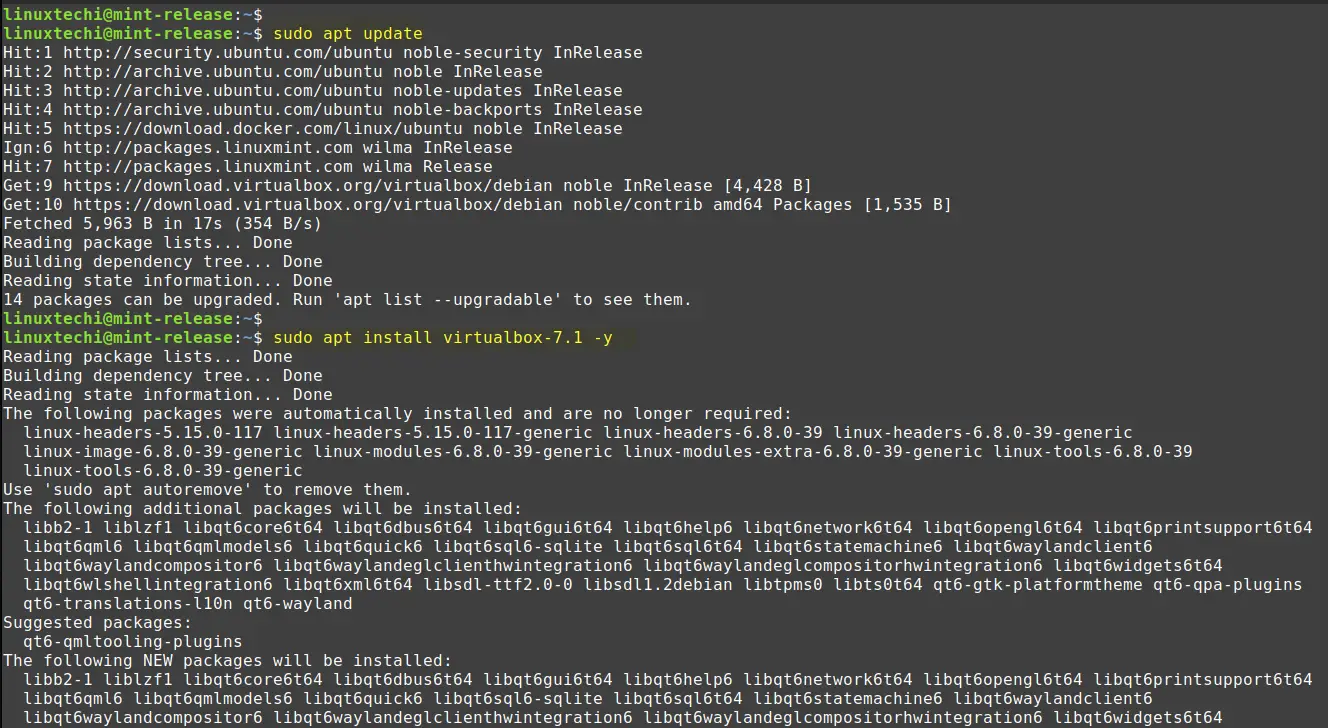
Replace virtualbox-7.1 with the latest version if a newer release is available.
5) Add Your Local User to VBoxusers Group
If you want your local user to manage virtualbox then add it to group “VBoxusers”, run
$ sudo usermod -aG vboxusers $USER
$ newgrp vboxusers

6) Launch VirtualBox
Once the installation is complete, you can launch VirtualBox from the application menu or by running the following command:
$ sudo virtualbox
Or

Click on “Oracle VM VirtualBox”, it will take us to VirtualBox GUI as shown below:
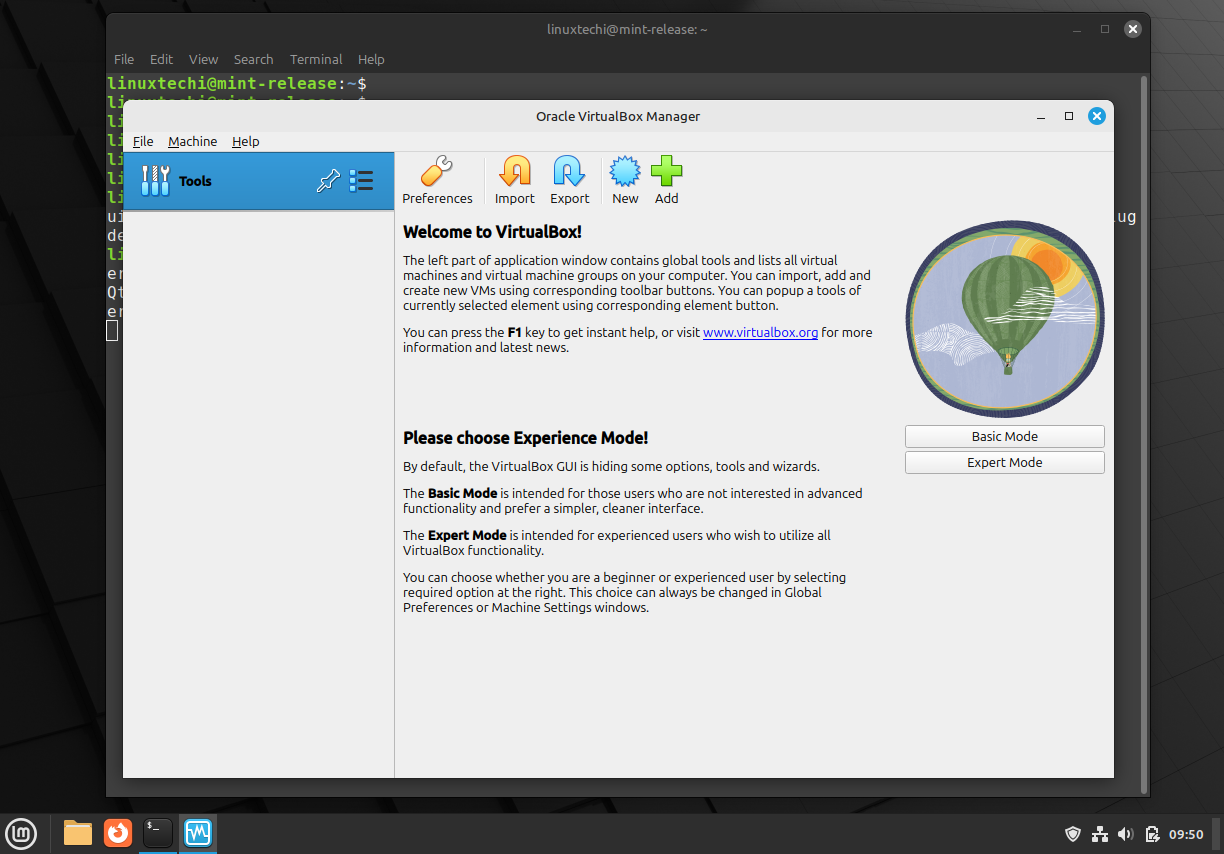
This confirms that VirtualBox has been launched successfully. Kindly choose the appropriate experience model based on your requirements.
7) Add VirtualBox Extension Pack
In order to add some additional functionalities to your virtualbox like support for USB 2.0/3.0, VirtualBox RDP, disk encryption and PXE boot etc then install extension pack.
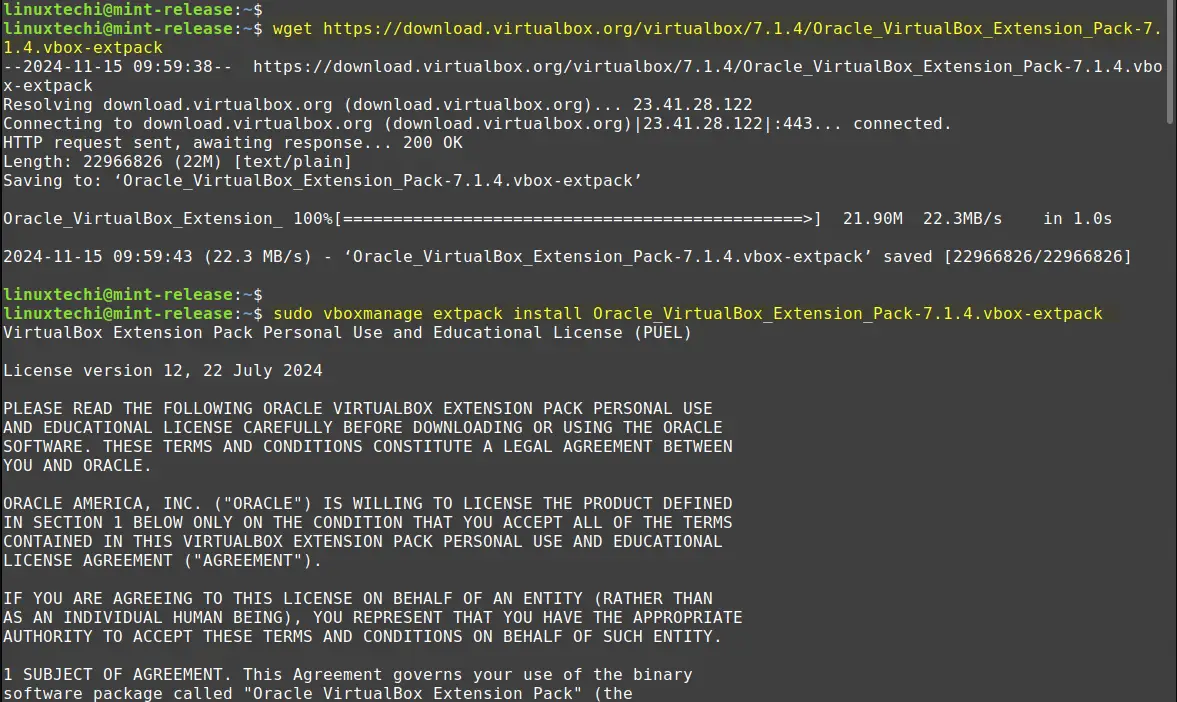
First download the extension pack file using wget command,
$ wget https://download.virtualbox.org/virtualbox/7.1.4/Oracle_VirtualBox_Extension_Pack-7.1.4.vbox-extpack
Next, install extension pack by running,
$ sudo vboxmanage extpack install Oracle_VirtualBox_Extension_Pack-7.1.4.vbox-extpack
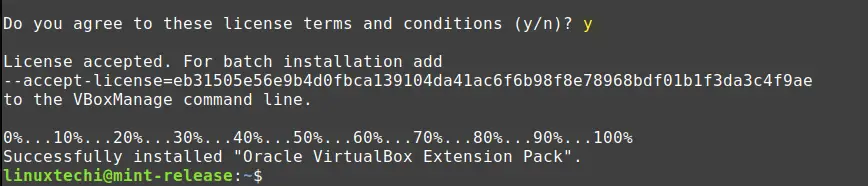
Press “y” to accept license agreement of extension pack.
Head back to VirtualBox GUI and verify extension pack installation,
From the File Menu –> Tools –> Extension Pack Manager
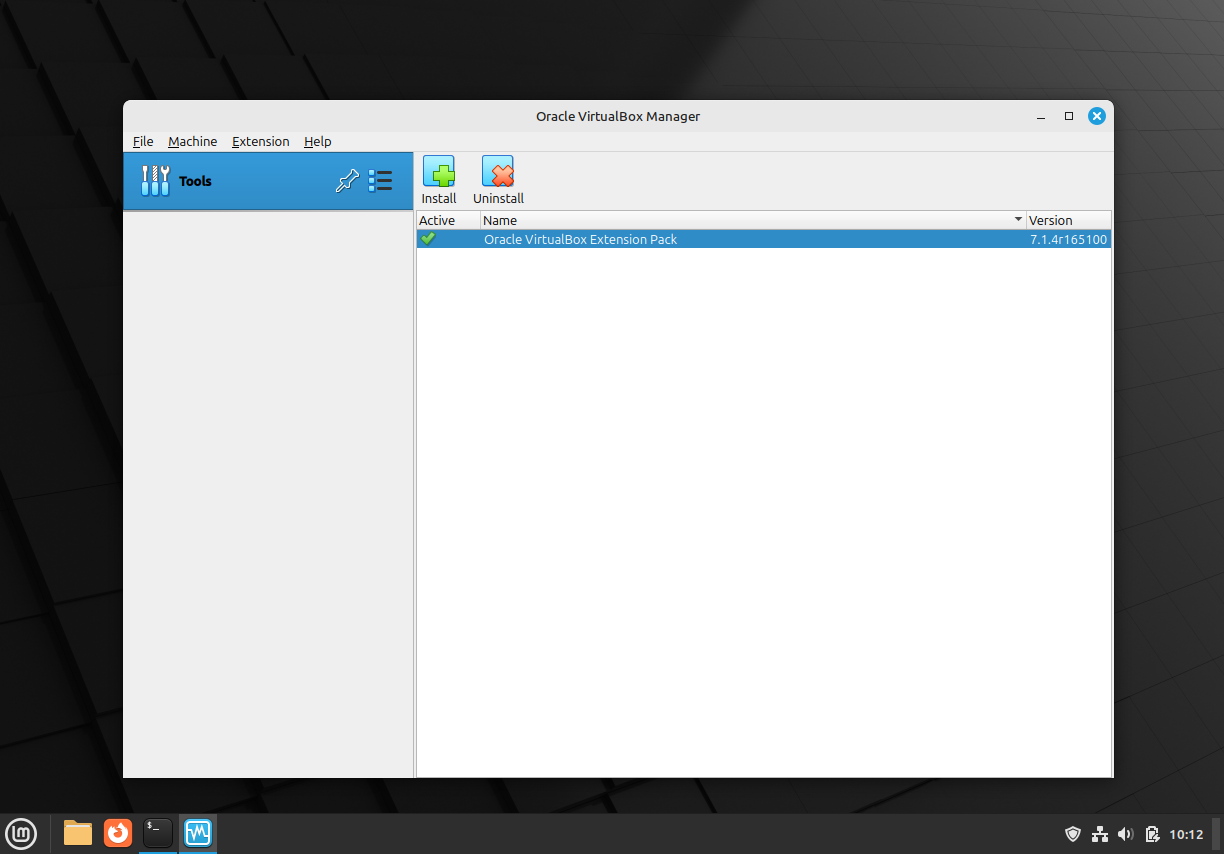
Great, above screen shows that extension pack has been installed successfully. You are now ready to create and manage virtual machines on your Linux Mint 22 system with VirtualBox.
That’s all from this guide, If you found it helpful, share it with others in the Linux community. Feel free to drop your questions or feedback in the comments section below.
Also Read: How to Install VirtualBox Guest Additions on Linux Mint 21
Thank you for your help in this. I am a Linux newbie having used Windows for many years. I’ve dipped my toes into Linux a few times but always gone back to Windows because some programs I used would only run in Windows. Are you still open to questions? I’m having trouble getting Virtual Box to run. It’s probably something very simple but I can’t see it. I can post all the messages from “dmesg” here but it’s very long.
Hi! Thanks for your comment — and welcome (again!) to the Linux world. It’s great to hear you’re exploring Linux Mint 22.
Yes, absolutely — feel free to ask questions anytime. We are here to help!
As for VirtualBox not running, there are a few common issues that might be causing this, especially on a fresh Linux Mint install. Let’s go through a few quick checks:
1. Check if virtualization is enabled in BIOS/UEFI
Make sure **VT-x (Intel)** or **AMD-V (AMD)** is enabled in your BIOS/UEFI settings. Without this, VirtualBox won’t be able to start virtual machines.
2. Confirm VirtualBox is properly installed
Did you install VirtualBox from the Linux Mint Software Manager, the official Oracle `.deb` package, or from the terminal?
If you’re unsure, you can try reinstalling it via terminal:
sudo apt updatesudo apt install virtualbox
3. Check for kernel module issues
sudo modprobe vboxdrvIf you get an error, it might mean the kernel modules weren’t built properly. Try installing the required headers and DKMS:
sudo apt install linux-headers-$(uname -r) dkmssudo dpkg-reconfigure virtualbox-dkms
4. Review `dmesg` output (optional)
If the above doesn’t help, feel free to share just the relevant part of the `dmesg` output — especially any lines containing `vbox`, `virtualbox`, or `vboxdrv`. You can filter it like this:
dmesg | grep -i vboxThis will make the output much shorter and easier to troubleshoot.
Hi Pradeep, apologies for not answering sooner, many things came about taking my attention away from this.
As I said, I’m a Linux newbie so the last command you suggested doesn’t do a lot for me. But what I have found is that when attempting to install via sudo apt install virtualbox, this is what I see;
david@david-HP-Compaq-Elite-8300-SFF:~$ sudo apt install virtualbox
Reading package lists… Done
Building dependency tree… Done
Reading state information… Done
virtualbox is already the newest version (7.0.16-dfsg-2ubuntu1.1).
0 to upgrade, 0 to newly install, 0 to remove and 78 not to upgrade.
3 not fully installed or removed.
After this operation, 0 B of additional disk space will be used.
Do you want to continue? [Y/n] y
Setting up virtualbox-dkms (7.0.16-dfsg-2ubuntu1.1) …
Loading new virtualbox-7.0.16 DKMS files…
Error! No write access to DKMS tree at /var/lib/dkms
After that, it’s just a series of errors.
Thanks
David
Hi David, no worries at all—and thank you for getting back!
It looks like you’re running into a permissions issue while setting up the `virtualbox-dkms` package. The key part of the error is:
Error! No write access to DKMS tree at /var/lib/dkms
This typically happens when the current user or environment doesn’t have the proper permissions to write to that directory, even with `sudo`. Here are a few things you can try:
1. Make sure your system is fully updated** before retrying
sudo apt update && sudo apt upgrade2.Try reinstalling the DKMS package cleanly
sudo apt install --reinstall dkms3. Then reinstall VirtualBox and its dependencies
sudo apt install --reinstall virtualbox virtualbox-dkms4. If that still doesn’t work, check permissions on the DKMS directory:
sudo chown -R root:root /var/lib/dkmssudo chmod -R 755 /var/lib/dkms
And then try the install again.
Let me know how it goes—happy to help further if needed!