In this guide, we will demonstrate how to install Apache Kafka on Ubuntu 22.04 step-by-step.
In Big data, enormous streams of data records are generated by millions of data sources which include social media platforms, enterprise systems, mobile apps, and IoT devices to mention a few. The main challenges that arise with such an enormous amount of data are two-fold; efficient collection and analysis of the data. To overcome such challenges, you need a reliable and robust messaging system.
Developed by Apache Foundation and written in Java and Scala, Apache Kafka is an open-source distributed pub/sub ( publish-subscribe) event streaming platform that handles enormous amounts of data. It also allows you to transmit messages from one point to another. It works alongside the Zookeeper synchronization service and seamlessly integrates with Apache Spark for analytics and large-scale data processing.
In comparison to other messaging systems, Apache Kafka provides better throughput, inherent fault-tolerance, and replication which makes it an excellent choice for enterprise message processing applications. Top companies using Apache Kafka in their tech stacks include Netflix, Microsoft, and AirBnB.
Prerequisites
- Pre Installed Ubuntu 22.04
- Sudo User with Admin Rights
- Internet Connectivity
1) Install OpenJDK on Ubuntu 22.04
Since Apache Kafka is written in Java, Installation of Java is a prerequisite. So, log in to your server and refresh the local package index.
$ sudo apt update
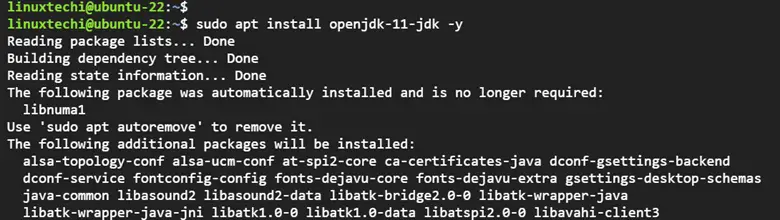
Next, install OpenJDK which is a free and open-source implementation of the Java Standard Edition Platform. Here, we are installing OpenJDK 11 which is an LTS release.
$ sudo apt install openjdk-11-jdk -y
Once installed, verify the version of Java as shown.
$ java -version

2) Install Apache Kafka on Ubuntu 22.04
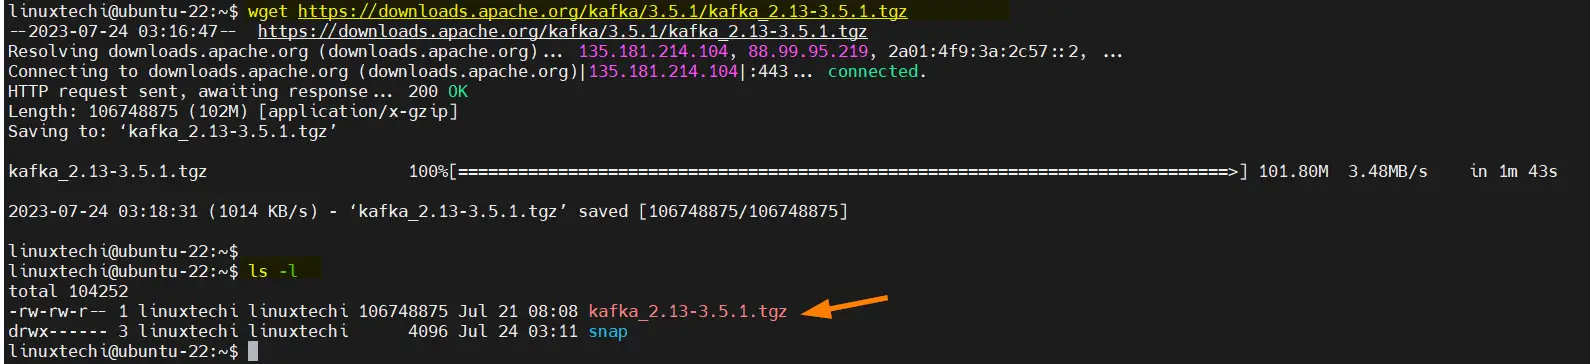
With all the prerequisites already in place, let’s proceed and install Apache Kafka. To do so, head over to Apache Kafka main download page and locate the latest binary file in tarball format. At the time of writing down this guide, Apache Kafka 3.5.1 is the latest release.
To download it, use the wget command-line utility.
$ wget https://downloads.apache.org/kafka/3.5.1/kafka_2.13-3.5.1.tgz
Next, extract the tarball file using the tar command-line tool.
$ tar xvf kafka_2.13-3.5.1.tgz
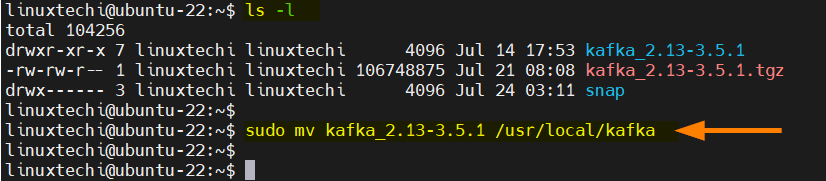
Once extracted, a folder called kafka_2.12-3.5.0 is created. Next, move this folder to the /usr/local directory and rename it kafka.
$ sudo mv kafka_2.13-3.5.1 /usr/local/kafka
3) Create Kafka and ZooKeeper Systemd Unit files
In this step, we will create systemd unit files for Kafka and ZooKeeper services. This will allow you to easily manage the services using the systemctl command.
Let’s start by creating the Zookeeper systemd file using the nano editor as shown.
$ sudo nano /etc/systemd/system/zookeeper.service
Paste the following lines of code which define Zookeeper’s systemd service.
[Unit]
Description=Apache Zookeeper server
Documentation=http://zookeeper.apache.org
Requires=network.target remote-fs.target
After=network.target remote-fs.target

[Service]
Type=simple
ExecStart=/usr/local/kafka/bin/zookeeper-server-start.sh /usr/local/kafka/config/zookeeper.properties
ExecStop=/usr/local/kafka/bin/zookeeper-server-stop.sh
Restart=on-abnormal

[Install]
WantedBy=multi-user.target
Save the changes and exit.
Next, create Kafka’s systemd file
$ sudo nano /etc/systemd/system/kafka.service
Paste the following lines of code which define Kafka’s systemd service.
[Unit]
Description=Apache Kafka Server
Documentation=http://kafka.apache.org/documentation.html
Requires=zookeeper.service

[Service]
Type=simple
Environment="JAVA_HOME=/usr/lib/jvm/java-11-openjdk-amd64"
ExecStart=/usr/local/kafka/bin/kafka-server-start.sh /usr/local/kafka/config/server.properties
ExecStop=/usr/local/kafka/bin/kafka-server-stop.sh

[Install]
WantedBy=multi-user.target
Be sure to save the changes and exit.
4) Start Kafka and ZooKeeper Systemd Services
Once all systemd files are in place, notify systemd of the changes made.
$ sudo systemctl daemon-reload
Next, start Kafka and Zookeeper services.
$ sudo systemctl start zookeeper
$ sudo systemctl start kafka
Confirm if the services are running. For Zookeeper, run:
$ sudo systemctl status zookeeper

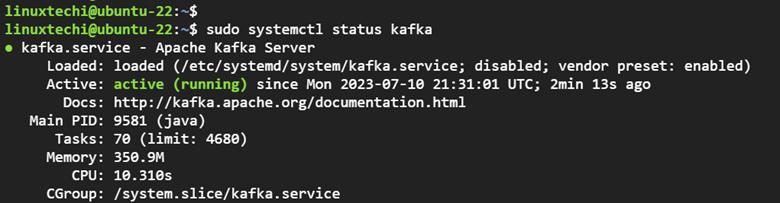
For Apache Kafka service , execute:
$ sudo systemctl status kafka
5) Create a Kafka Topic
With Kafka and all components installed, we will create a topic and try to send a message. In Kafka, a topic is a fundamental unit used to organize messages. Each topic should have a unique name across a cluster. Topics allow users to send and read data between Kafka servers.
You can create as many clusters as you want in Kafka. That said, Now let’s create a Topic called sampleTopic on localhost port 9092 with a single replication factor.
$ cd /usr/local/kafka
$ bin/kafka-topics.sh --create --bootstrap-server localhost:9092 --replication-factor 1 --partitions 1 --topic sampleTopic
Let us break down the command:
- –create: Creates a new topic
- –replication-factor: Specifies how many copies of data will be created
- –partitions: Specifies the number of partitions as the number of brokers by which your data will be split
- –topic: Specifies the name of the topic. Topics are split into several partitions.
Upon running the command, you will get a confirmation that the topic was successfully created.
Output
Created topic sampleTopic

As mentioned earlier, you can create as many topics as you can using the same syntax. To check or list the topics created, run the command:
$ bin/kafka-topics.sh --list --bootstrap-server localhost:9092

6) Send and Receive a Message in Kafka
In Kafka, a ‘producer’ is an application that writes data into topics across different partitions. Applications integrate a Kafka client library to write a message to Apache Kafka. Kafka client libraries are diverse and exist for a myriad of programming languages including Java, Python among others.
Let us now run the producer and generate a few messages on the console.
$ bin/kafka-console-producer.sh --broker-list localhost:9092 --topic sampleTopic
You will be prompted to type a few messages. In this case, we typed a few lines.
> Hello World!
> Welcome to Apache Kafka
> This is the first topic
Once you are done, you can exit or keep the terminal running. To consume the messages, open a new terminal and run the following command:
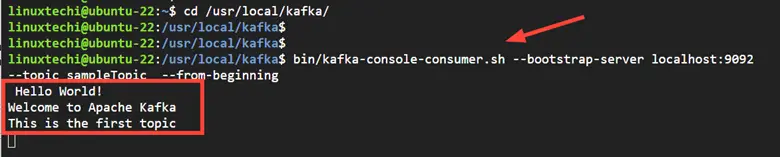
$ bin/kafka-console-consumer.sh --bootstrap-server localhost:9092 --topic sampleTopic --from-beginning
The messages you typed will be displayed on the terminal as shown in the output below.
Conclusion
This wraps up our guide today. In this tutorial, we have demonstrated how to install Apache Kafka on Ubuntu 22.04. In addition, we have seen how you can send and receive a message within a Kafka cluster.
Hello,
Thank you for the informative tutorial!
I followed your steps but got stuck at topic creation. I got this error
Exception in thread “main” java.lang.NoSuchMethodError: ‘java.lang.Object scala.collection.mutable.Buffer.map(scala.Function1)’
at kafka.admin.TopicCommand$TopicCommandOptions.(TopicCommand.scala:513)
at kafka.admin.TopicCommand$.main(TopicCommand.scala:48)
at kafka.admin.TopicCommand.main(TopicCommand.scala)
Any clue how to fix this? thanks!
Hey Hagar, please check your syntax. It seems that you tried to copy and paste the command on your terminal and some additional characters got added as a result. Try typing the command again as is. In addition, ensure that all the services – kafka and zookeeper – are running.
Thanks my Kafka started running!