In this post, we will cover how to install Ansible on Fedora 36 step by step.
Ansible is a free and open-source agent less automation tool that manages remote Linux machines over ssh protocol. System on which ansible is installed is known as control node and remote machines which are managed by ansible are known managed nodes.
Prerequisites
- Minimal Install Installed Fedora
- Sudo User with admin rights
- Internet Connectivity
Lab Setup
- Control Node: Fedora 36 – 192.168.1.168
- Managed Node: Ubuntu 22.04 – 192.168.1.167
Without any further delay, let’s deep dive into the installation steps of Ansible
1) Update Your Fedora system
Login to your fedora 36 system and run following dnf command to install all updates,
$ sudo dnf update -y
Once all the updates installed then reboot the system once
$ sudo reboot
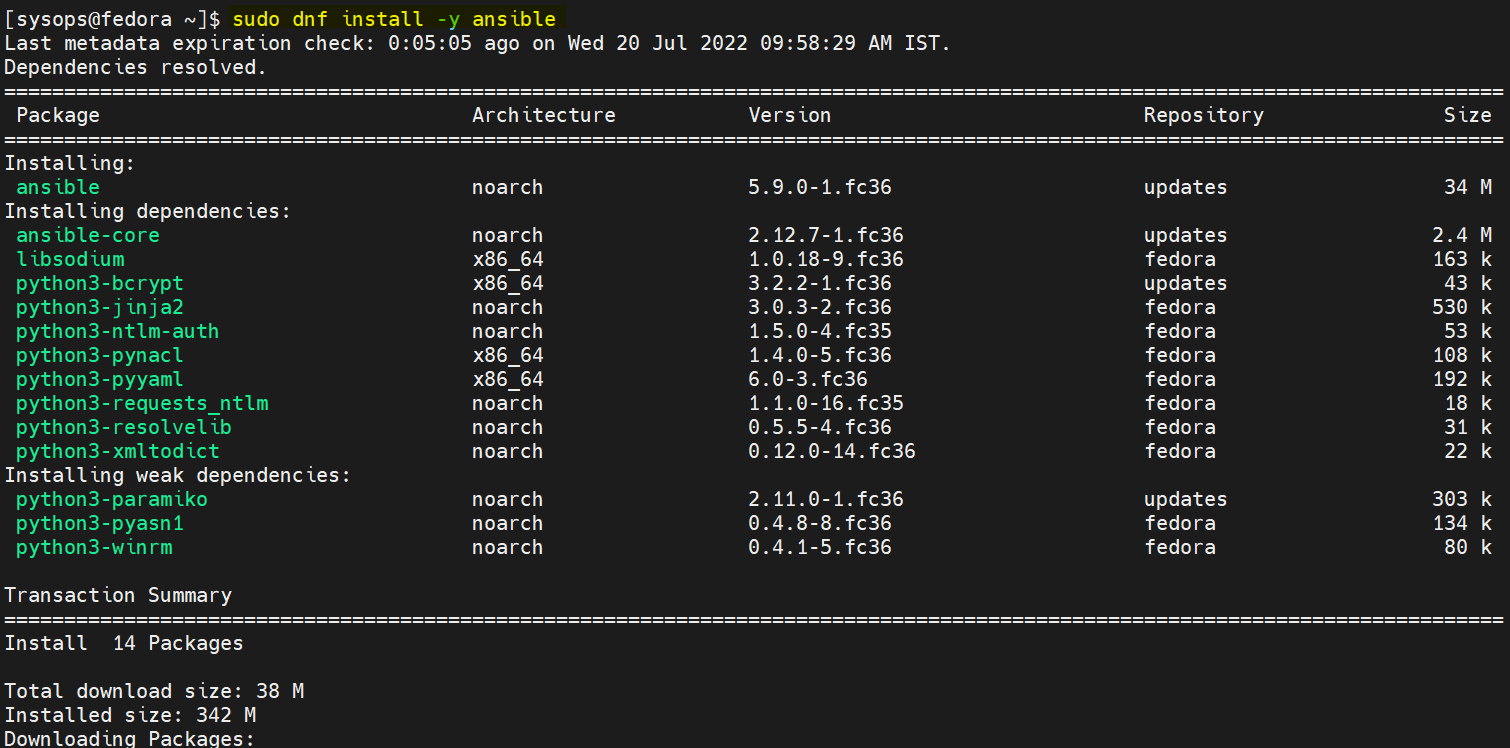
2) Install Ansible with dnf
Ansible package and its dependencies are available in the default package repositories of Fedora 36. Run following dnf command to install it,
$ sudo dnf install -y ansible
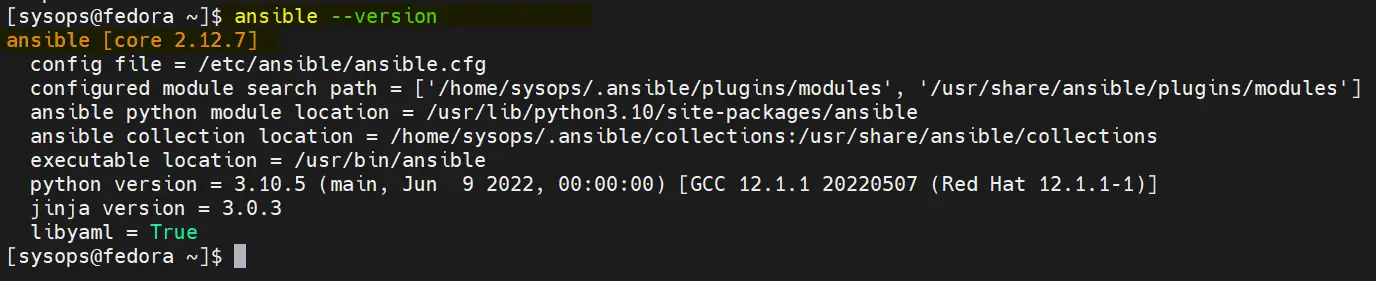
Once ansible is installed, check its version
$ ansible --version
Output,
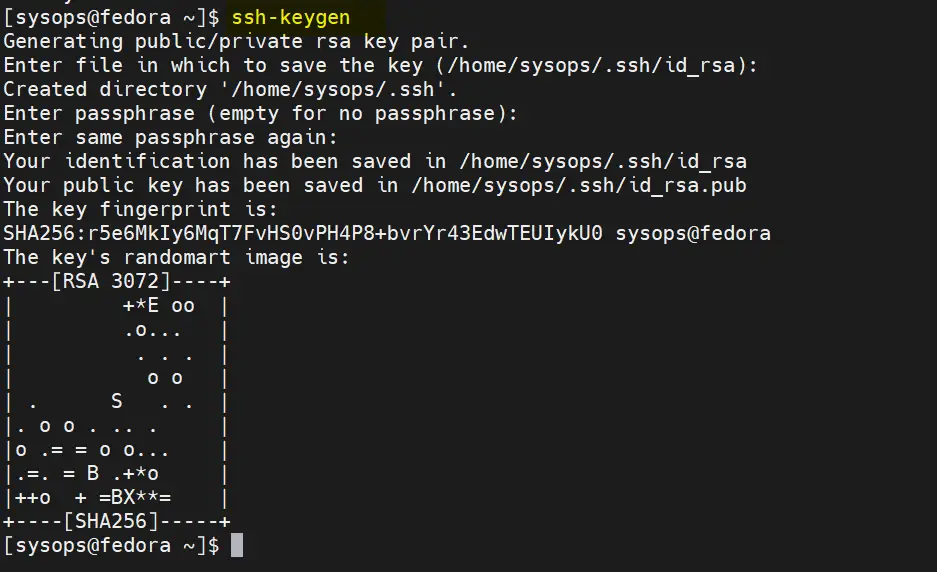
3) Generate and Share SSH keys
Generate the ssh keys for your local user (sysops) and share that keys with managed node.
To generate ssh keys, run
$ ssh-keygen
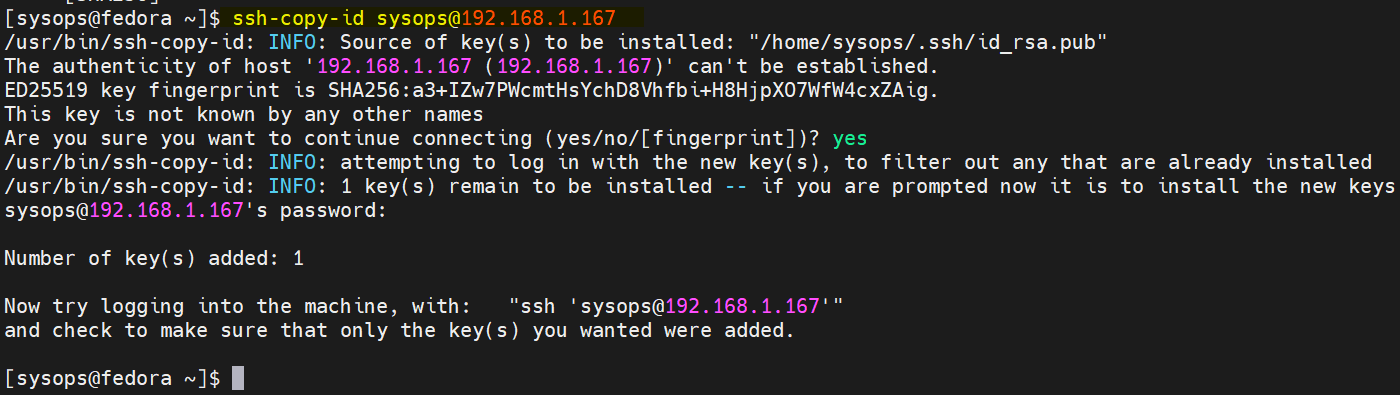
Now run ssh-copy-id command to share the ssh keys,
$ ssh-copy-id [email protected]
Note : Make sure user ‘sysops’ user exists on managed nodes and also create following on managed node using echo and tee command.
$ echo "sysops ALL=(ALL) NOPASSWD:ALL" | sudo tee /etc/sudoers.d/sysops
4) Test Ansible Installation
To test ansible installation, we will try to manage remote system (192.168.1.167). But first, create ansible.cfg and inventory file.
$ mkdir demo-ansible && cd demo-ansible
$ vi ansible.cfg
[defaults]
inventory      = /home/sysops/demo-ansible/inventory
remote_user = sysops
host_key_checking = False

[privilege_escalation]
become=True
become_method=sudo
become_user=root
become_ask_pass=False
save and close the file.
Create the inventory file with beneath content
$ vi inventory
[test]
192.168.1.167
Save & exit the file.
Run following ansible ad-hoc commands to check the connectivity with manage node,
$ ansible test -m ping
$ ansible test -m shell -a 'lsb_release -a'
Output,
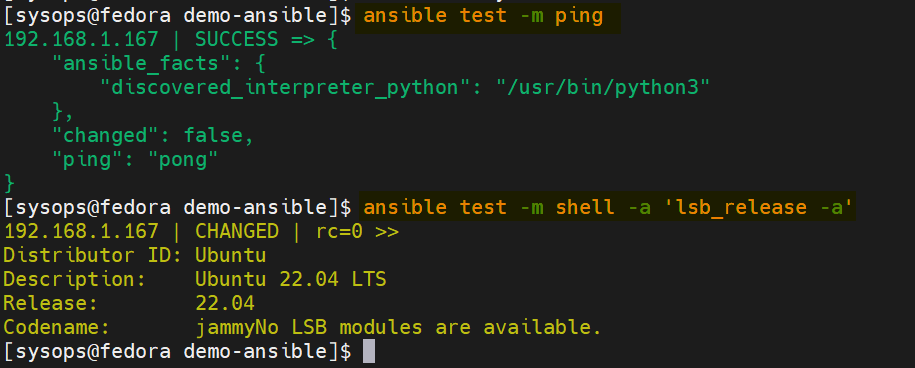
Perfect, above confirms that connectivity is there as ping pong test is working fine.
Let’s create a sample playbook to install vsftpd on managed host.
$ vi vsftpd.yaml
---
- name: Playbook to Install FTP Server
  hosts: test
  tasks:
  - name: Install vsftpd
    package:
      name: vsftpd
      state: present

  - name: Start vsftpd service
    service:
      name: vsftpd
      state: started
      enabled: yes
Save & close the file
Run the playbook using following ansible command,
$ ansible-playbook vsftpd.yaml
Output,
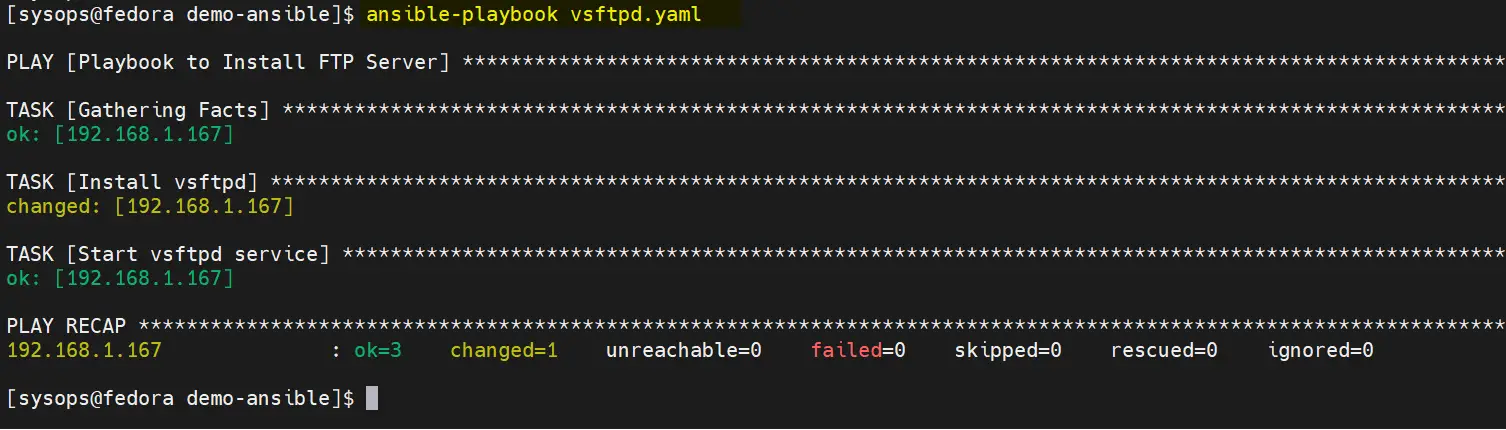
Above output confirms that playbook has been executed successfully.
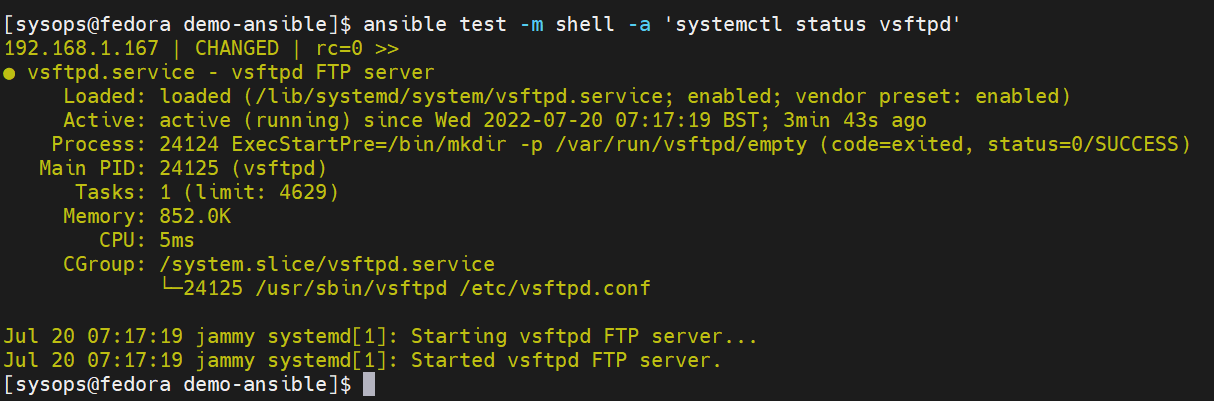
Verify the vsftpd service status, run
$ ansible test -m shell -a 'systemctl status vsftpd'
That’s all from this post. I hope you have found it useful, kindly do share your queries and feedback in below comments section.
Also Read : How to Configure Static IP Address on Fedora Linux