If you are among the ones who wants to try Linux & don’t want to move away from Windows OS or you are just feeling adventurous & just want to have system that has both a Linux & Windows OS or you might want to secure your system against threats like wannacry ransomware as Linux is not prone to such threats, then this tutorial is surely for you.
In this tutorial, we are going to DUAL-Boot a Windows laptop/desktop with Ubuntu 16.04 (using 16.04 as it has 5 year support unlike 16.10 or 17.04, which has support for only 9 months support cycle). Let’s start the procedure to create a dual boot system with Windows 10 & Ubuntu 16.04 installed. But let’s discuss the prerequisites first,
- A system (Laptop/Desktop) with Windows 10 pre-installed (UEFI) . Windows 8 or 8.1 machines will also work with this tutorial,
- A DVD with Ubuntu 16.04 image or a bootable USB drive. You can download Ubuntu 16-04 from the following link http://releases.ubuntu.com/16.04/ubuntu-16.04.2-desktop-amd64.iso & use RUFUS (“https://rufus.akeo.ie/downloads/rufus-2.14.exe”) to create a bootable USB drive.
Once we have these things ready we can now start the procedure to dual boot our system.
Step:1 Creating disk space
If you already have some un-partitioned free space (around 20-50 GB), then you can skip this step & move to next step. But if you don’t have any un-partitioned space on your HDD, then we need to free-up some space the HDD.
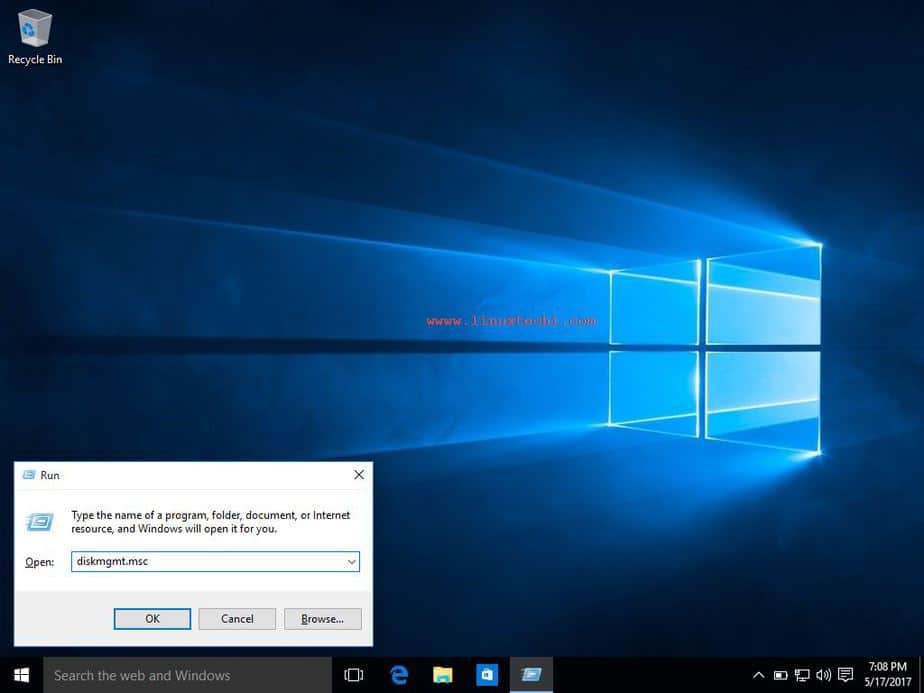
To free-up space from HDD, press ‘WINDOWS’ key + ‘R’ & type “DISKMGMT.msc“. This will open the Disk Management window as shown below
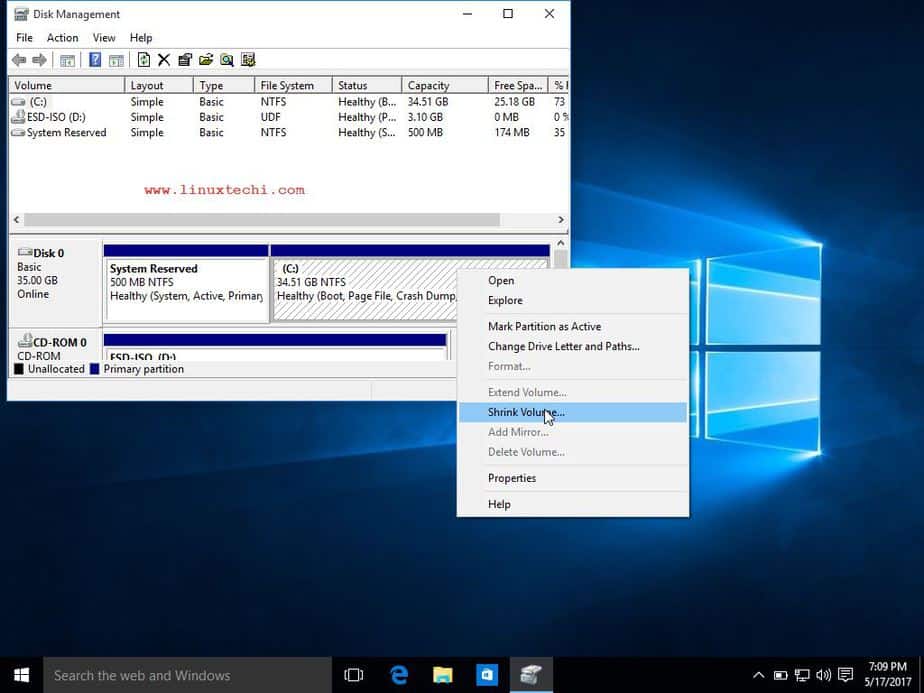
now select the partition that has some free space left (for me , its C Drive), right click on it & select “Shrink Volume”
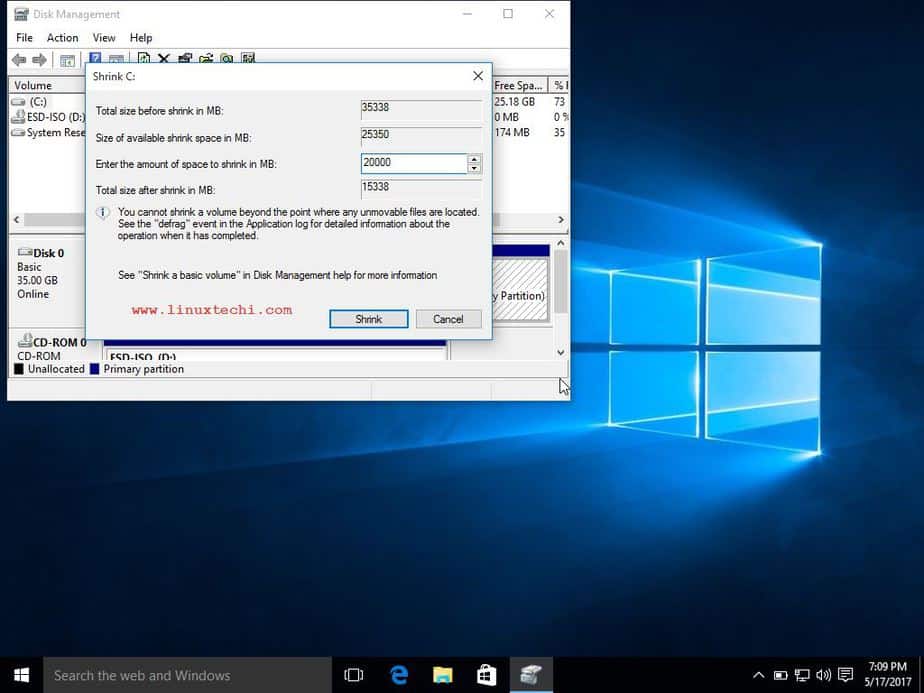
Next enter the amount you want to shrink your partition with, for example 20GB & press “Shrink”
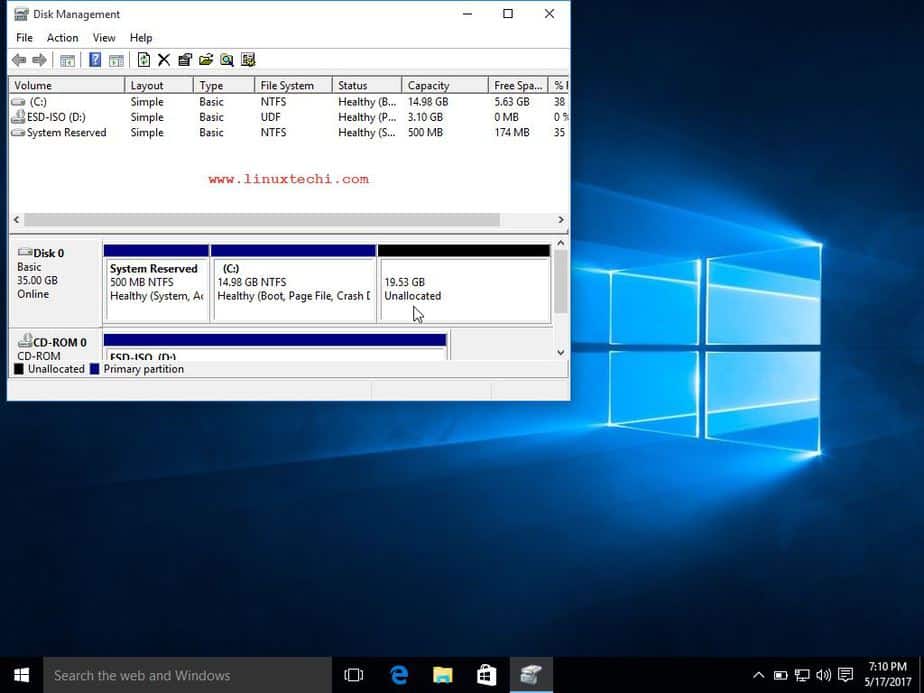
Now you will have 20 GB unallocated space on your HDD & we can move to installation on Ubuntu.
Step:2 Installing Ubuntu
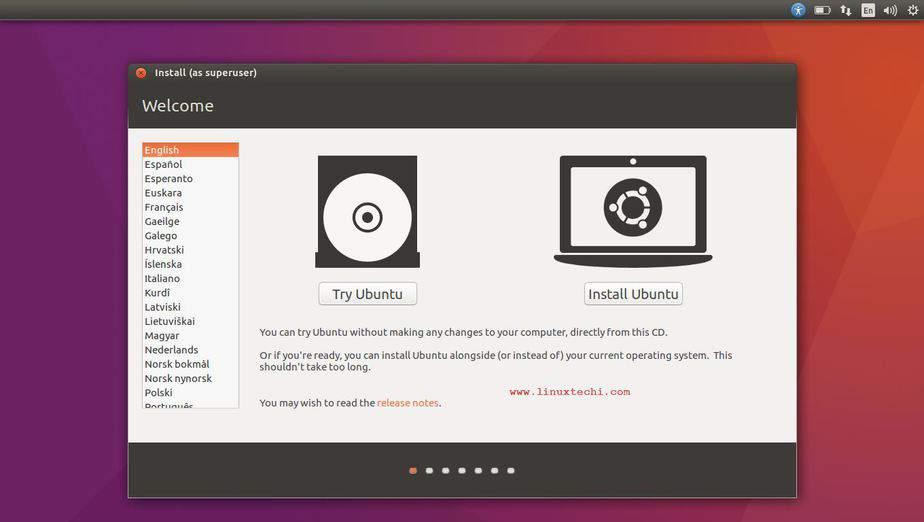
After creating disk space from the old partition, restart your system with bootable USB attached & it should be your first boot device (can be done via BIOS) or we can also select USB as bootable device by pressing F2, F10, F12 (Depending on the vendor). Once your system boots up with Ubuntu, select “Install Ubuntu”
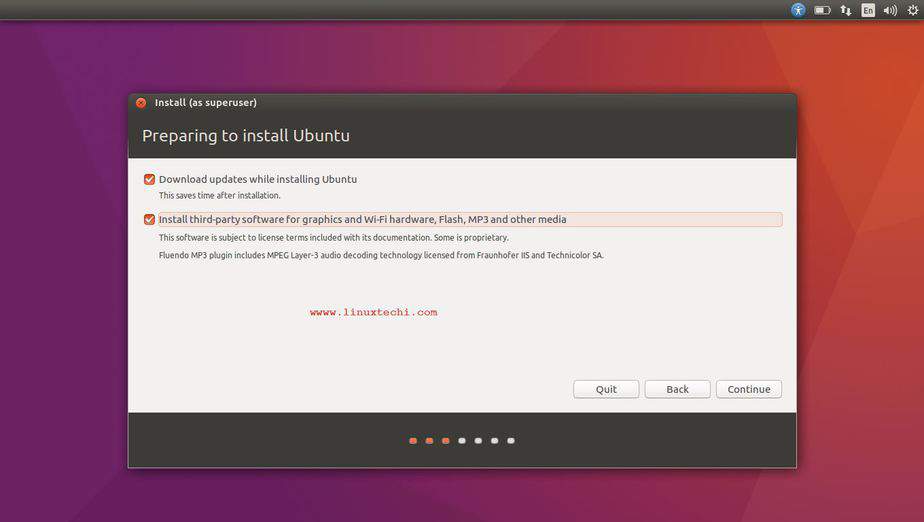
On the next screen, you can opt for downloading updates while Ubuntu is being installed or you can leave it. After selection, press ‘Continue’,
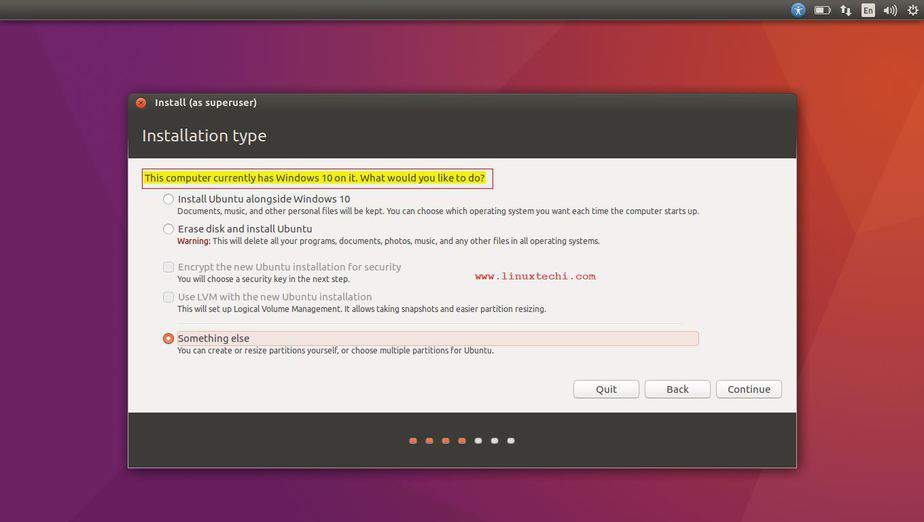
Now here on next screen, we will need to select installation type, there are two things you can do here,
- Select “Install Ubuntu alongside Windows 10“, with this option you don’t need to create partition table & Ubuntu will utilize all the remaining free space on hdd,
- Second option, which we will use is “Something else” to create a custom partition. Press ‘Continue’ after selecting the option
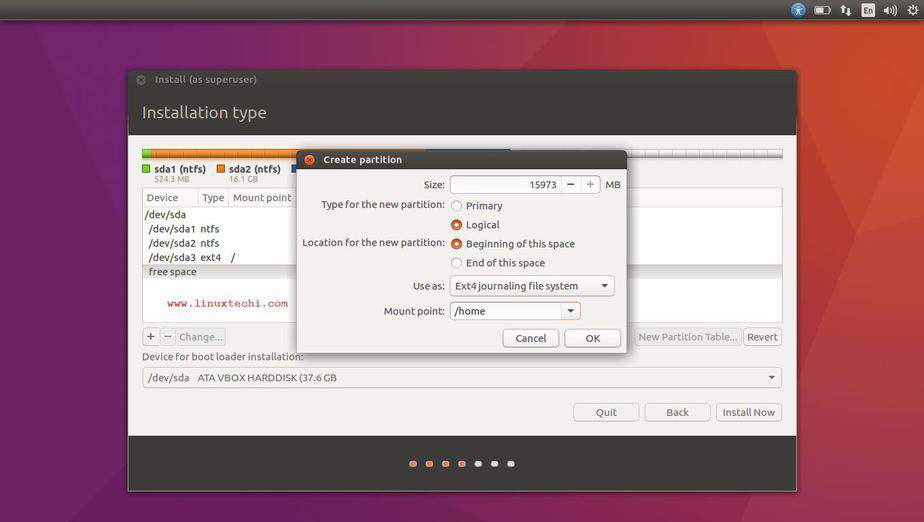
Free space on hdd will shown on this screen, select the free space & then press the ‘+’ button on the left side of the screen to add a partition,
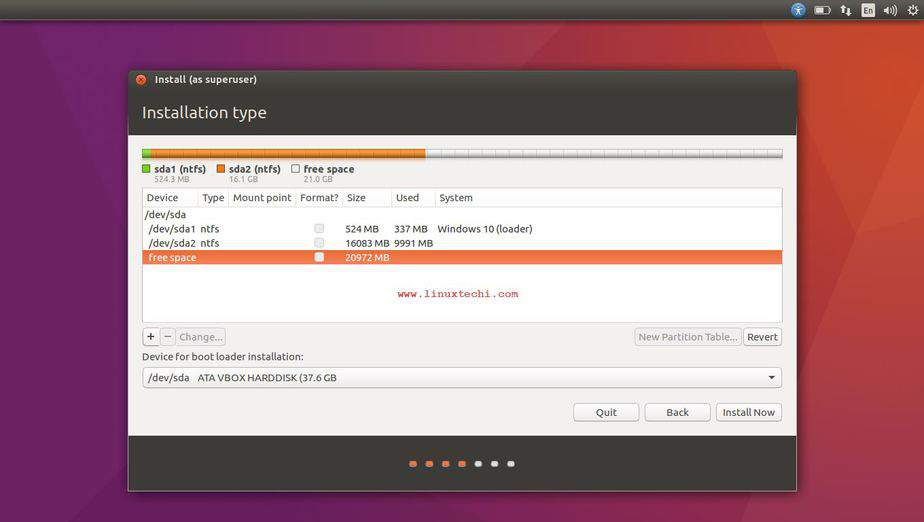
Now, first we will create the root partition (10GB). Enter the size; then for partition type, select ‘Primary’; for ‘Use as’ , use default i.e. Ext4 file system & lastly as mount point, select ‘/’ i.e. root. Similarly create the ‘/home’ partition.
Once done, press ‘OK’,
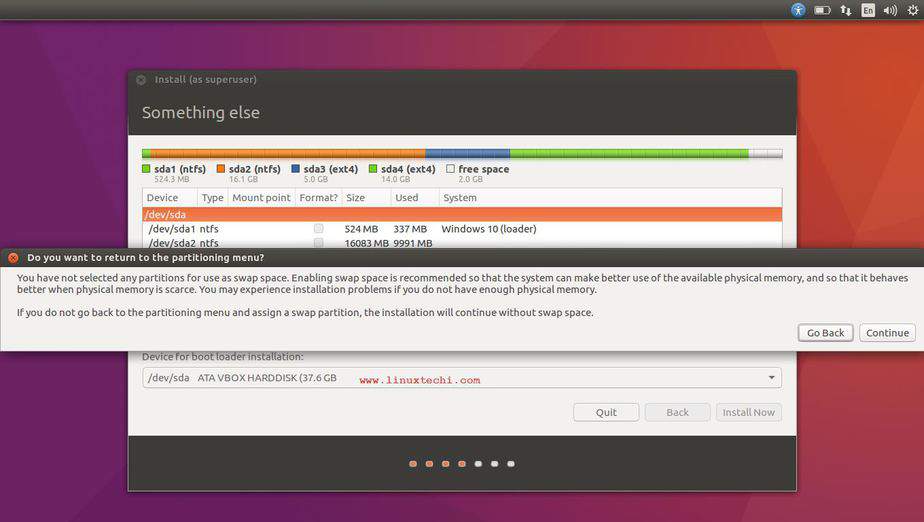
We will now see warning message saying that swap space has not been created, avoid this message if your system has enough RAM on your machine by clicking on ‘Continue’ or we can create SWAP same way as we created other partitions with one change i.e. for ‘Use as’ select swap.
Next we will asked to create the partition table with the our custom partitions, click ‘Continue’ to create the partition table ,
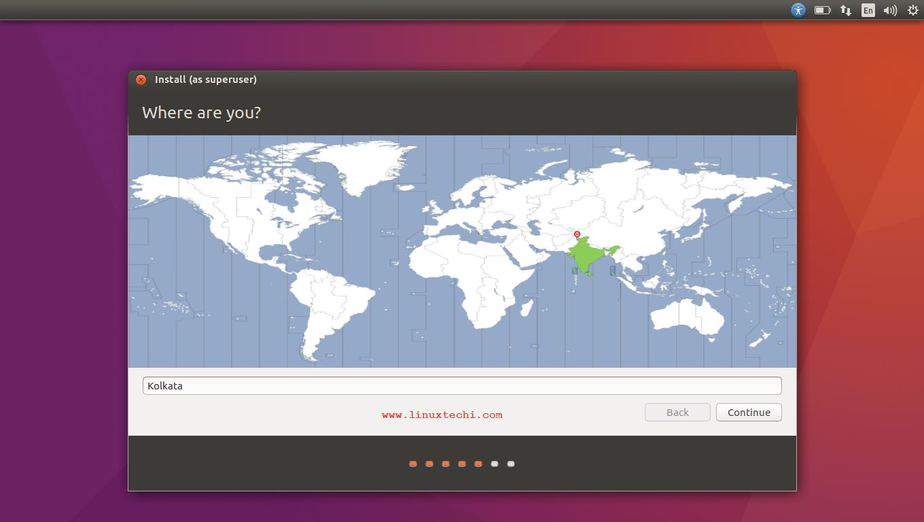
Here select the region you are from & press ‘Continue’,
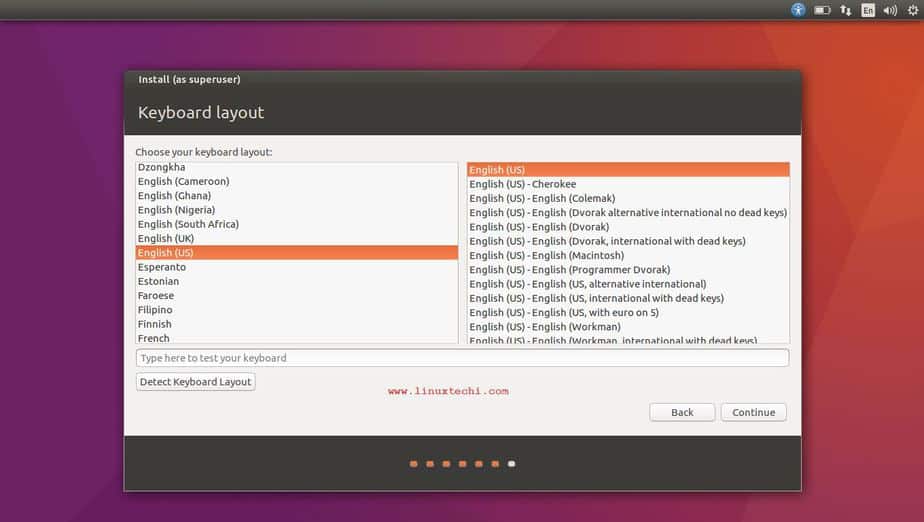
Next, select your preferred keyboard layout & press ‘Continue’,
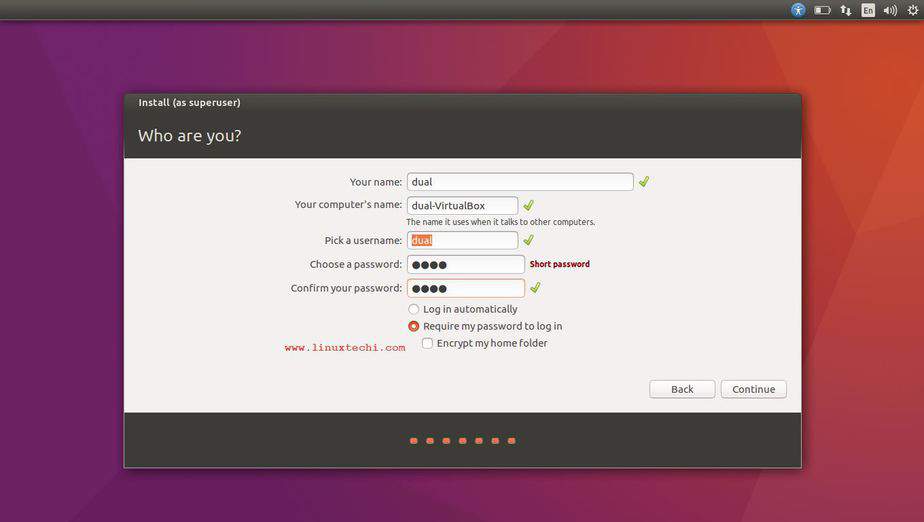
Here we will create a user, which will act as our primary user. Provide your name, computer name, then username, password for the user & then press ‘Continue’,
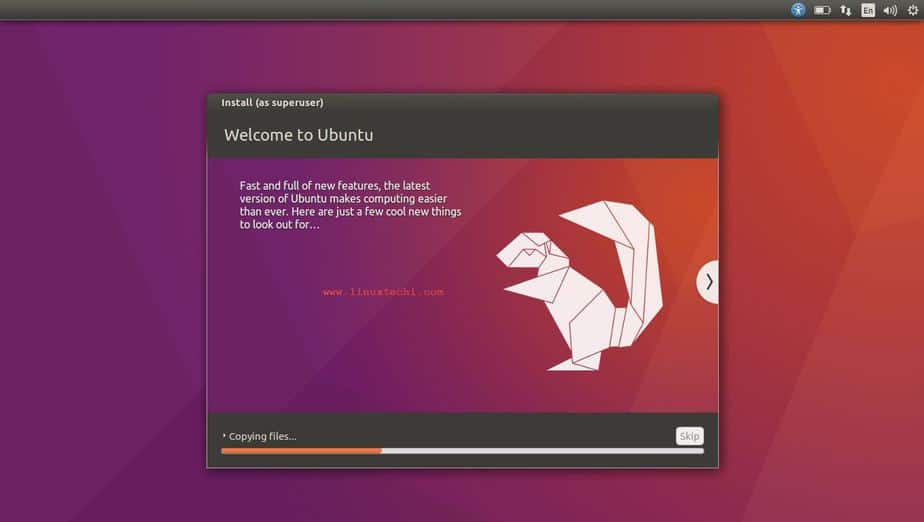
Now setup will start copying the files, wait for the setup to complete installation,
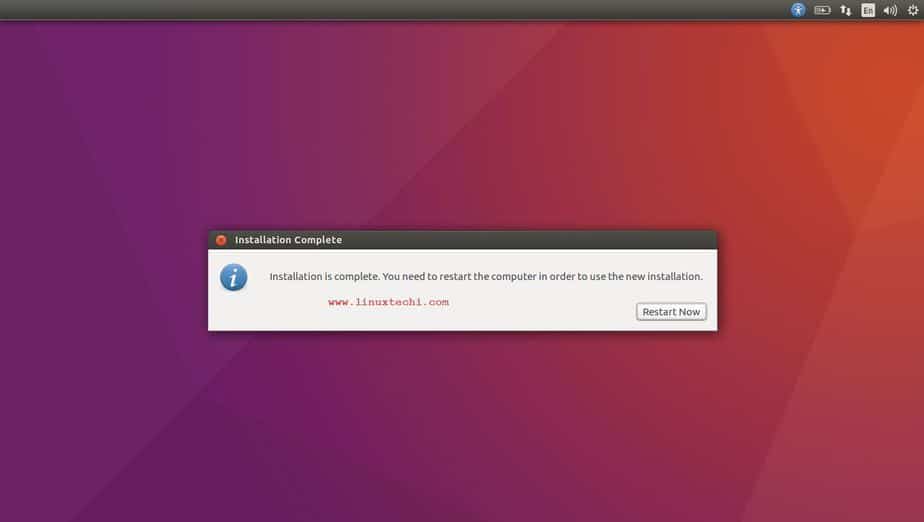
Once setup completes, ‘Reboot’ the system,
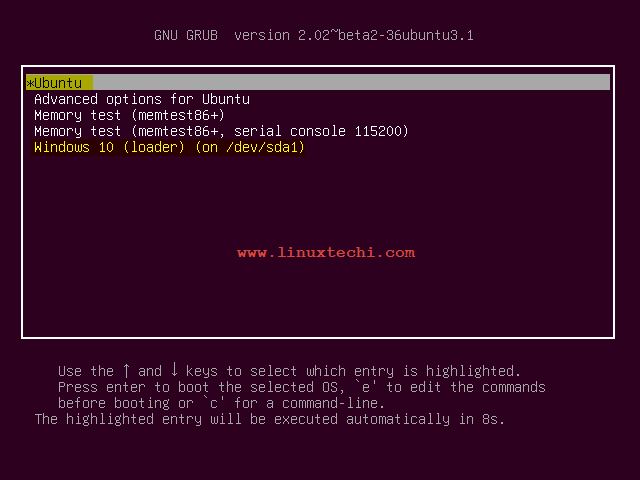
When the system reboots, you will now have the option to boot into ‘Ubuntu‘ or ‘Windows 10‘. Choose your operating system by pressing ‘Enter’,
That’s it guys, you now have Dual boot system with both Windows 10 & Ubuntu installed. Hope the tutorial was easy enough to follow. If facing any issues or problems, feel free to mention them in the comment box below.

I want a GUI linux version. I am unable to learn the commands. Which version of linux is good for me??
Hi Rohit,
Linux Flavors like Ubuntu, Linux Mint and Zorin OS all provide beautiful GUI from where you can do all the stuff without executing a single command.
I am trying to install ubuntu latest version on Windows 10 pro and I am stuck with the issue that grub installation failed while system installs
I came to your guide after not being able to boot Ubuntu after installing 17.10. Each reboot just boots Win10 as normal. I can see the newly-created partition in disk mgmt, but it does not seem to have done anything to the bootloader.
My computer is an MSI laptop with a 250GB M.2 NVMe card (Win10 UEFI boot). Do I possiblity have to do something else in BIOS, such as disable fastboot?
Yes, first you have to disable Fast Boot and Secure boot. There’s a Wikihow guide and you can follow part of it to do that, steps 2 and three describe what to do. https://www.wikihow.com/Dual-Boot-Windows-10-and-Ubuntu-16.04
Tnx dude for information its work but how to install my nvidia graphic on ubuntu
Thank you…In step 2,
If Ubuntu is installed alongside Win 10 why is a bootable USB needed ?
Is a bootable USB any empty USB ?
I seem to be missing something important 🙂