Hello techies, in this post, we will cover how to Install Elementary OS 8 step by step with screenshots on laptop or desktop. It is based on latest and stable Ubuntu 24.04 LTS.
Elementary OS 8 with code name “Circe” released with lot of new features and improvement like new Secure Session, a new dock, and PipeWire as the default media server. Additionally, the AppCenter has been updated with a new “Made for elementary OS” badge and a “Sponsor” link for app developers.
System Requirements for Elementary OS 8
- Dual Core 64-bit processor
- 4 GB RAM or more
- 32 GB hard disk
- Internet Access
- Bootable USB Flash Drive (4 GB Storage)
Without any further delay, let’s jump into the installation steps
1) Download Elementary OS 8 ISO
Use below official URL to download ISO file,
Choose your contribution amount or download for free by entering $0. Click the Download button to get the ISO file.
2) Create a Bootable USB Drive
Once the ISO file is downloaded, create a bootable usb drive.
- For Windows: Use tools like Rufus.
- For Linux: Use the dd command or Etcher.
$ sudo dd if=/path/to/elementaryos.iso of=/dev/sdX bs=4M status=progress
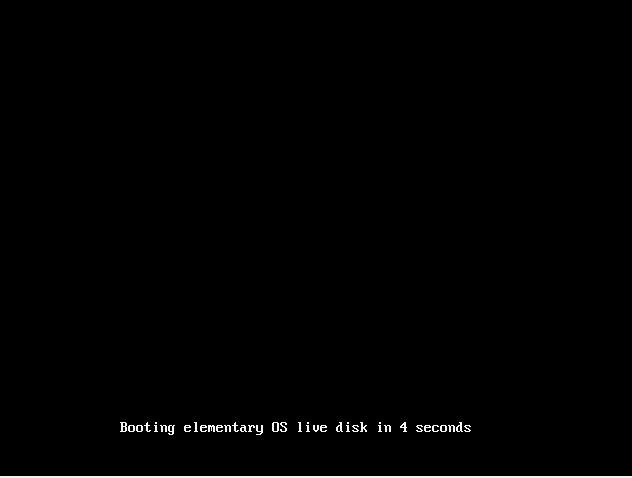
3) Boot System From the USB Drive
Now boot the target system with bootable USB drive. From bios settings change the boot medium from hard disk to USB. When the system boots up with USB drive then we will get the following screen,
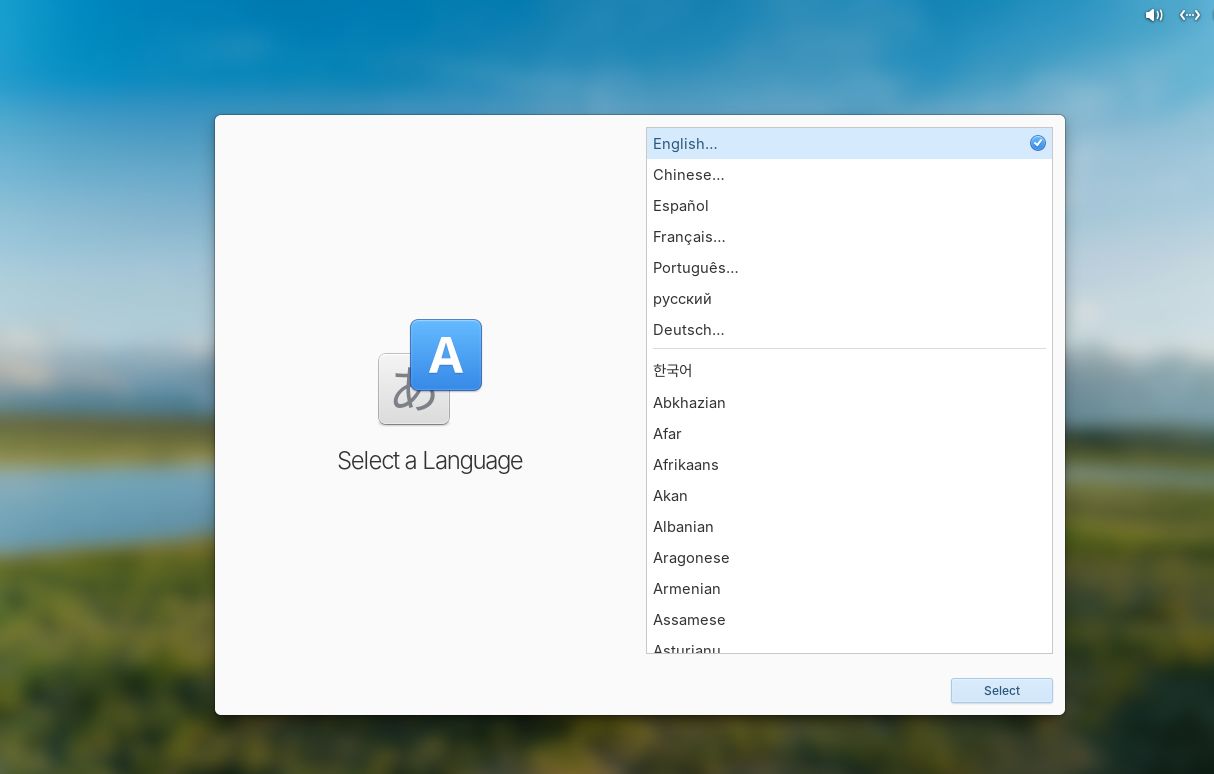
4) Select Language for Installation
Choose your preferred language and then click Select,
5) Choose Keyboard Layout
In this step, you will be requested to choose preferred keyboard layout and then click on ‘Select’

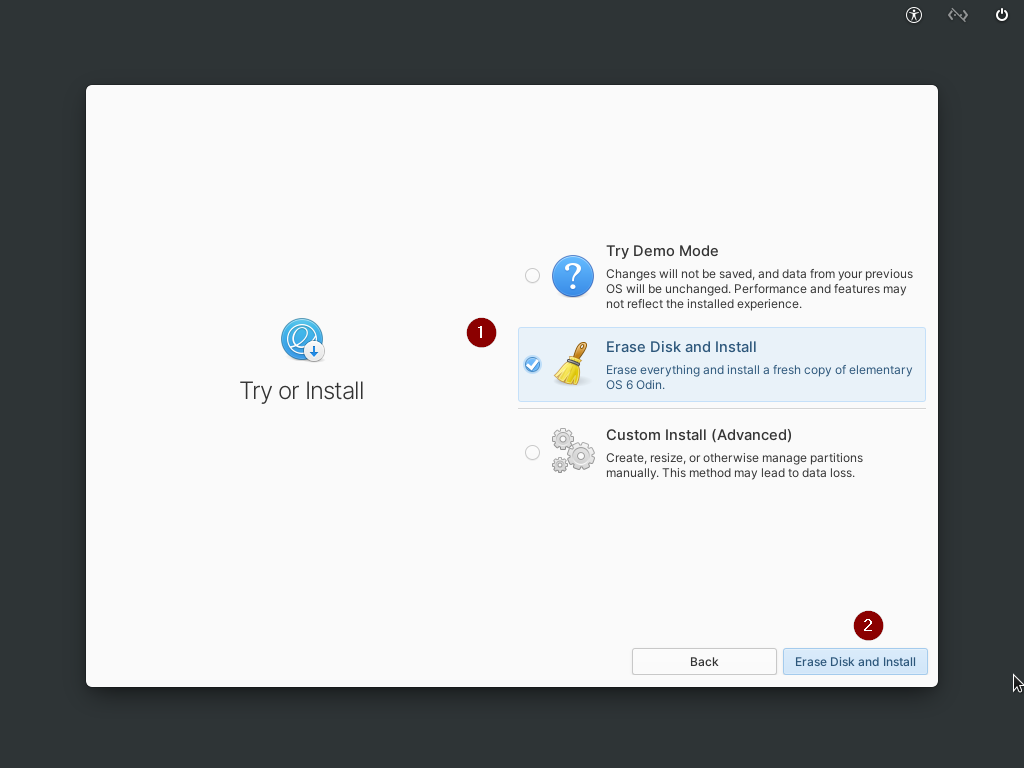
6) Try or Install elementary OS
We will be presented the beneath screen, where we need to choose installation type. It gives us following options,
- Try Demo Mode – Try Elementary OS 8 without installing it.
- Erase disk and Install – Installer will erase the whole disk and will create required partitions automatically. (recommended for beginners)
- Custom Install (Advanced) – It will give us the option to create custom partitions.
In this post, I will go with the 3rd option, so select Custom Install (Advanced)
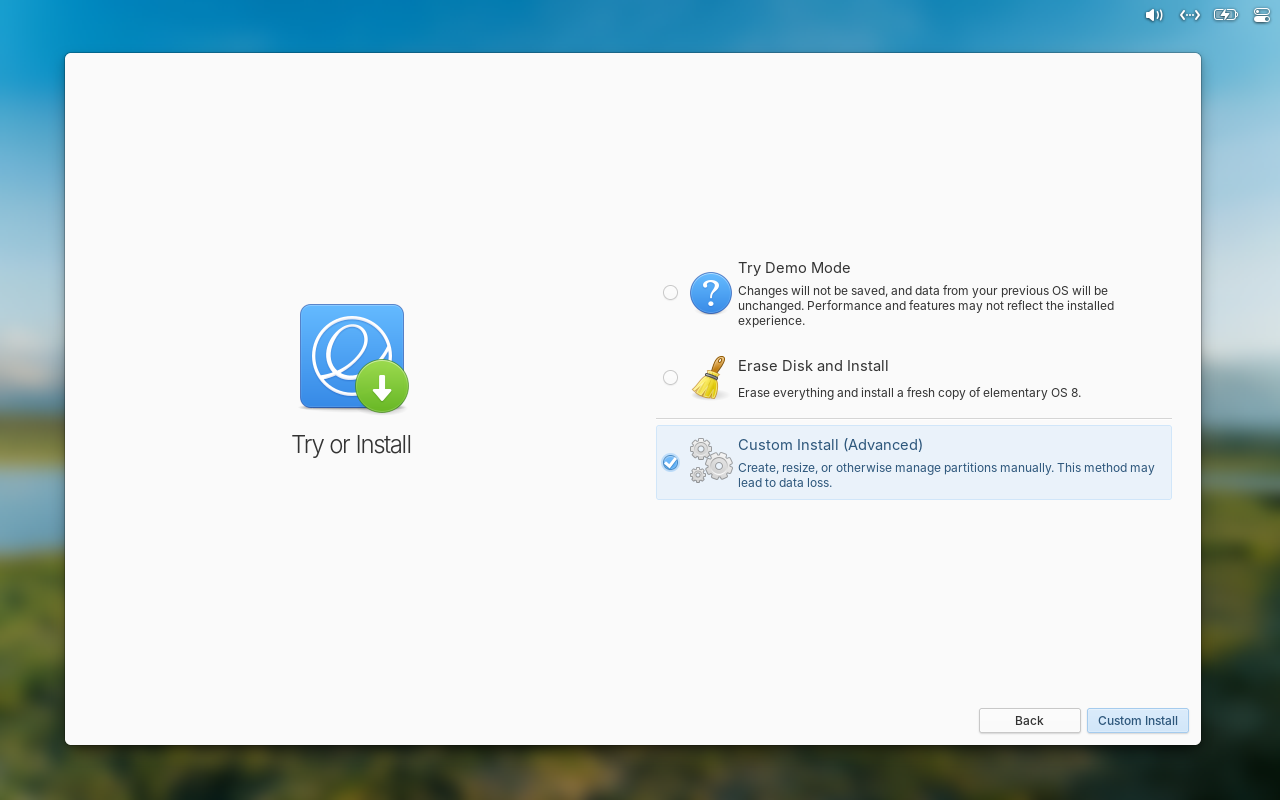
Click on “Custom Install”
In the following screen, select the drive on which OS will be installed and then create a partition table (msdos).In our case, we using Legacy Bios,so we will using msdos partition table type.
Note: For UEFI Bios, we need to create one additional partition with following details.
- Size: Typically 100–550 MB (common recommendation is 512 MB).
- File System: FAT32 (required for compatibility with UEFI).
- Mount Point: /boot/efi
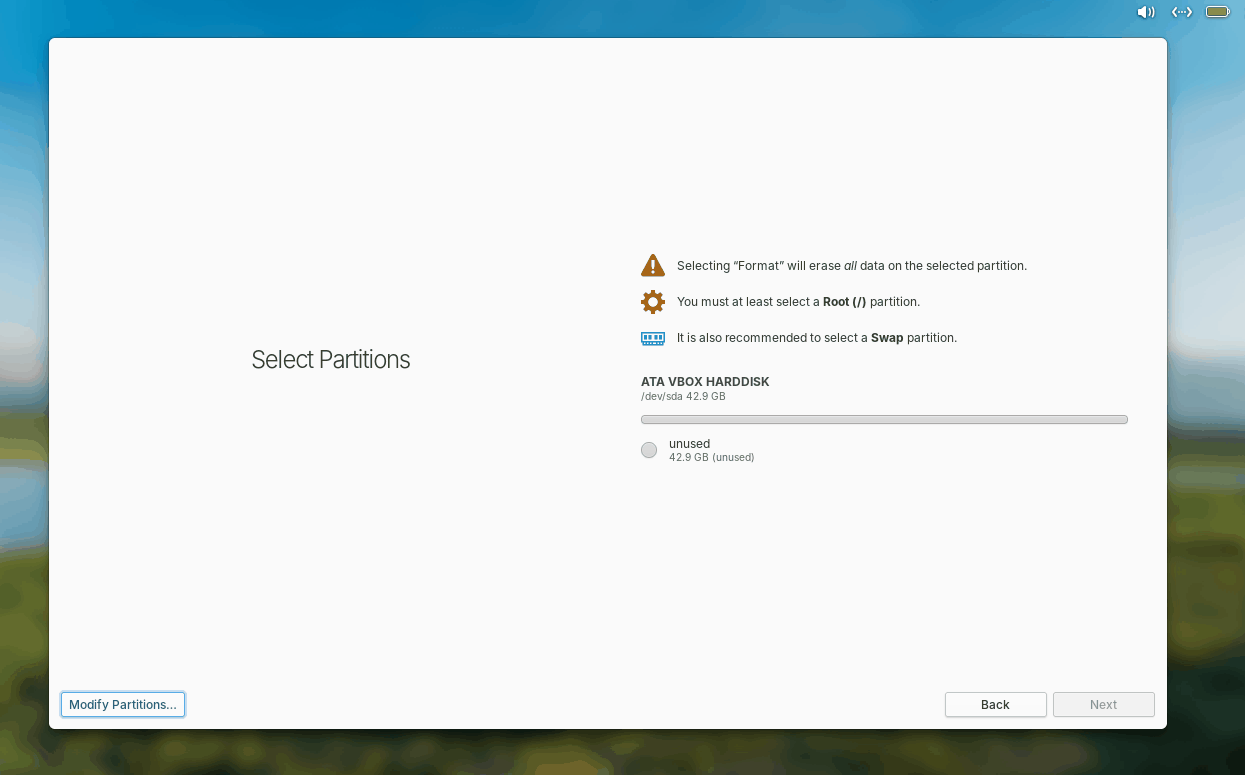
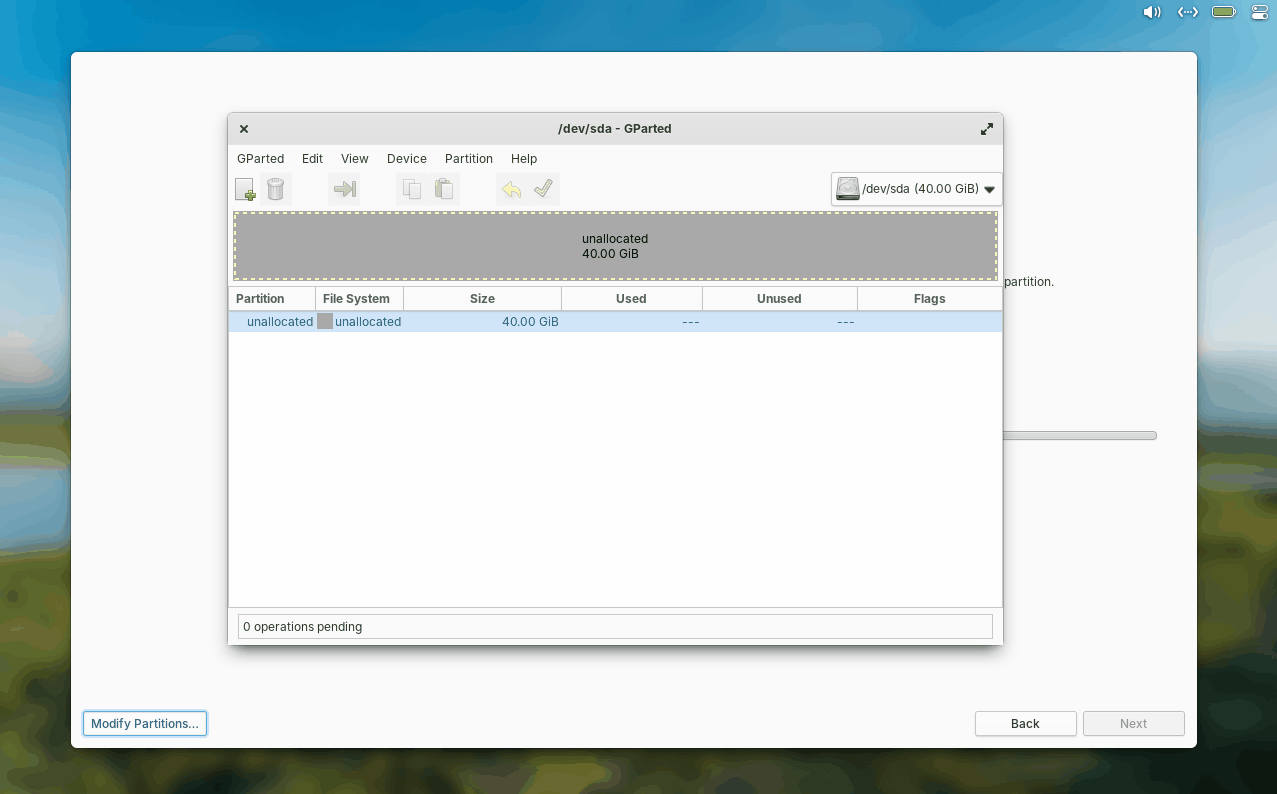
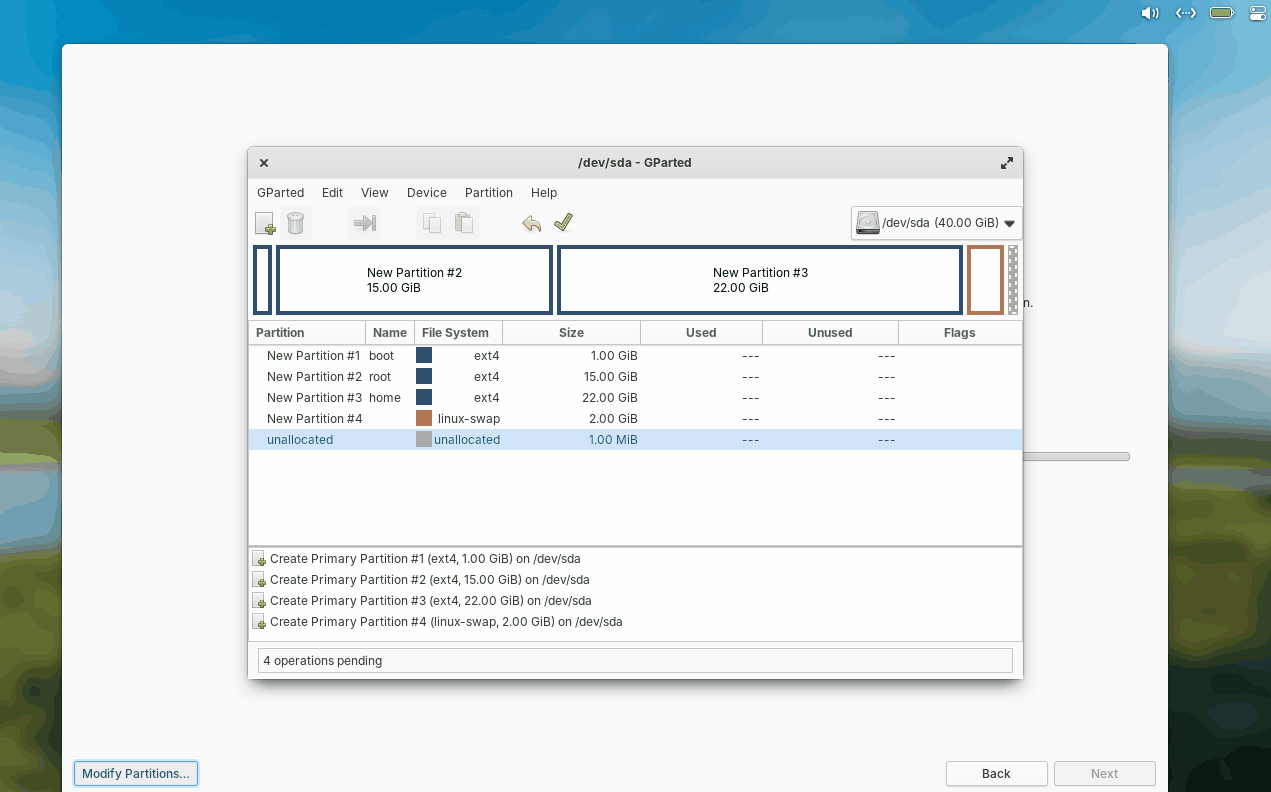
We have 40 GB hard disk for Elementary OS installation, on this disk we will create the following partitions.
- /boot (1G, ext4)
- swap (2GB or equal to RAM size)
- / 15 GB (root partition, ext4)
- /home (22 GB, ext4)
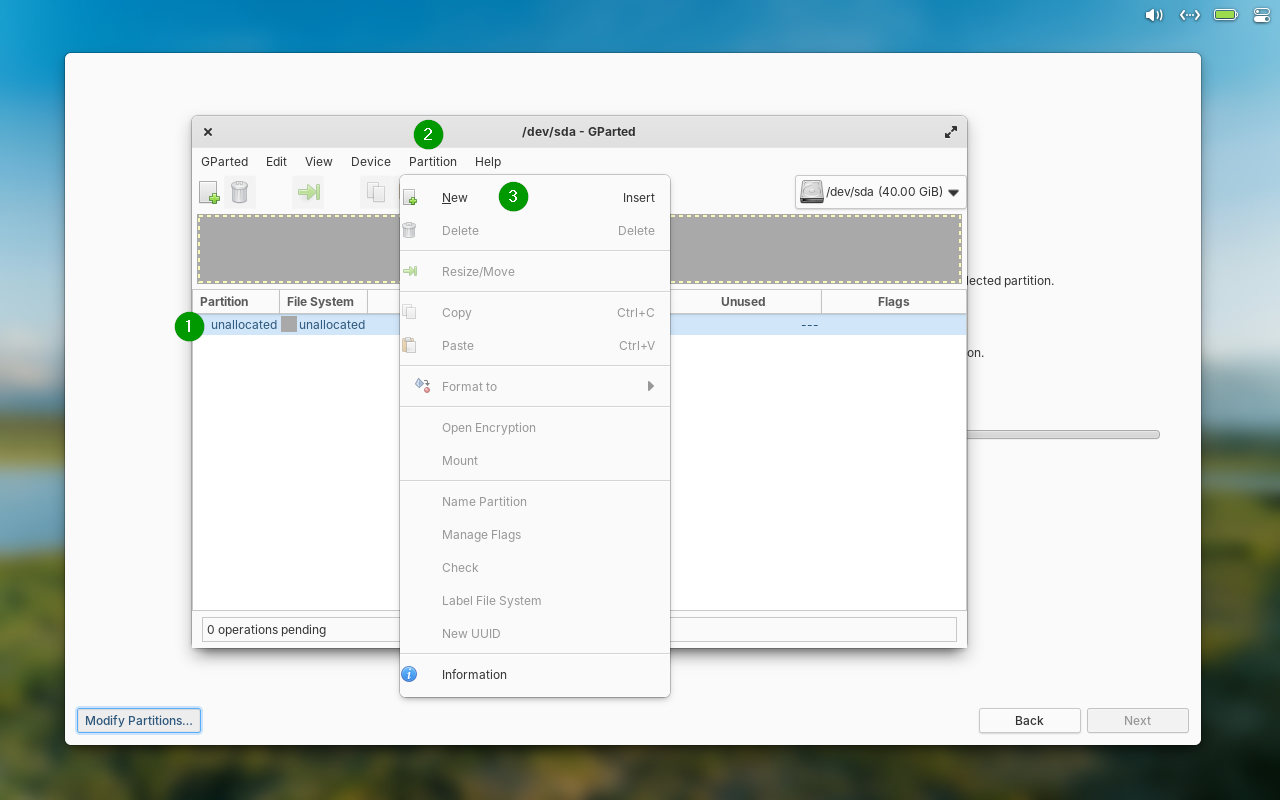
Select the unallocated disk then click Partition Menu and choose New as shown below.
Create four partitions as shown below,
Once the partitions are created, click the Tick icon to apply the changes. Then, format each partition and assign the appropriate mount points to them as shown below:
To start the installation, click on the “Erase & Install” option.

Note: If your system is connected to the internet and you wish to install third-party drivers, select the option “Include Third-Party Proprietary Drivers”; otherwise, you can skip this selection.
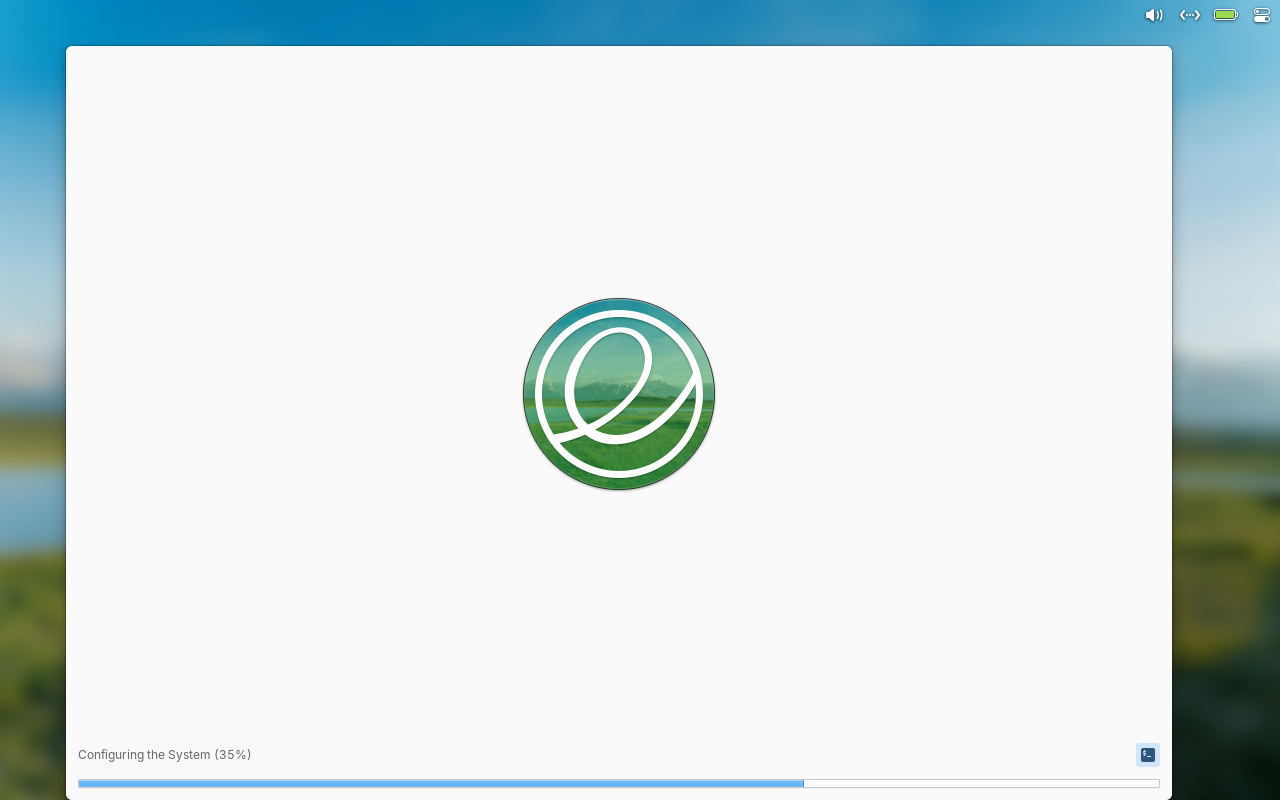
7) Installation Progress
As shown below, the installation process has begun and is currently in progress.
Once the installation is completed, installer will prompt to reboot the system.
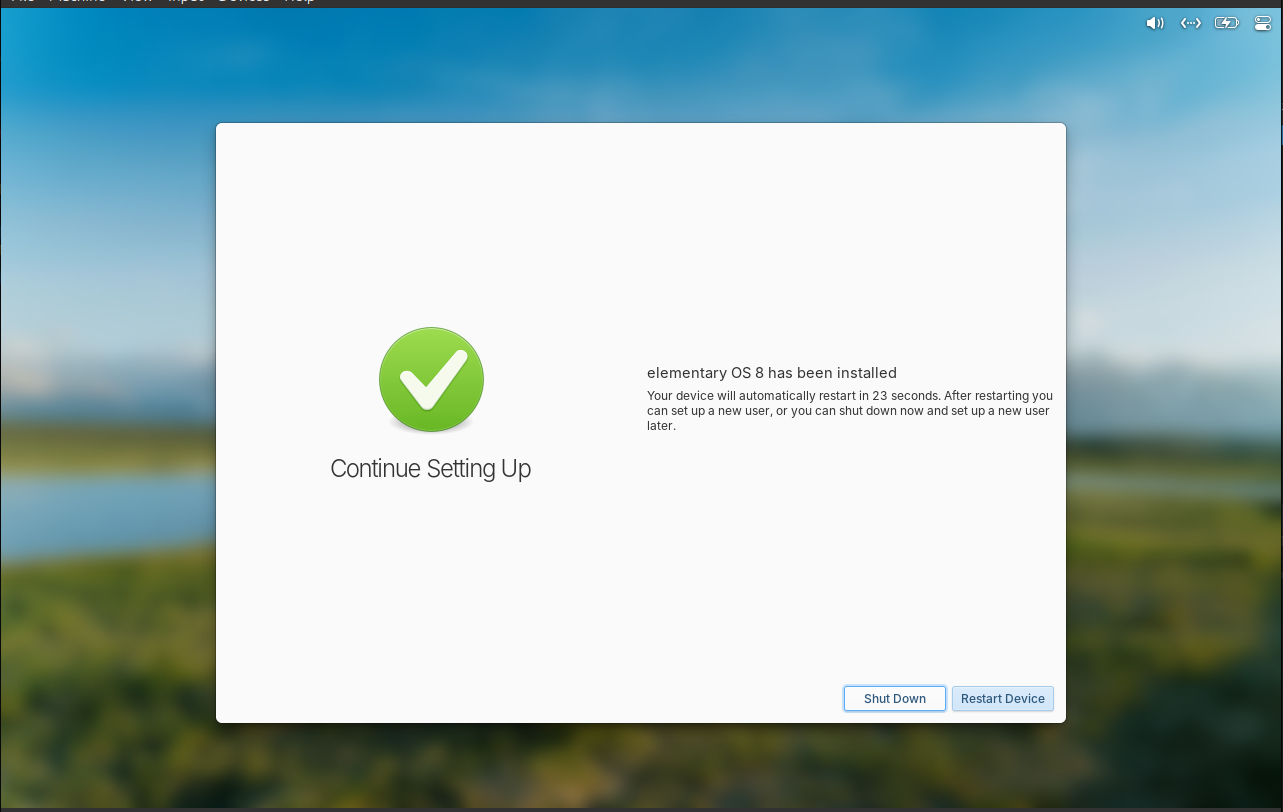
Click on “Restart Device” and don’t forget to change boot medium from bios settings so that it boots up with the disk.
8) Create Local User and Set Hostname
After the system boots up following the installation, you will be prompted to select your preferred language and keyboard layout. Once selected, click Continue to proceed.
Next, you will ask to enter local user details and hostname of your system.

Specify the details as per your requirement, Click on “Finish Setup”
On the next screen, you will be prompted to enter the local user credentials you created earlier.
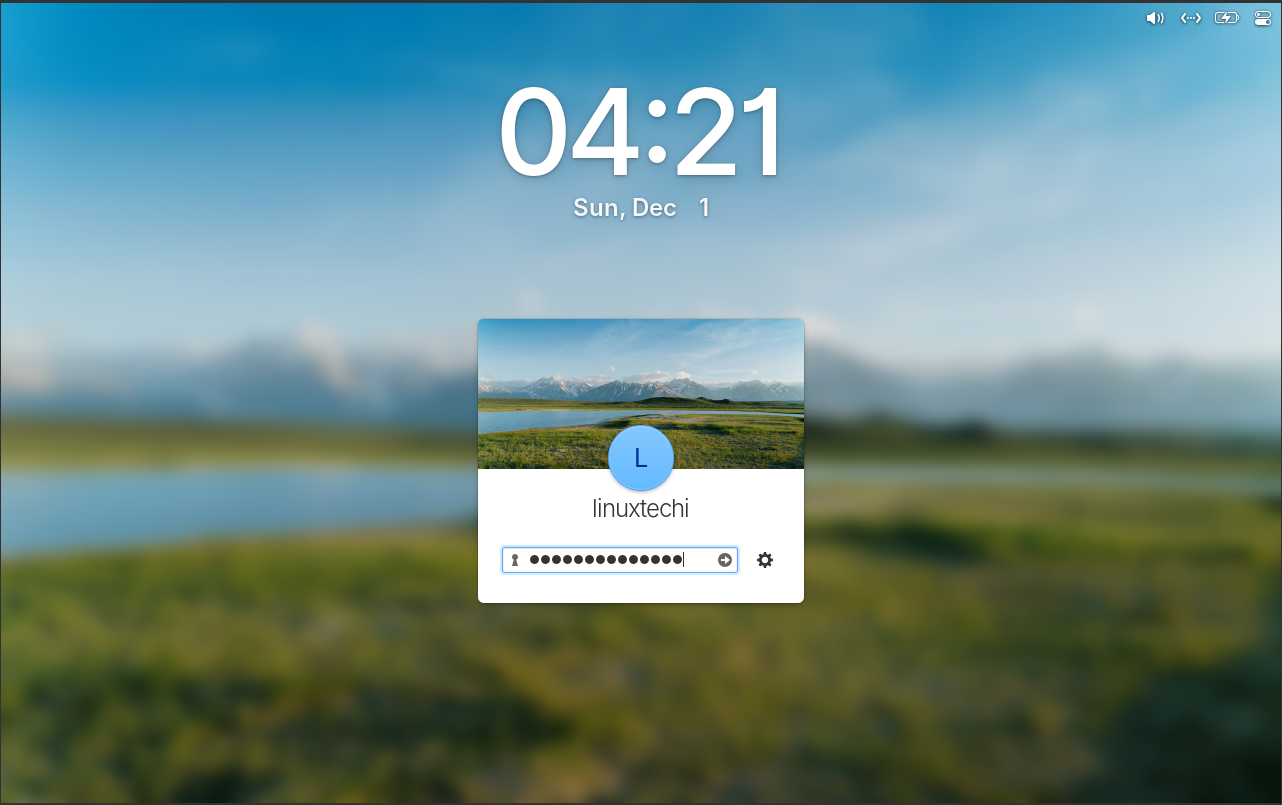
After entering the credentials, hit enter.
9) Elementary OS 8 Welcome Screen
We will get the beneath welcome screen,
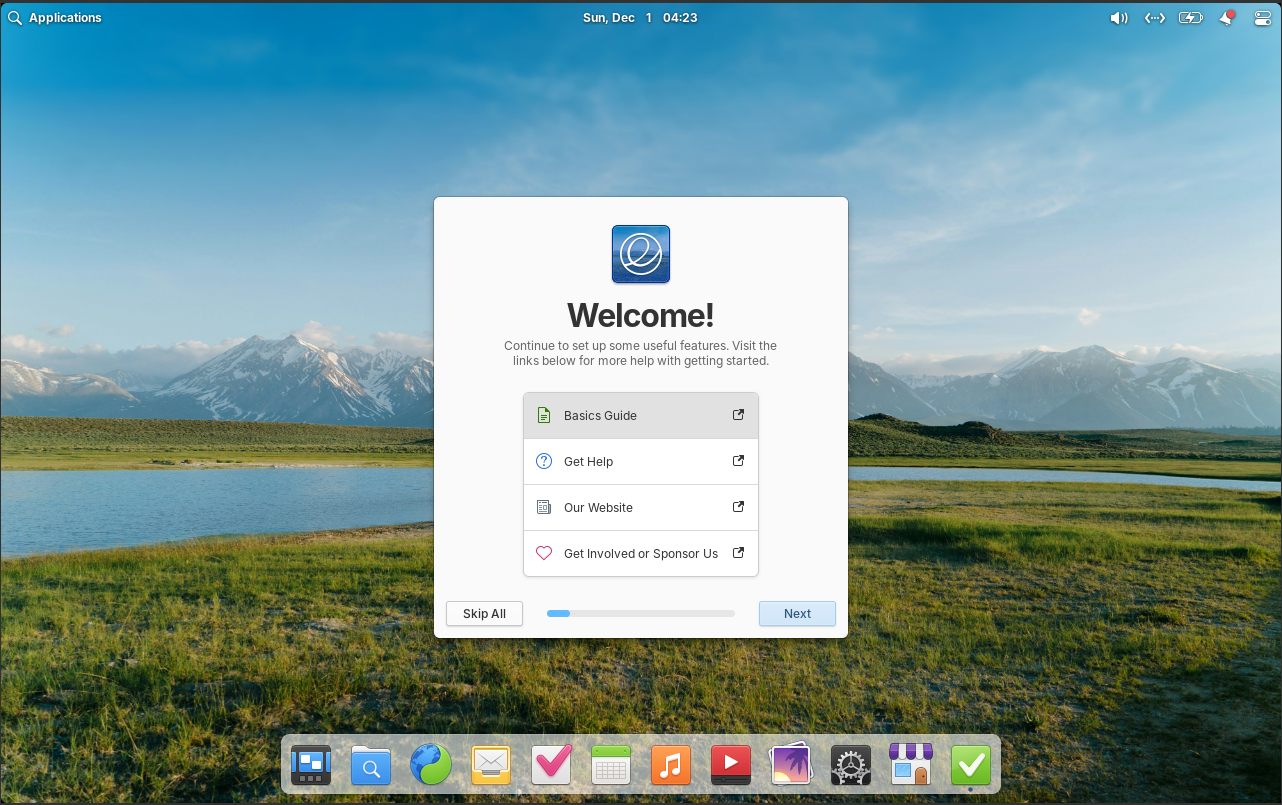
Choose “Skip All”, it will take us to the following screen.
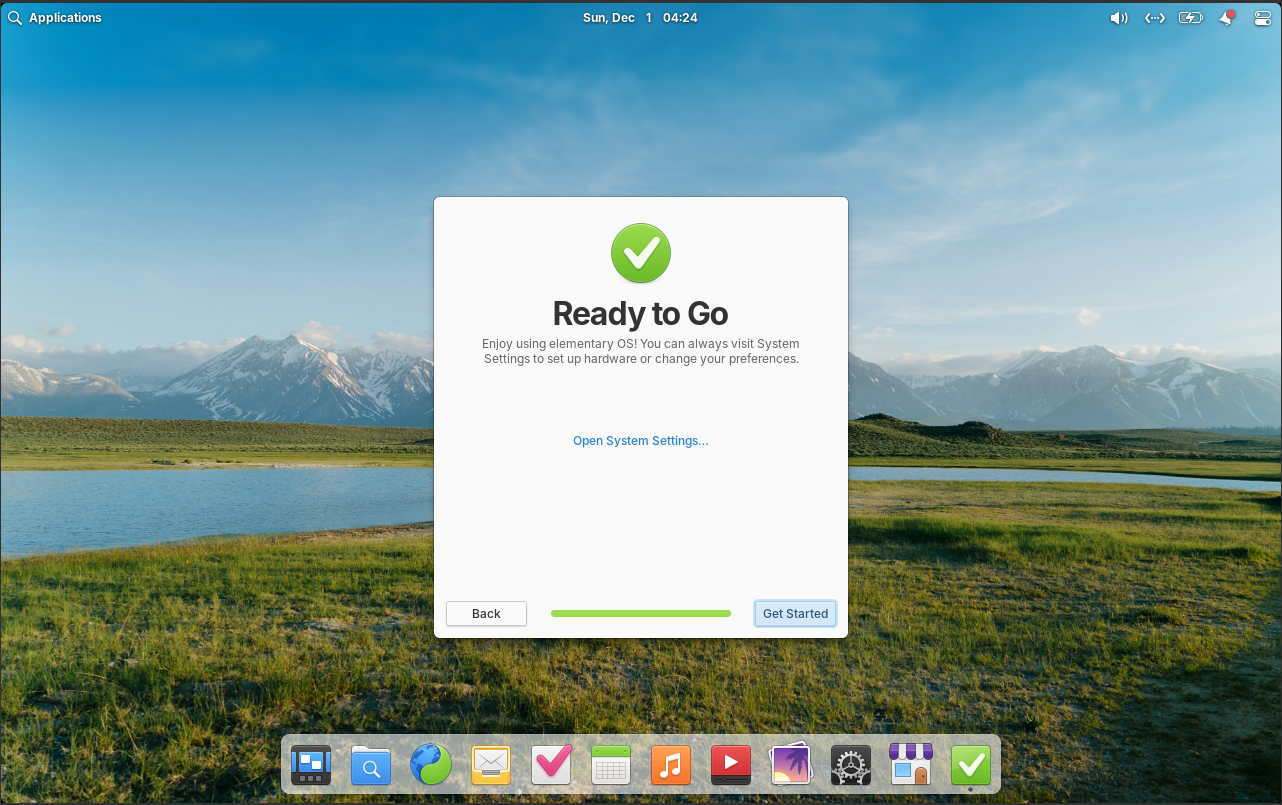
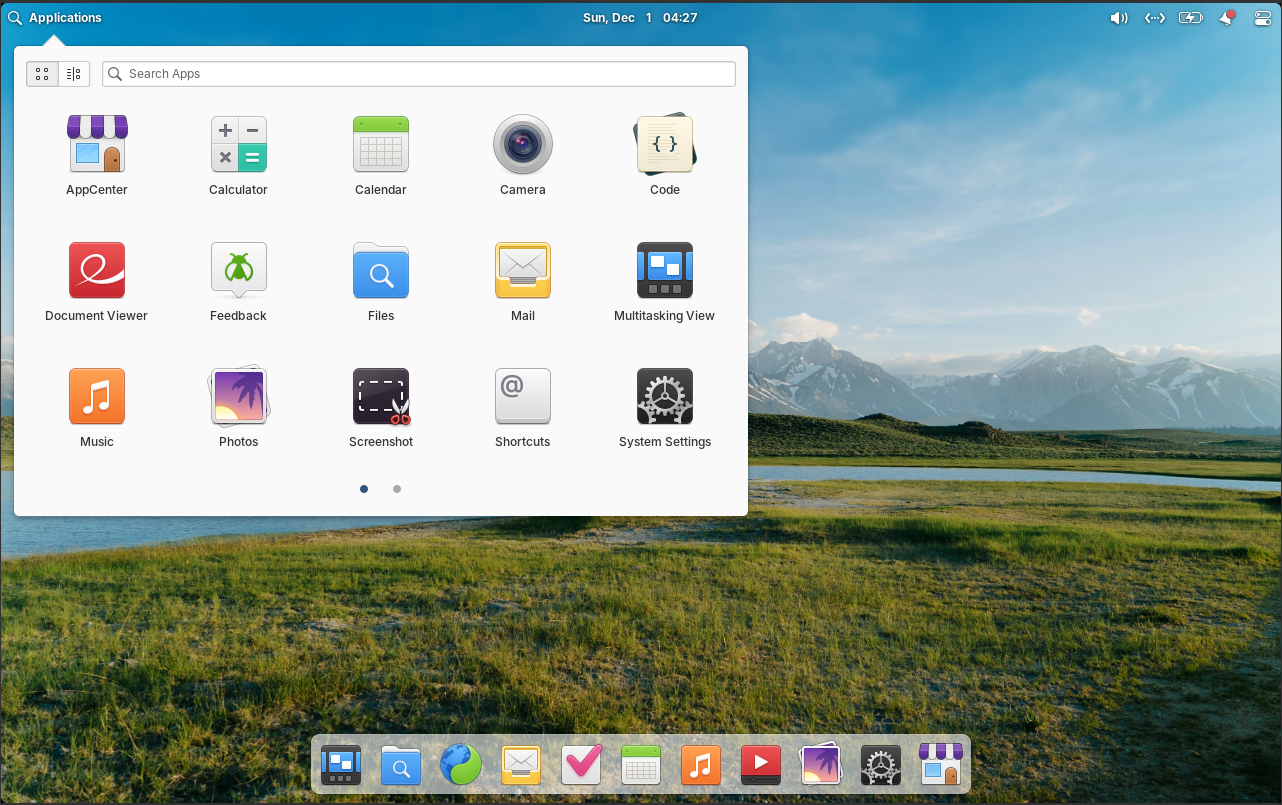
Click “Get Started” and then we will get following desktop screen,
Congratulations! You have successfully installed Elementary OS 8 on your system. That’s it for this guide. Now, dive into this exciting Linux distribution and enjoy exploring its features! 😊.

boots me into a red screen and on checking the power button it tells me I’m not logged in.