So, you finally made the bold decision to try out Linux after much convincing. However, you do not want to let go of your Windows 10 operating system yet as you will still be needing it before you learn the ropes on Linux. Thankfully, you can easily have a dual boot setup that allows you to switch to either of the operating systems upon booting your system. In this guide, you will learn how to dual boot Windows 10 alongside Debian 10.
Prerequisites
Before you get started, ensure you have the following:
- A bootable USB or DVD of Debian 10
- A fast and stable internet connection ( For installation updates & third party applications)
Additionally, it worth paying attention to how your system boots (UEFI or Legacy) and ensure both the operating systems boot using the same boot mode.
Step 1: Create a free partition on your hard drive
To start off, you need to create a free partition on your hard drive. This is the partition where Debian will be installed during the installation process. To achieve this, you will invoke the disk management utility as shown:
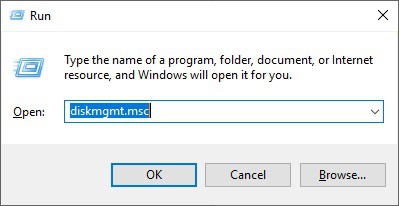
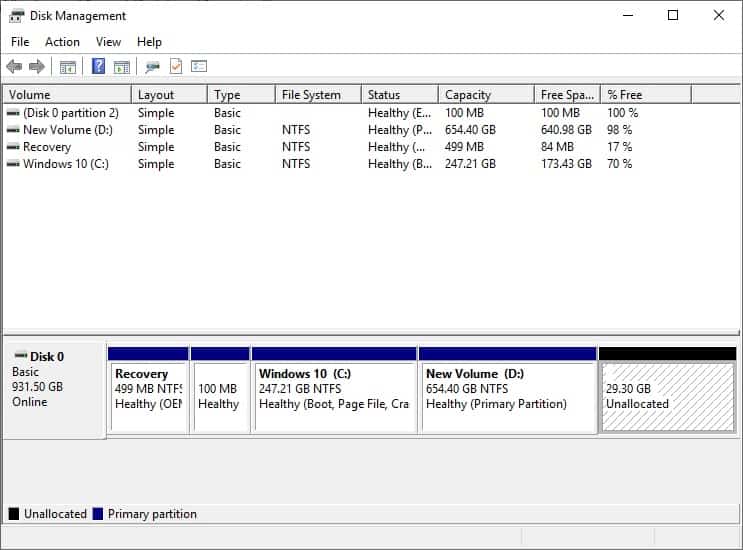
Press Windows Key + R to launch the Run dialogue. Next, type diskmgmt.msc and hit ENTER
This launches the disk management window displaying all the drives existing on your Windows system.
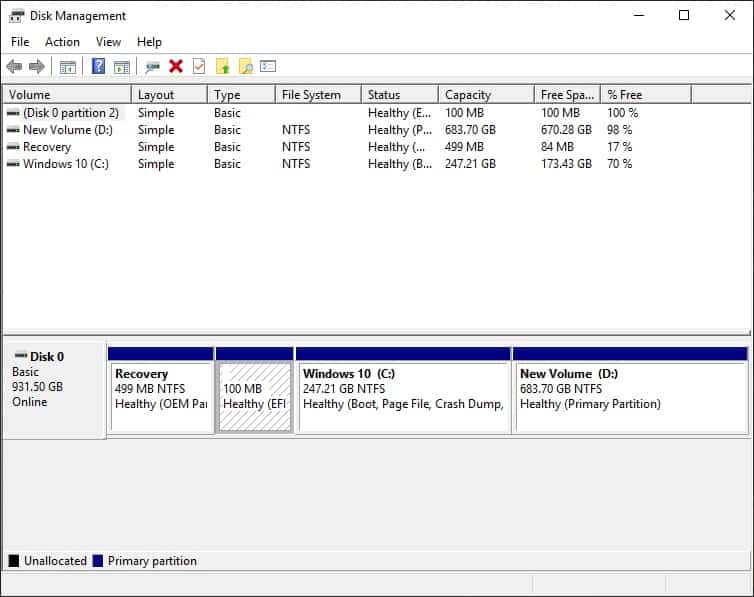
Next, you need to create a free space for Debian installation. To do this, you need to shrink a partition from one of the volumes and create a new unallocated partition. In this case, I will create a 30 GB partition from Volume D.
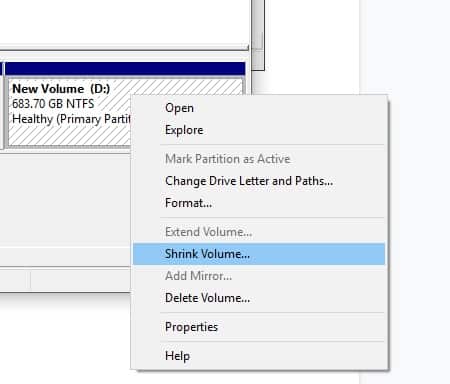
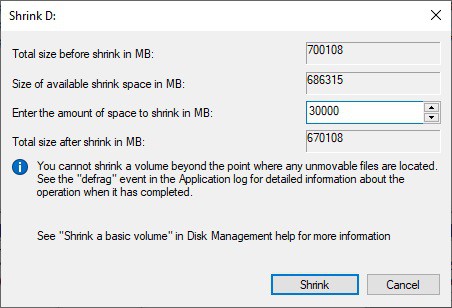
To shrink a volume, right-click on it and select the ‘shrink’ option
In the pop-up dialogue, define the size that you want to shrink your space. Remember, this will be the disk space on which Debian 10 will be installed. In my case, I selected 30000MB ( Approximately 30 GB). Once done, click on ‘Shrink’.
After the shrinking operation completes, you should have an unallocated partition as shown:
Perfect! We are now good to go and ready to begin the installation process.
Step 2: Begin the installation of Debian 10
With the free partition already created, plug in your bootable USB drive or insert the DVD installation medium in your PC and reboot your system. Be sure to make changes to the boot order in the BIOS set up by pressing the function keys (usually, F9, F10 or F12 depending on the vendor). This is crucial so that the PC boots into your installation medium. Saves the BIOS settings and reboot.
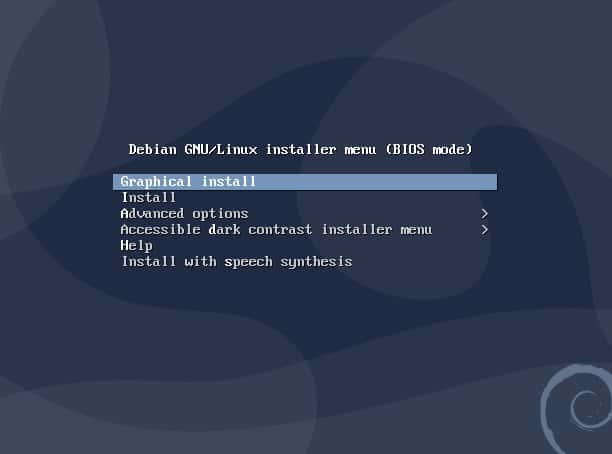
A new grub menu will be displayed as shown below: Click on ‘Graphical install’
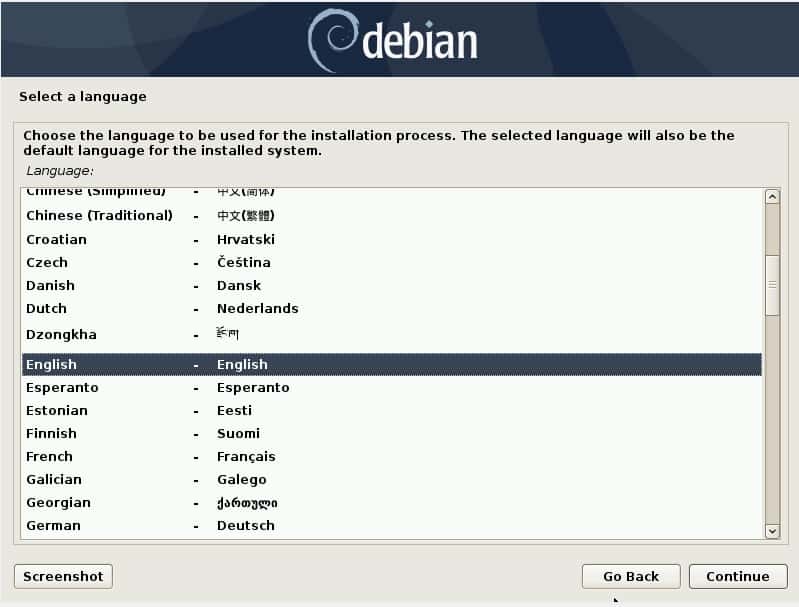
In the next step, select your preferred language and click ‘Continue’
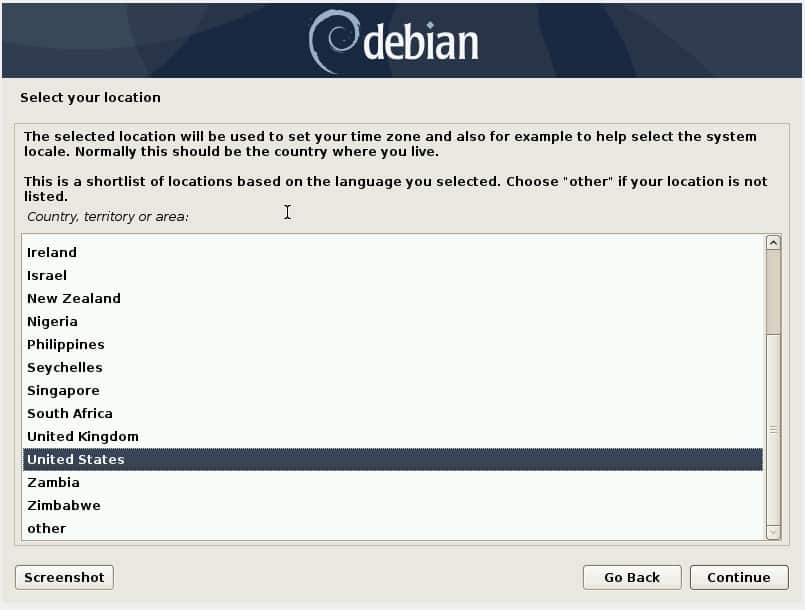
Next, select your location and click ‘Continue’. Based on this location the time will automatically be selected for you. If you cannot find you located, scroll down and click on ‘other’ then select your location.
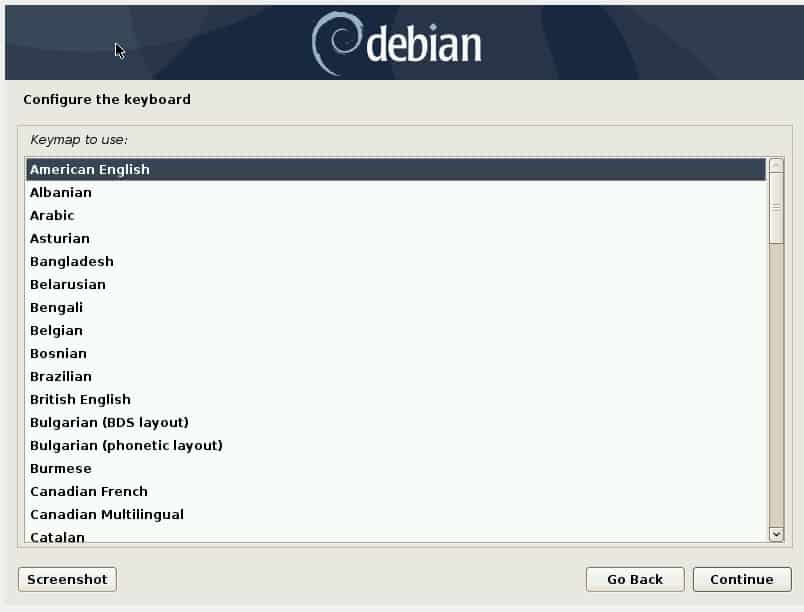
Next, select your keyboard layout.
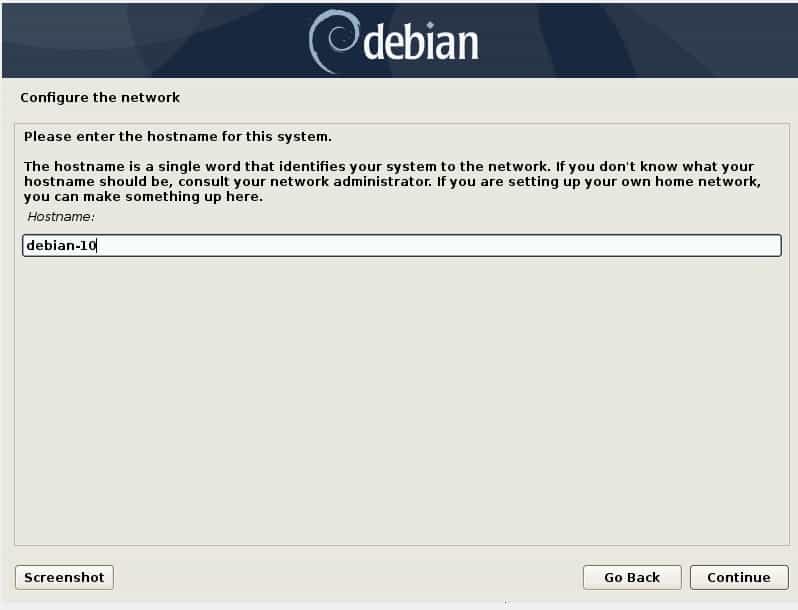
In the next step, specify your system’s hostname and click ‘Continue’
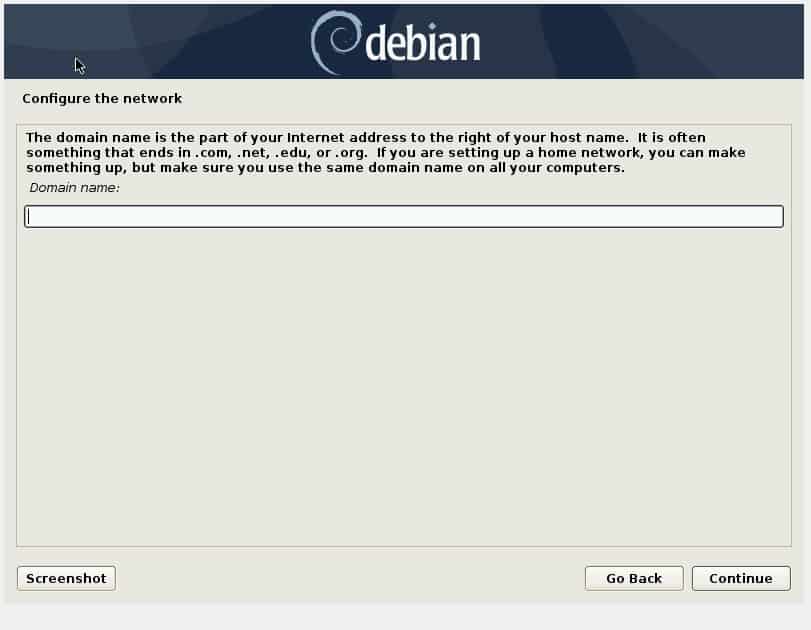
Next, specify the domain name. If you are not in a domain environment, simply click on the ‘continue’ button.
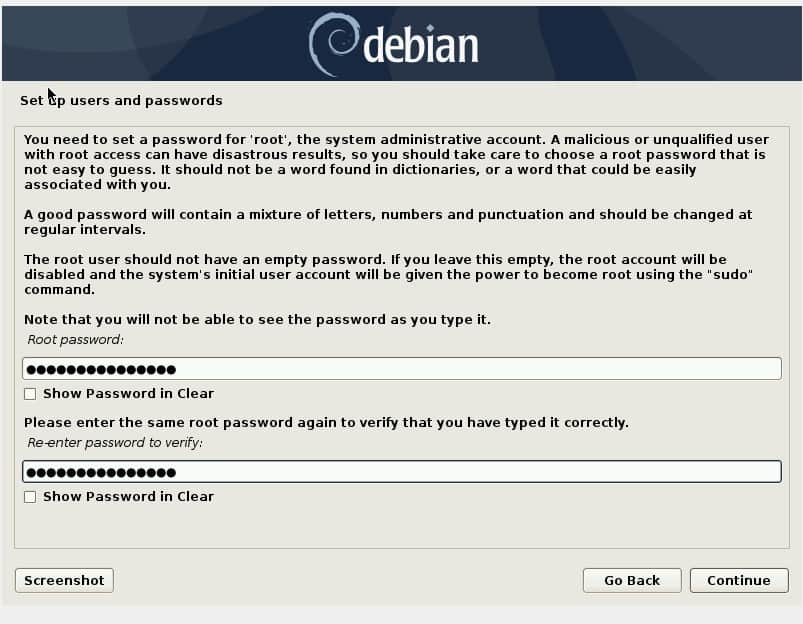
In the next step, specify the root password as shown and click ‘continue’.
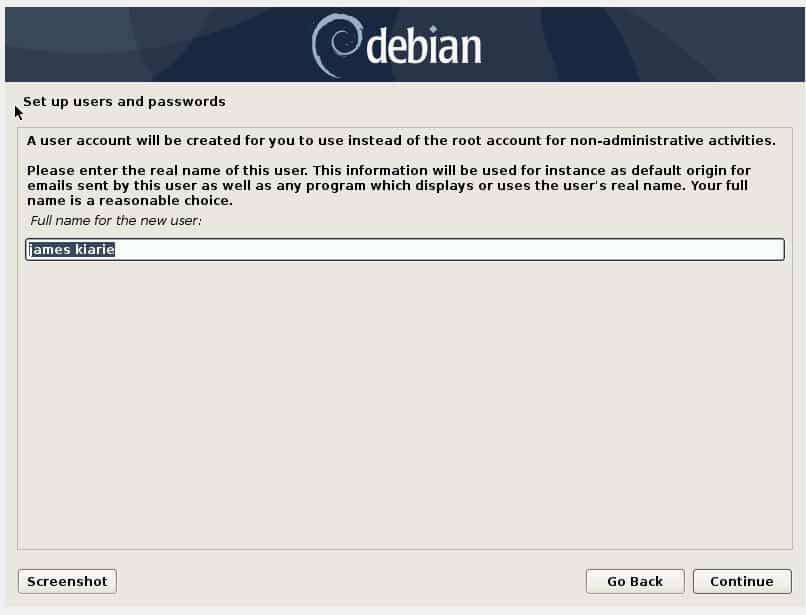
In the next step, specify the full name of the user for the account and click ‘continue’
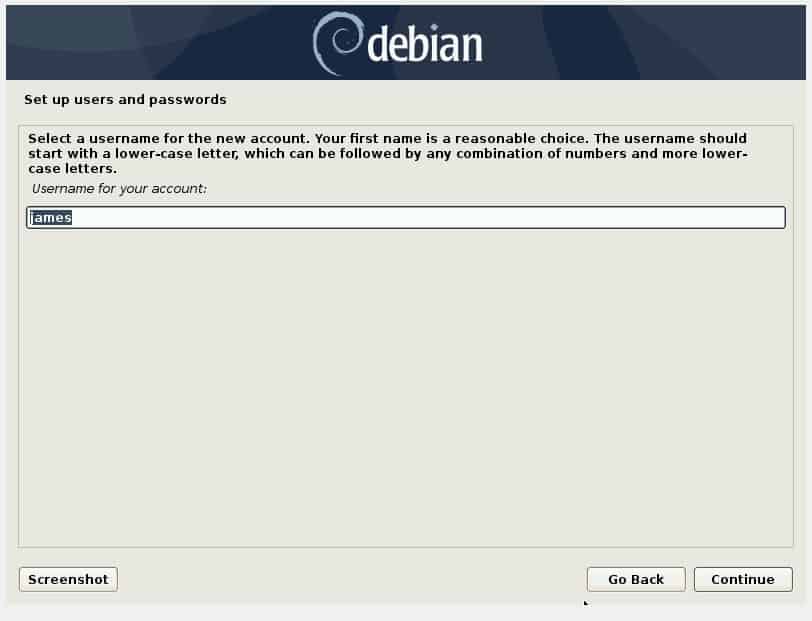
Then set the account name by specifying the username associated with the account
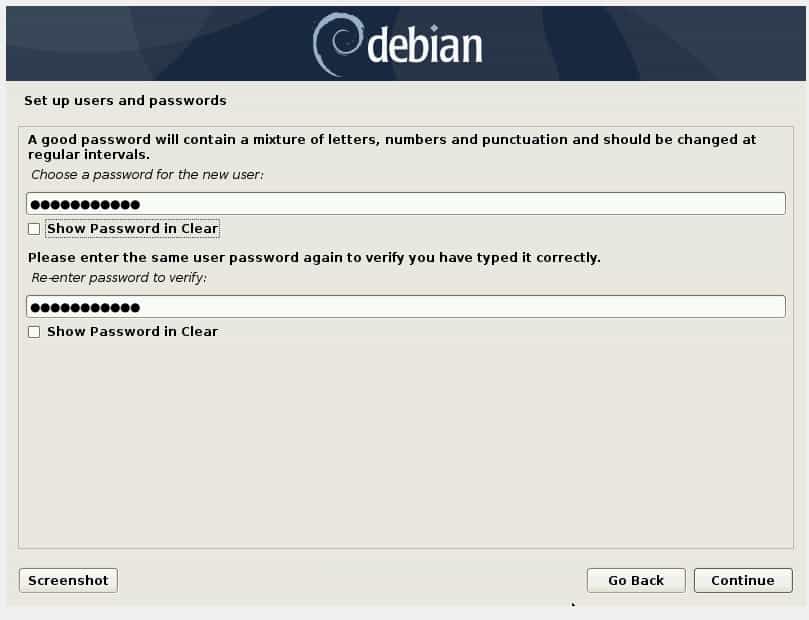
Next, specify the username’s password as shown and click ‘continue’
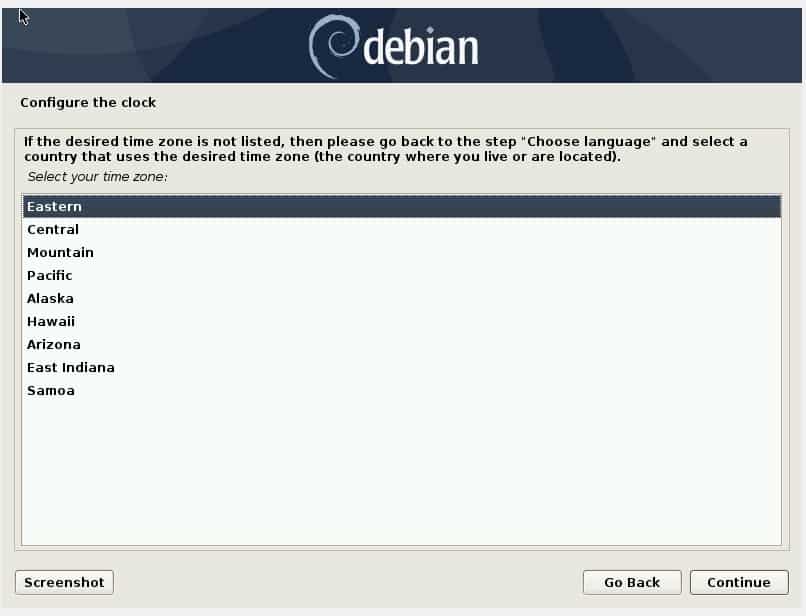
Next, specify your timezone
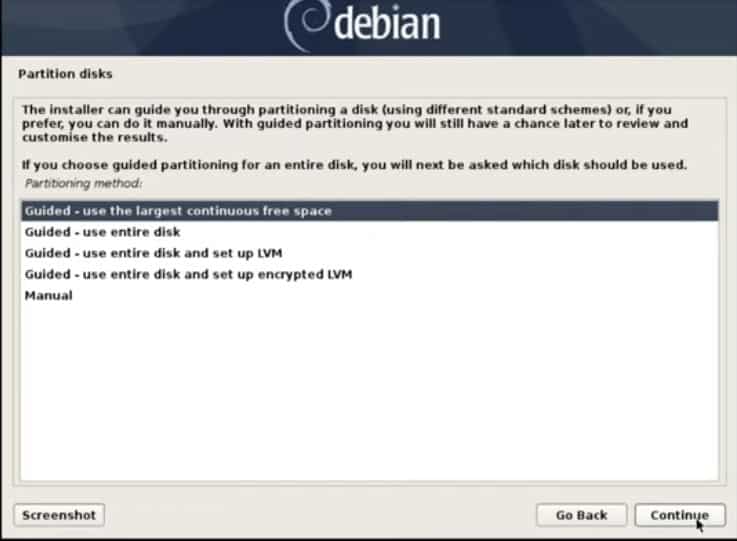
At this point, you need to create partitions for your Debian 10 installation. If you are an inexperienced user, Click on the ‘Use the largest continuous free space’ and click ‘continue’.
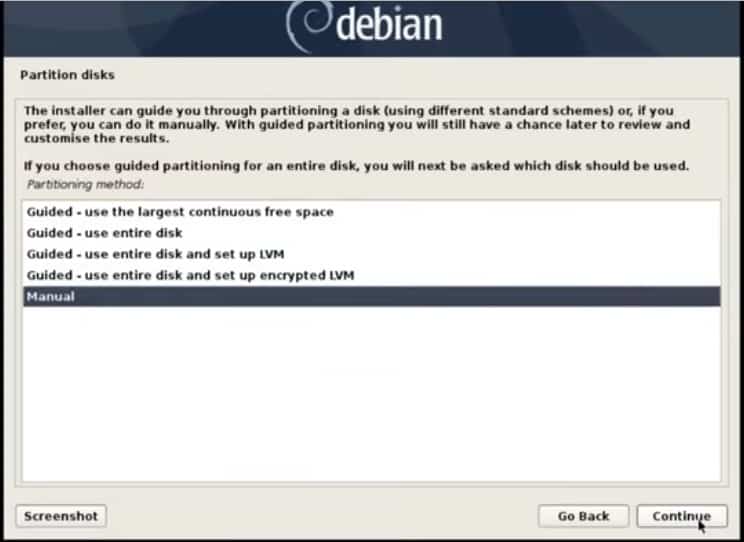
However, if you are more knowledgeable about creating partitions, select the ‘Manual’ option and click ‘continue’
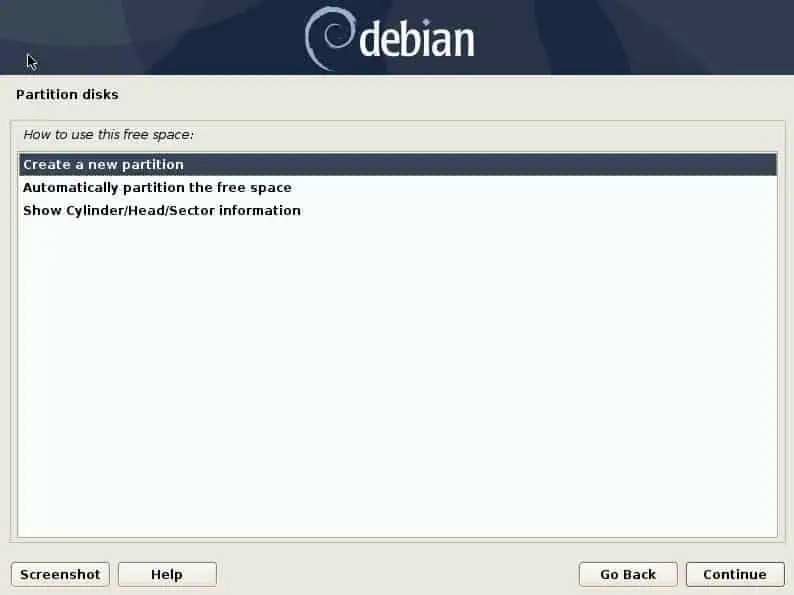
Thereafter, select the partition labeled ‘FREE SPACE’ and click ‘continue’ . Next click on ‘Create a new partition’.
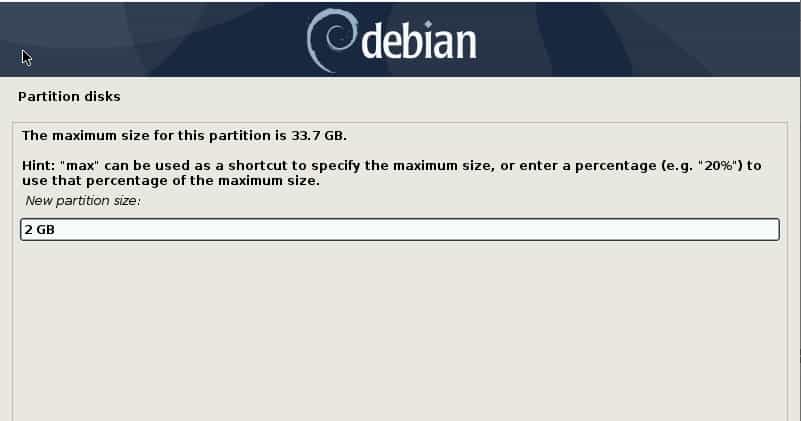
In the next window, first, define the size of swap space, In my case, I specified 2GB. Click Continue.
Next, click on ‘’Primary’ on the next screen and click ‘continue’

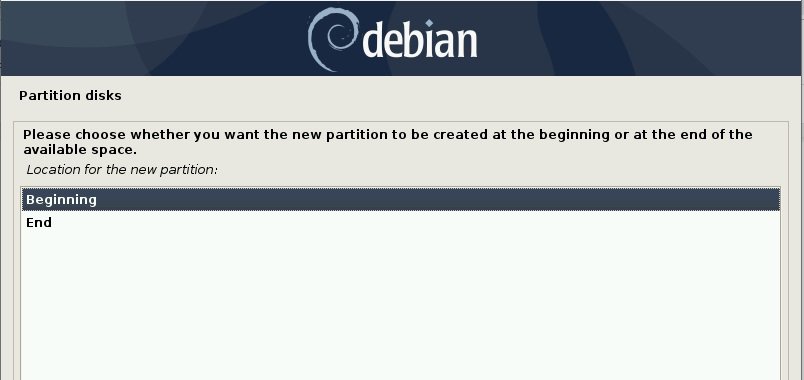
Select the partition to start at the beginning and click continue.
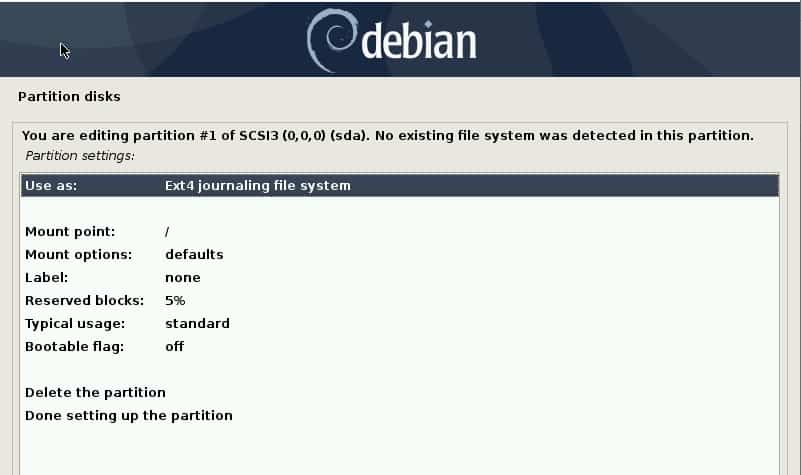
Next, click on Ext 4 journaling file system and click ‘continue’
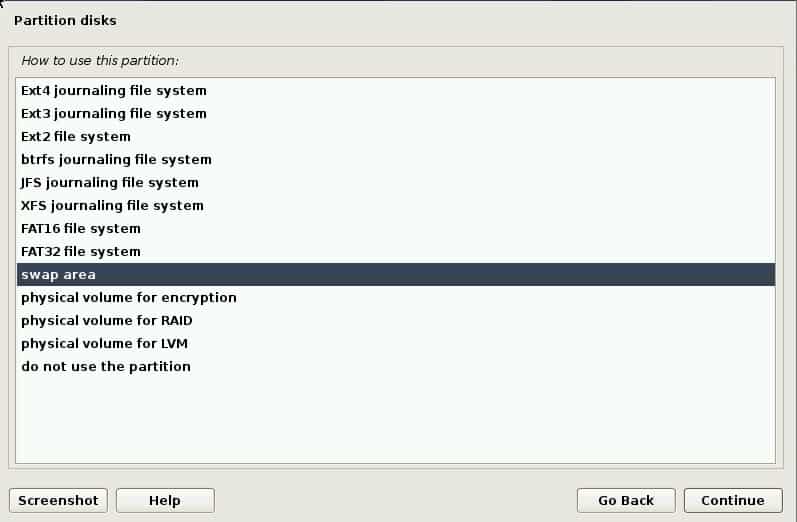
On the next window, select swap and click continue
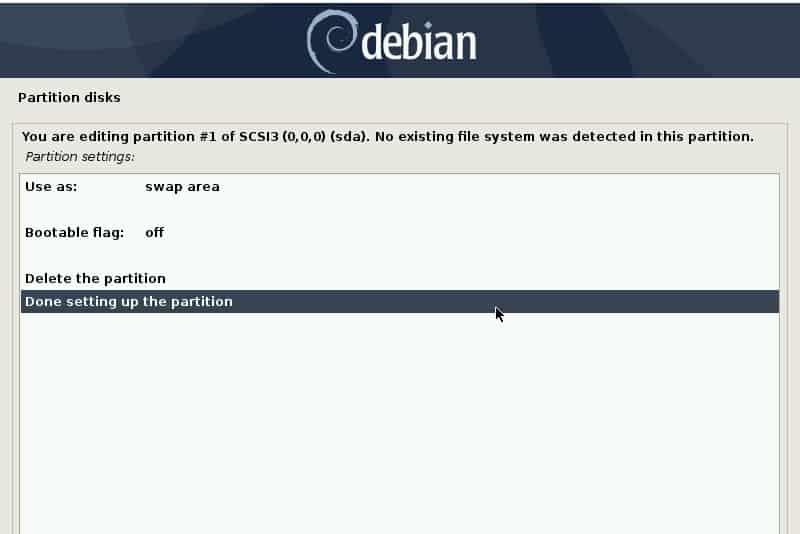
Next, click on done setting the partition and click continue.
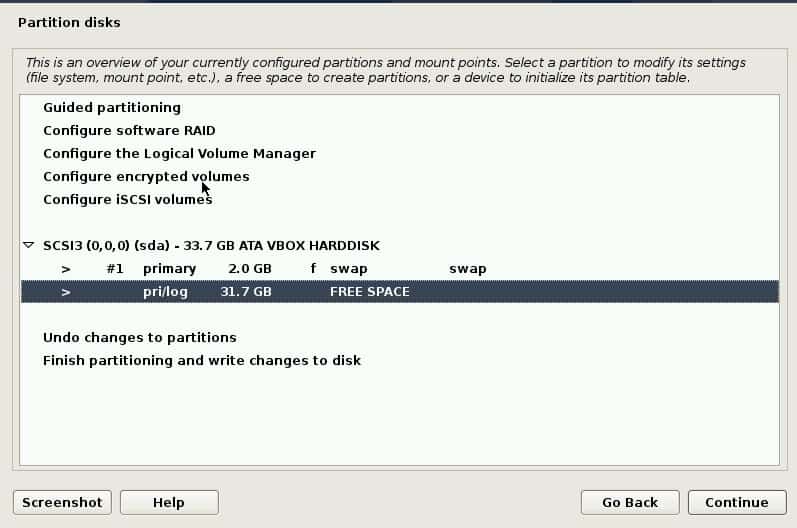
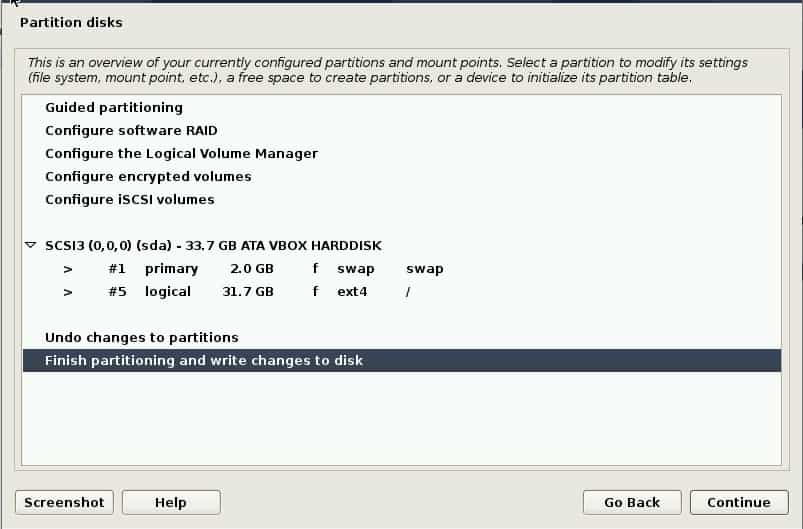
Back to the Partition disks page, click on FREE SPACE and click continue
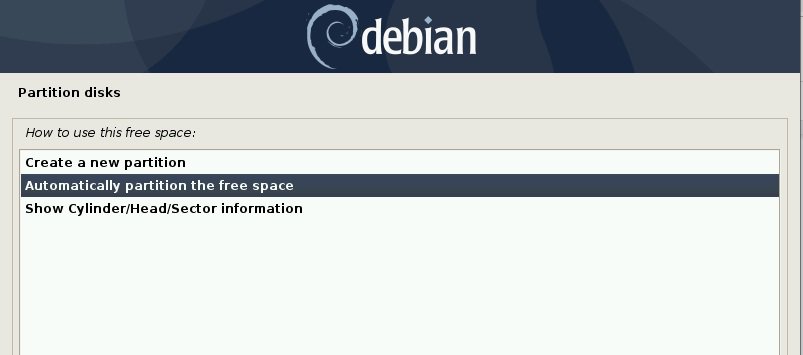
To make your life easy select Automatically partition the free space and click continue.
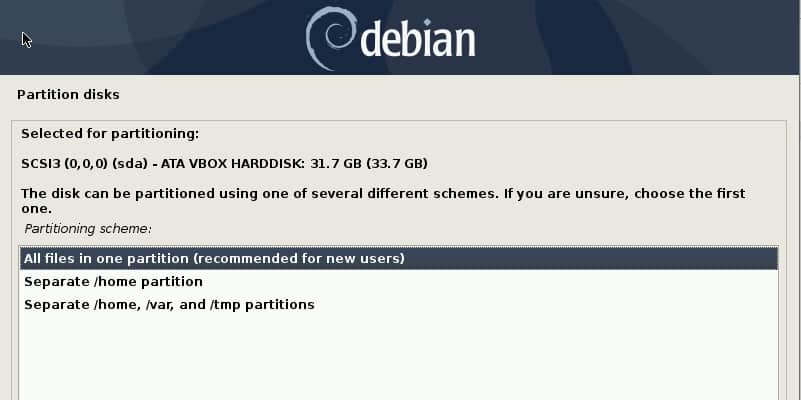
Next click on All files in one partition (recommended for new users)
Finally, click on Finish partitioning and write changes to disk and click continue.
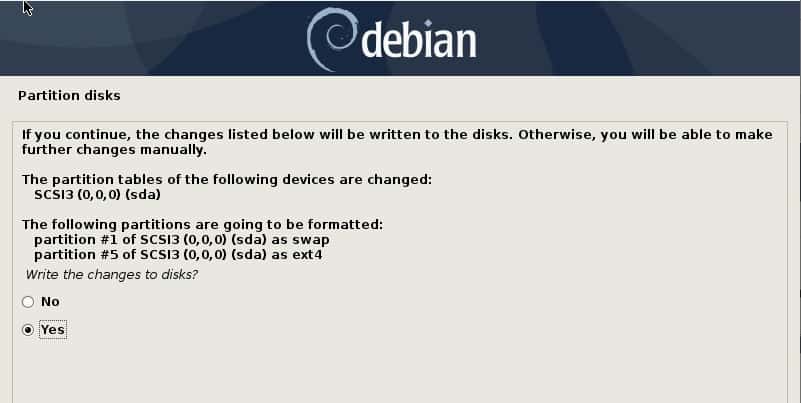
Confirm that you want to write changes to disk and click ‘Yes’
Thereafter, the installer will begin installing all the requisite software packages.
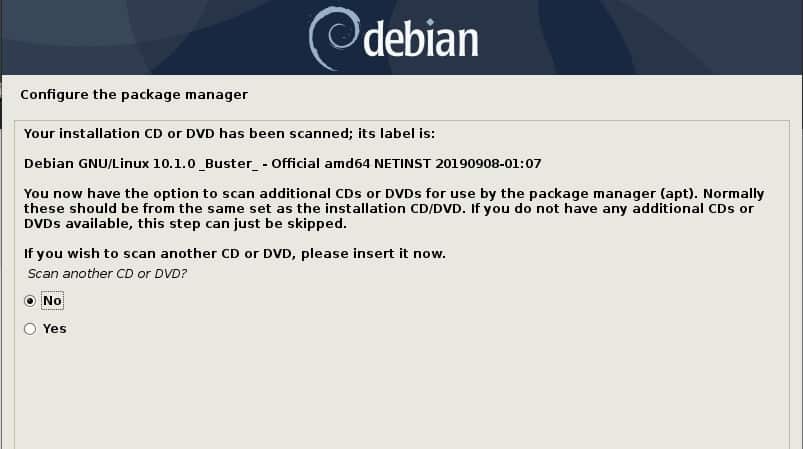
When asked if you want to scan another CD, select No and click continue
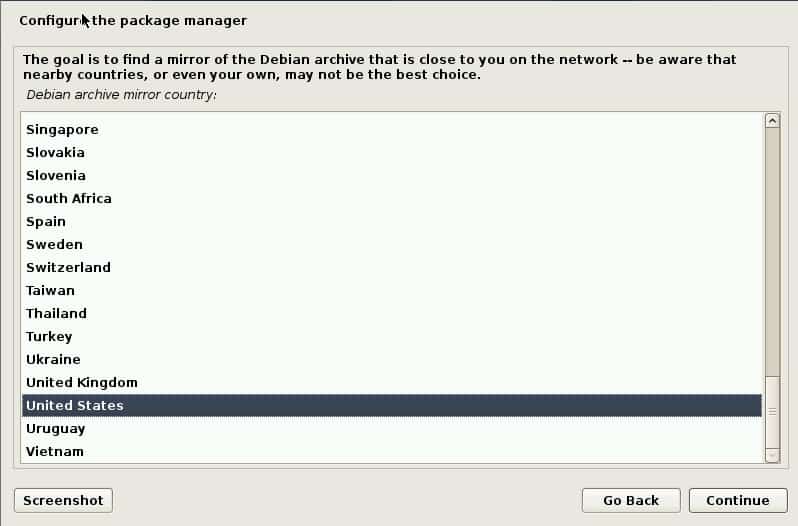
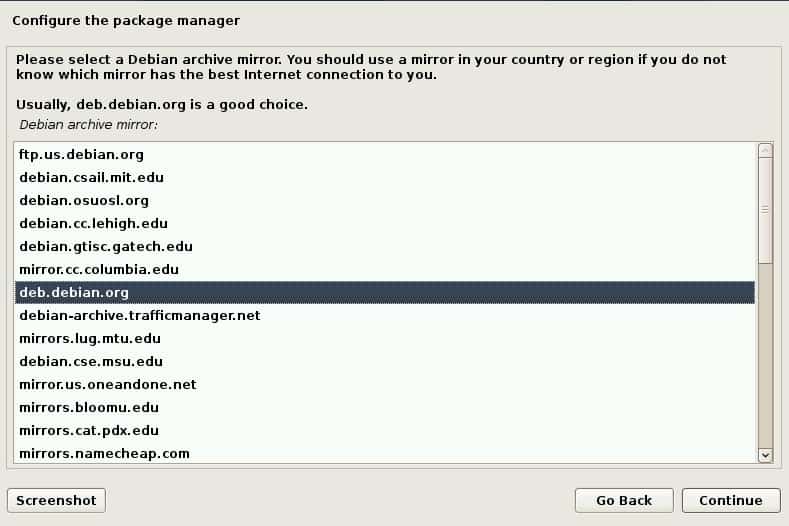
Next, select the mirror of the Debian archive closest to you and click ‘Continue’
Next, select the Debian mirror that is most preferable to you and click ‘Continue’
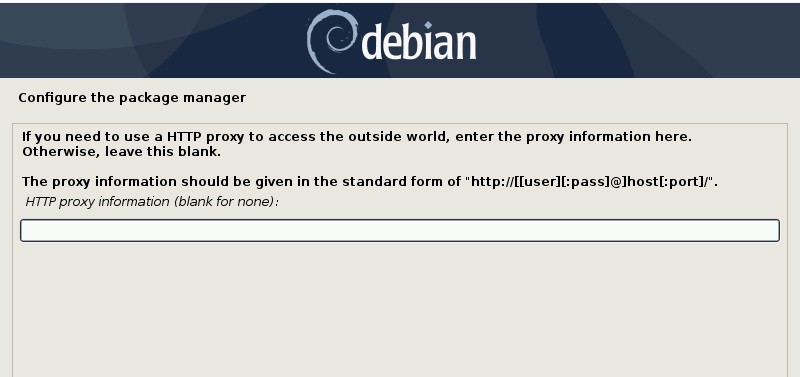
If you plan on using a proxy server, enter its details as shown below, otherwise leave it blank and click ‘continue’
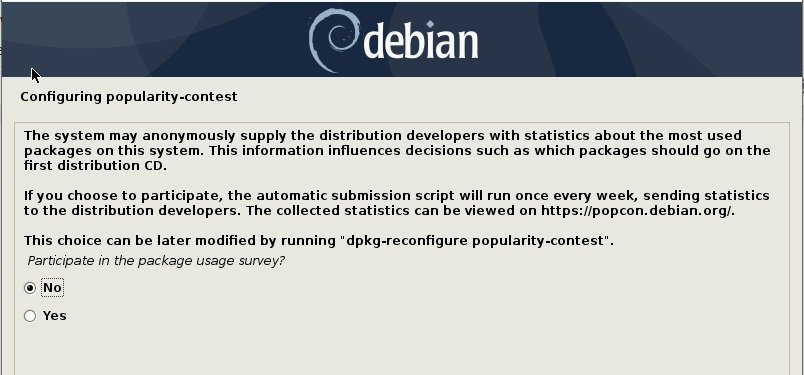
As the installation proceeds, you will be asked if you would like to participate in a package usage survey. You can select either option and click ‘continue’ . In my case, I selected ‘No’
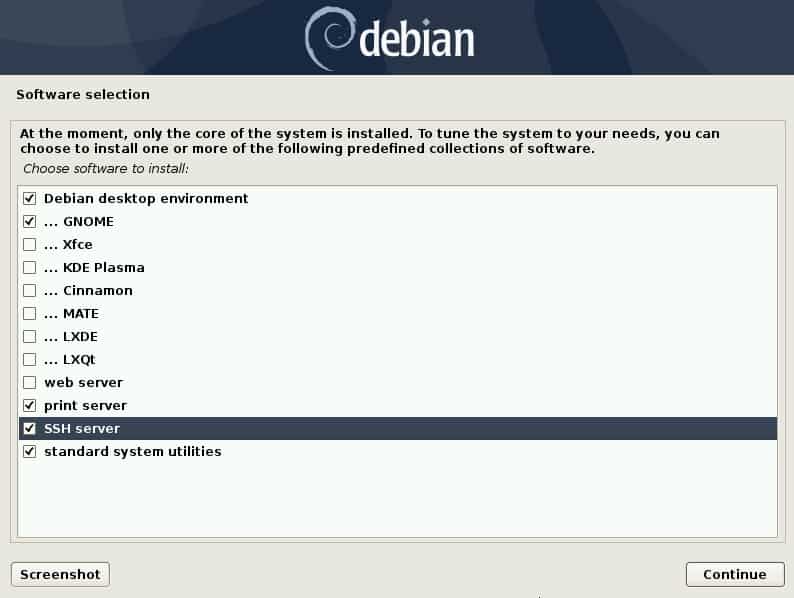
Next, select the packages you need in the software selection window and click continue.
The installation will continue installing the selected packages. At this point, you can take a coffee break as the installation goes on.
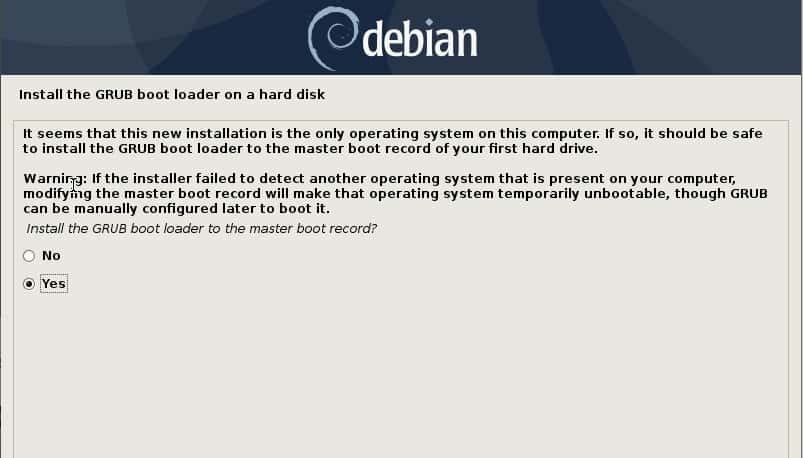
You will be prompted whether to install the grub bootloader on Master Boot Record (MBR). Click Yes and click Continue.
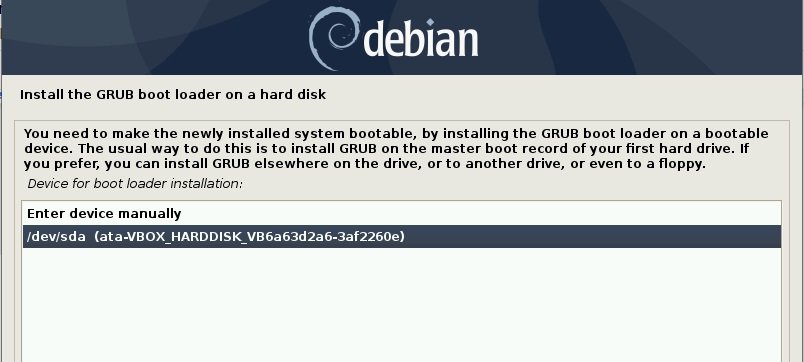
Next, select the hard drive on which you want to install grub and click Continue.
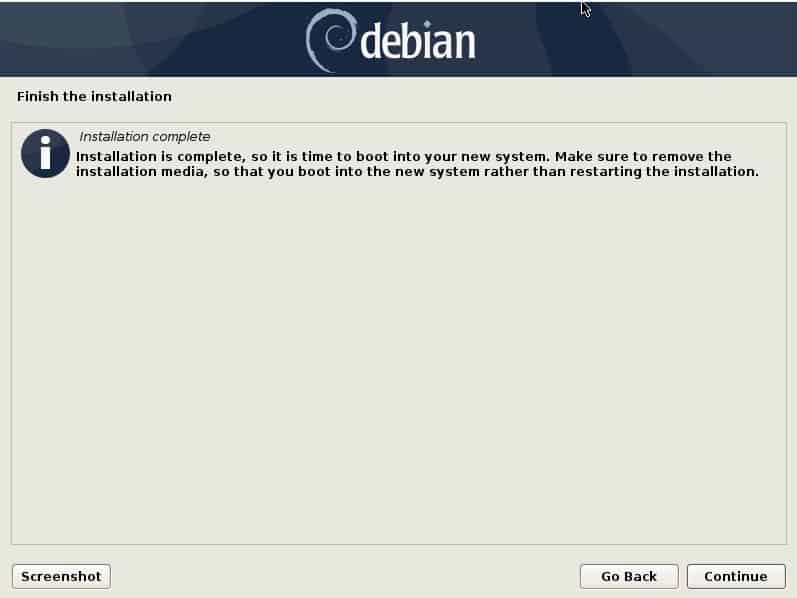
Finally, the installation will complete, Go ahead and click on the ‘Continue’ button
You should now have a grub menu with both Windows and Debian listed. To boot to Debian, scroll and click on Debian. Thereafter, you will be prompted with a login screen. Enter your details and hit ENTER.
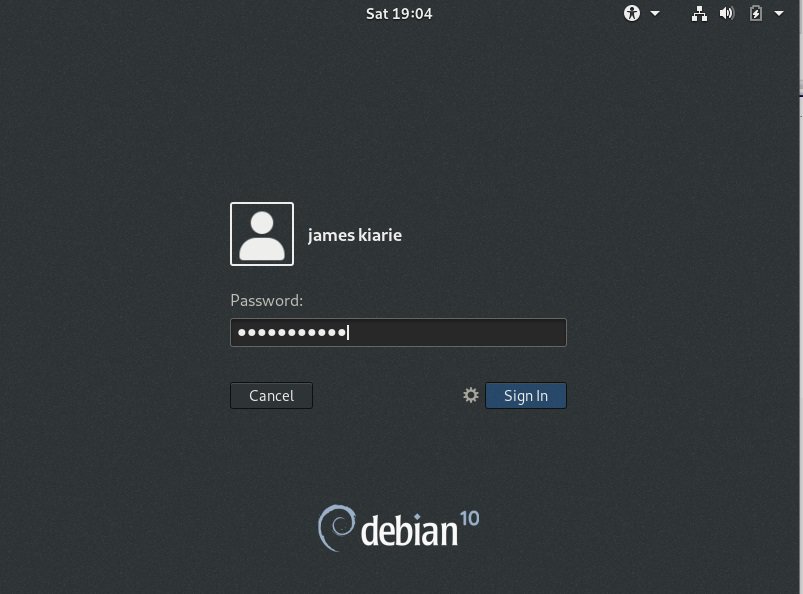
And voila! There goes your fresh copy of Debian 10 in a dual boot setup with Windows 10.

This was perfect. I was able to breeze through a Win 10/Debian 11 partition, install, and successful boot. Thanks much!