In Docker, a common question that usually comes up is “How do I expose my containers directly to my local physical network?” This is especially so when you are running monitoring applications that are collecting network statistics and want to connect container to legacy applications. A possible solution to this question is to create and implement the macvlan network type.
Macvlan networks are special virtual networks that allow you to create “clones” of the physical network interface attached to your Linux servers and attach containers directly your LAN. To ensure this happens, simple designate a physical network interface on your server to a macvlan network which has its own subnet and gateway.
In this guide, we will demonstrate how you can create and use mavlan networks in Docker. But before you get started, here are a few things that you should keep in mind:
NOTE:
- Macvlan networks are usually blocked by most Cloud service providers. Hence, you need physical access to your server.
- The macvlan network driver only works on Linux hosts. It is not supported on Windows or mac devices.
- You need to be running on Linux kernel 4.0 and later.
In this guide, we will use Ubuntu 20.04 to demonstrate how to create and use macvlan networks. As a prerequisite, we have Docker installed. We have a guide on how to install Docker on Ubuntu 20.04.
Creating a macvlan network
A macvlan network can be created either in bridge mode and or 802.1q trunk mode.
In bridge mode, the macvlan traffic is channeled through the physical interface on the Linux host.
In the 802.1q trunk bridge mode, traffic passes through an 802.1q sub-interface which is created by Docker. This allows for controlled routing and filtering at a granular level.
With that out of the way, let us now see how you can create each of the macvlan networks.
1) Bridge mode
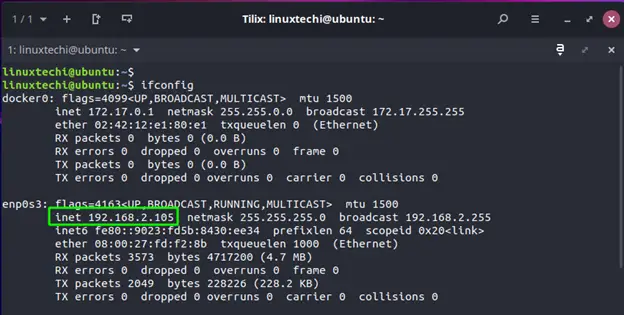
In our example, we have a physical network interface enp0s3 on the 192.168.2.0/24 network and the default gateway of 192.168.2.1.The default gateway is the IP address of the router.
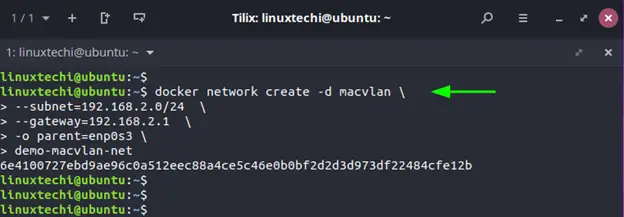
Now, we will create a macvlan network called demo-macvlan-net with the following configuration.
$ docker network create -d macvlan \
    --subnet=192.168.2.0/24 \
    --gateway=192.168.2.1  \
    -o parent=enp0s3 \
     demo-macvlan-net
NOTE:
- The subnet & gateway values need to match those of the Docker host network interface. Simply put, the subnet and default gateway for your macvlan network should mirror that of your Docker host. Here, the –subnet= option specifies the subnet and the –gateway option defines the gateway which is the router’s IP. Modify these values to accommodate your environment.
- The -d option specifies the driver name. In our case, the -d option specifies the macvlan driver.
- The -o parent option specifies the parent interface which is your NIC interface. In our case, the parent interface is enp0s3.
- Finally, we have specified the name of our macvlan network which is demo-macvlan-net.
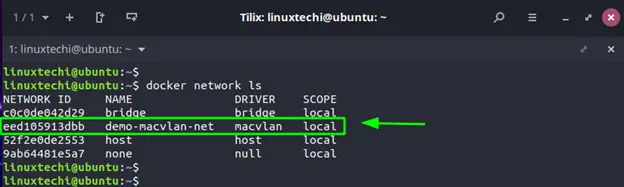
To confirm that the newly added macvlan network is present, run the command:
$ docker network ls
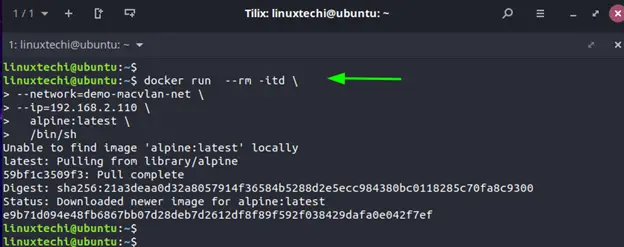
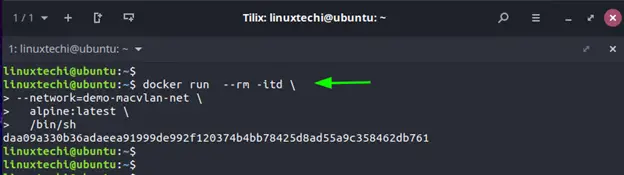
Next, we will create a container image and attach is to the macvlan network using the –network option. The -itd option allows you to run the container in the background and also to attach to it. The –rm option removes the container once it is stopped. We have also assigned the IP 192.168.2.110 to our container. Be sure to specify an IP that is not within your DHCP IP range to avoid instances of an IP conflict.
$ docker run --rm -itd \
--network=demo-macvlan-net \
--ip=192.168.2.110 \
  alpine:latest \
  /bin/sh
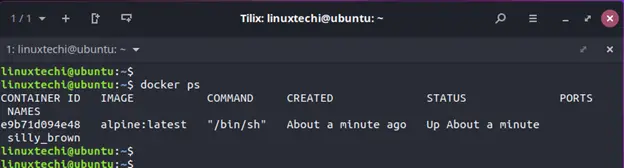
To verify that the container is running, execute the command:
$ docker ps
Additionally, you can view finer details about the container using the docker inspect command as follows:
$ docker container inspect e9b71d094e48
Let us now create a second container as follows. In this case, the container will automatically be assigned an IP by Docker.
$ docker run  --rm -itd \
--network=demo-macvlan-net \
  alpine:latest \
  /bin/sh
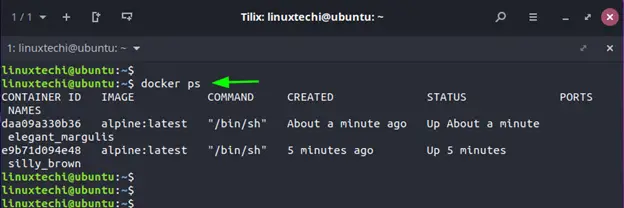
Once again, let us confirm that we have two containers.
$ docker ps
Next, we will try and establish if the containers can ping each other. In this case, we are testing connectivity of the first container from the second container.
You can achieve this using a single command as follows.
$ docker exec -it daa09a330b36 ping 192.168.2.110 -4
Alternatively, you can access the shell of the container and run the ping command.
$ docker exec -it daa09a330b36 /bin/sh
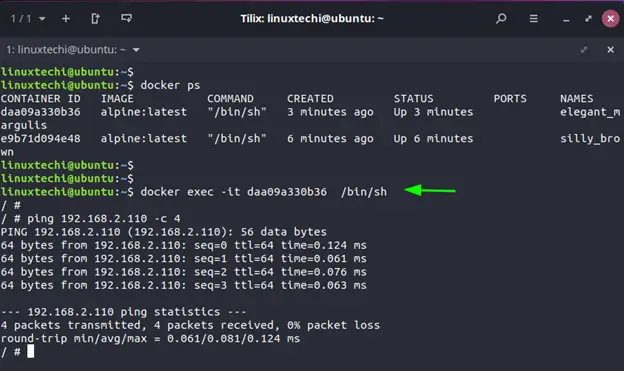
Try the same command from the other container and you will find out that at this point, the containers can communicate with each other.
However, the Docker host cannot communicate with the containers and vice-versa. If you try pinging the host from the container or the other way round, you will find out that that host and the containers cannot communicate with each other.
From the output shown, we cannot reach one of the containers using the ping command.
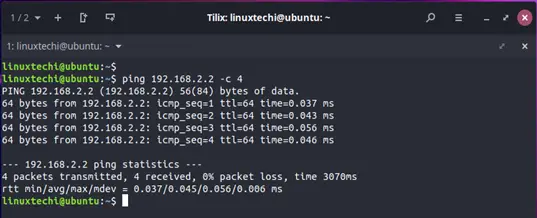
$ ping 192.168.2.110 -c 4
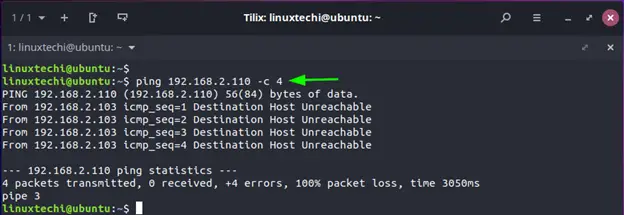
Likewise, we cannot also establish communication from the container to the host.
$ docker exec -it e9b71d094e48 /bin/sh

For the containers to communicate with the host, we need to create a macvlan interface on the Docker host and configure a route to the macvlan interface.
Create new macvlan interface on the host
Next, we are going to create a macvlan interface using ip command.In this example, we have created an interface called mycool-net. Feel free to give it any name you deem fit.
$ sudo ip link add mycool-net link enp0s3 type macvlan mode bridge
Then assign a unique IP to the interface. Ensure to reserve this IP on your router.
$ sudo ip addr add 192.168.2.50/32 dev mycool-net
Bring up the macvlan interface.
$ sudo ip link set mycool-net up
The last step is to instruct our Docker host to use the interface in order to communicate with the containers. For this, we will add a route to the macvlan network.
$ sudo ip route add 192.168.2.0/24 dev mycool-net
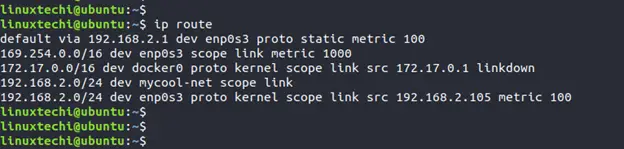
Now, with the route in place, the host and the containers can communicate with each other. You can verify the routes using the ip route command.
$ ip route
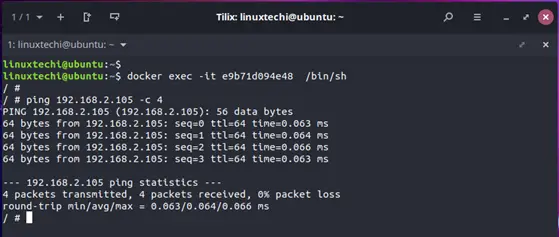
In the example below, I’m able to ping the host from the one container.
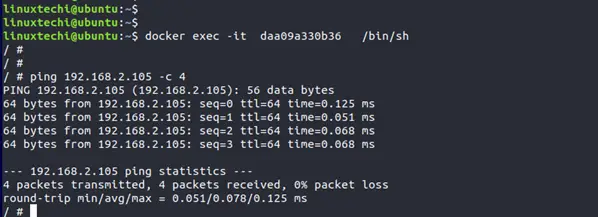
I can also well ping the host from the second container.
I can also ping one of the containers from the host.
2) 802.1q Trunk bridge mode
When it comes to the 802.1q trunk bridge example, traffic flows through a sub-interface of enp0s3 called enp0s3.50 (Vlan tagged Interface). Docker will route traffic to the container using its MAC address.
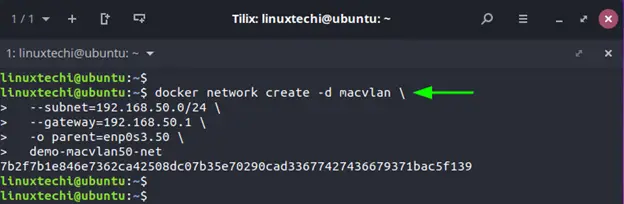
In this example, we are creating a 802.1q trunk macvlan network called demo-macvlan50-net attached to the enp0s3.50 sub-interface. Be sure to modify the subnet, gateway, and parent parameters to match your network.
$ docker network create -d macvlan \
  --subnet=192.168.50.0/24 \
  --gateway=192.168.50.1 \
  -o parent=enp0s3.50 \
  demo-macvlan50-net
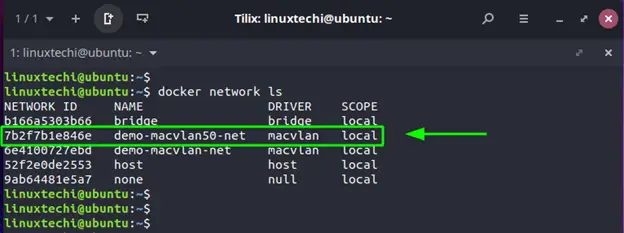
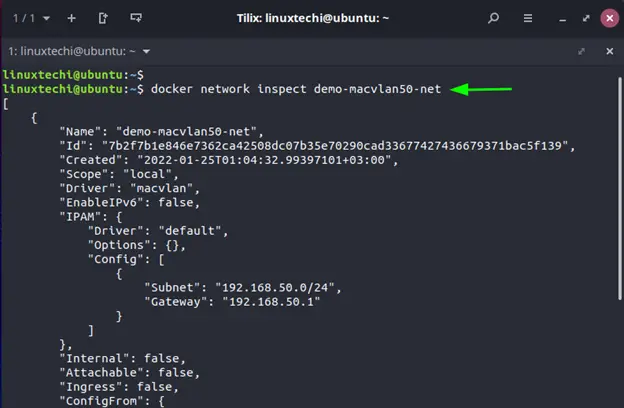
You can run the docker network ls and docker network inspect demo-macvlan50-net to confirm that the network exists
$ docker network ls
$ docker network inspect demo-macvlan50-net
From here, you can run and attach a container to the trunk bridge network.
$ docker run --rm -itd \
--network=demo-macvlan50-net \
  alpine:latest \
  /bin/sh
Removing macvlan networks
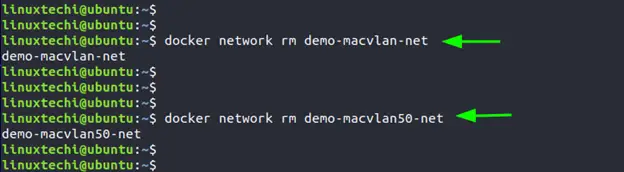
To remove macvlan networks, first stop and remove containers which are using macvlan network. In our above examples, we have used ‘–rm’ option while launching a container, so when we stop them then they will get deleted automatically.
$ docker network rm demo-macvlan-net
$ docker network rm demo-macvlan50-net
Conclusion
In this guide, we have demonstrated how you can create macvlan networks – specifically macvlan bridge mode and 802.1q trunk bridge.


Tried this on an openwrt router, but got “error response from daemon: Pool overlaps with other one on this address space. Any ideas?
Maybe the random IP assigned to your container is clashing with another one in your network. You can fix this by assigning a static IP in your router (in order to avoid your DHCP picking it) then assign that same IP when you’re creating your container.
I tried this command: ip route add 192.168.2.0/24 dev demo-macvlan-net and i got
RTNETLINK answers: File exists