ONLYOFFICE is a free and open source corporate office suite used to organize the teamwork online. It is composed of three separate servers:
Community Server offers 8 modules and tools:
- People to store and manage the contact information of all the team members.
- Projects to carry out the project through all its stages: schedule workflow, distribute tasks and subtasks, store the project related documentation, lead discussions, track time, report project progress.
- Documents to store and manage all the documents, including the files from the cloud storage services like Google Drive, Dropbox, ownCloud, etc..
- CRM to create a client database and keep track of the potential sales.
- Community to organize an internal social network with news, blogs, forums, bookmarks, polls, wiki.
- Mail Client to connect different email accounts and manage all the correspondence from one single place.
- Calendar to schedule corporate and personal events.
- Talk to chat with your team in real time, organize conferences and mailing list.
Document Server provides users with text, spreadsheet and presentation online editors working within a browser and allowing to co-edit documents in real time, review and track changes, comment and interact
Mail Server is used to create mailboxes using your own domain name.
Installing ONLYOFFICE on Linux Machine
ONLYOFFICE installation requires the presence of mono, nodejs, libstdc++6, nginx and mysql-server in your Linux machine. Using the official Docker script, you can install the whole solution – Community Server, Document Server, and Mail Server – with one single dependency needed to be installed.
Prerequisites
- Before we begin, we need the following:
- RAM: 6 GB or more;
- HDD: at least 2 GB of free space;
- at least 2 GB of swap;
- a registered domain name for the mail server;
- Docker: version 1.9.0 or later. To install Docker, follow the instructions from the official documentation.
Step 1. Download the official ONLYOFFICE installation script
[root@onlyoffice ~]# wget http://download.onlyoffice.com/install/opensource-install.sh
Step 2. Install all the ONLYOFFICE servers
Execute the beneath command to install all the ONLYOFFICE servers at once (to perform this action you must be logged in with root rights.):
[root@onlyoffice ~]#bash opensource-install.sh -md "yourdomain.com"
Where yourdomain.com is a domain name used for mail server.
Step 3. Access your web-office.
Open the Web browser and type the IP address or host name of your server. The portal start up and initialization processes might take some time. Once completed, the Welcome to Your ONLYOFFICE Portal will open:
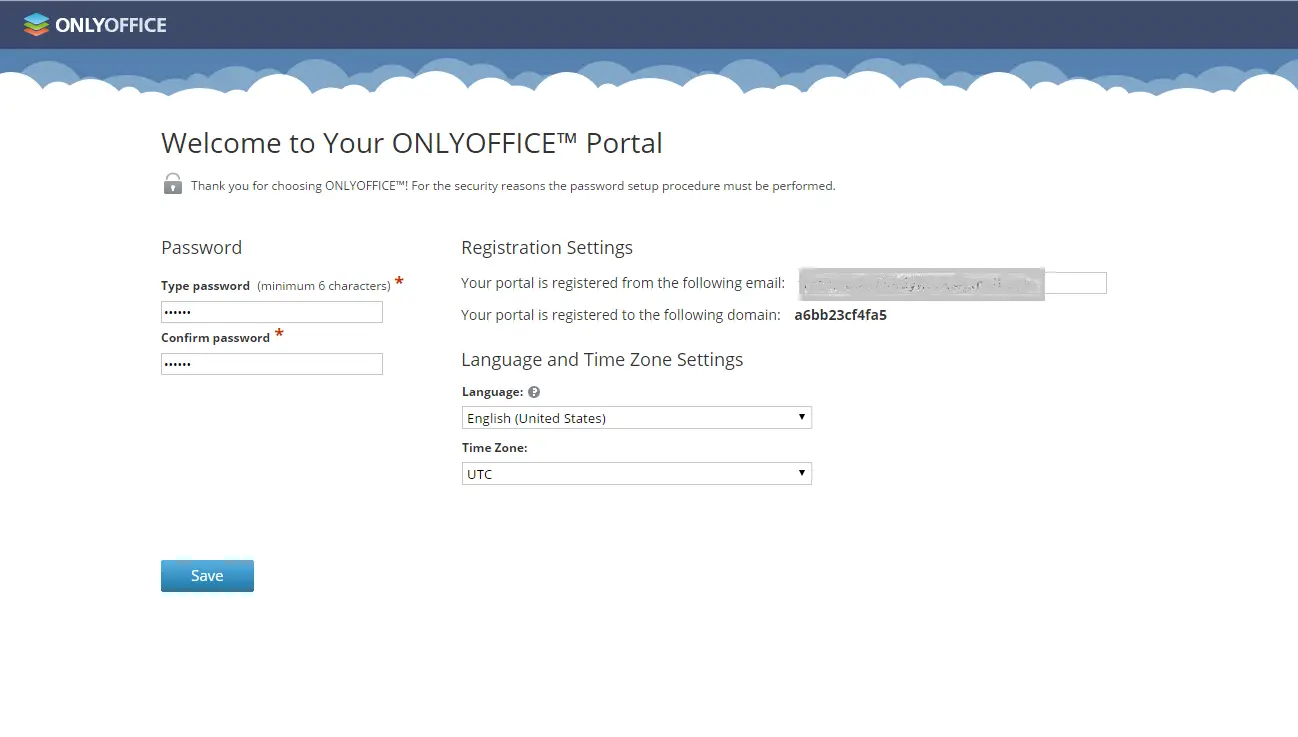
Step 4. Make the initial configuration
Enter your email address and password to access your web-office next time. Set up the correct time zone and the interface language and click Save. The Welcome page will open
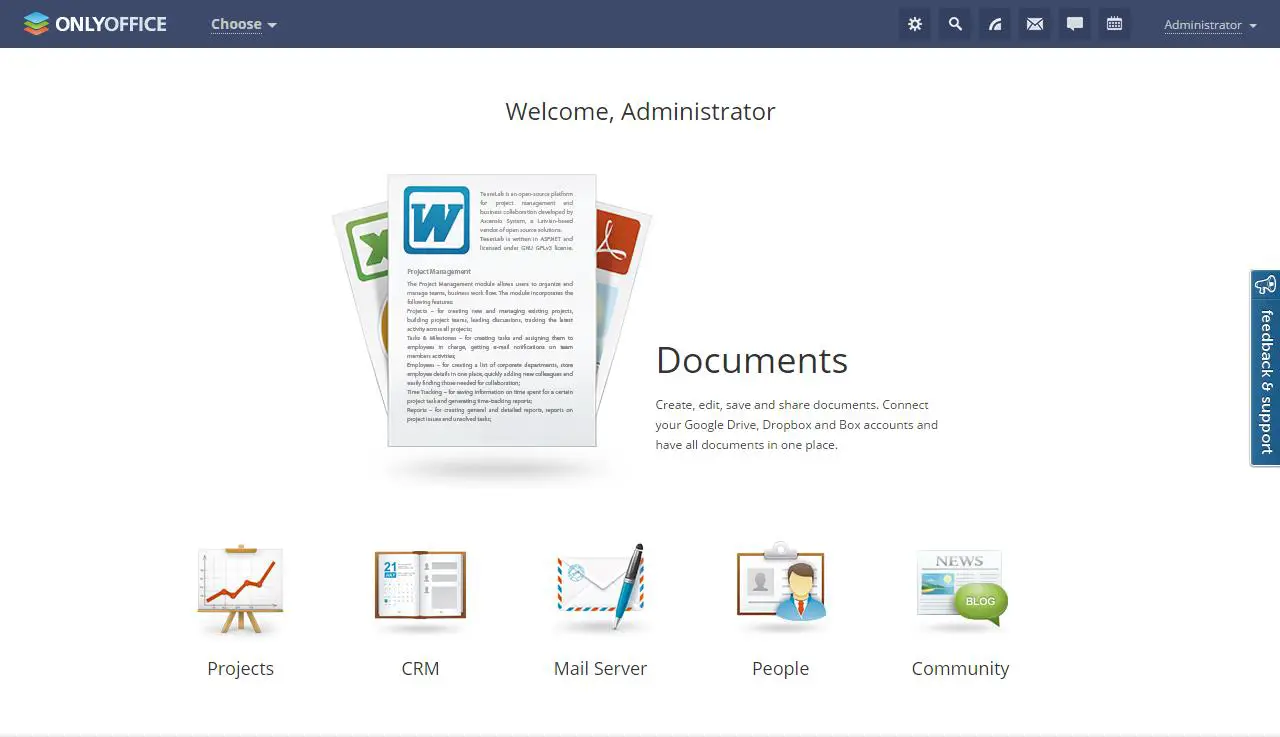
Select the module/tool you need and start working. For more ONLYOFFICE tips and tricks, refer to the official documentation