In the previous guide, we demonstrated how you can install Cacti monitoring server on CentOS 8. This tutorial goes a step further and shows you how you can add and monitor remote Linux hosts on Cacti. We are going to add remote Ubuntu 20.04 LTS and CentOS 8 systems to the cacti server for monitoring.
Let’s begin.
Step 1) Install SNMP service on Linux hosts
SNMP, short for Simple Network Management Protocol is a protocol used for gathering information about devices in a network. Using SNMP, you can poll metrics such as CPU utilization, memory usage, disk utilization, network bandwidth etc. This information will, later on, be graphed in Cacti to provide an intuitive overview of the remote hosts’ performance.
With that in mind, we are going to install and enable SNMP service on both Linux hosts:
On Ubuntu 20.04
To install snmp agent, run the command:
$ sudo apt install snmp snmpd -y
On CentOS 8
$ sudo dnf install net-snmp net-snmp-utils -y
SNMP starts automatically upon installation. To confirm this, confirm the status by running:
$ sudo systemctl status snmpd
If the service is not running yet, start and enable it on boot as shown:
$ sudo systemctl start snmpd
We can clearly see that the service is up and running. By default, SNMP runs listens on UDP port 161, You can verify this using the netstat command as shown.
$ sudo netstat -pnltu | grep snmpd

Step 2) Configuring SNMP service
So far, we have succeeded in installing snmp service and confirmed that it is running as expected. The next course of action is to configure the snmp service so that data can be collected and shipped to the Cacti service.
The configuration file is located at /etc/snmp/snmpd.conf
For Ubuntu 20.04
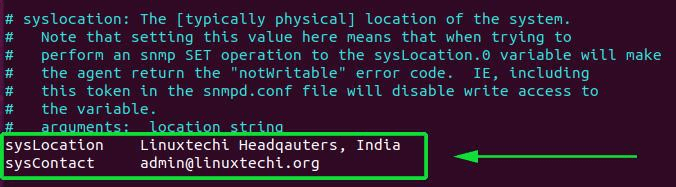
We need to configure a few parameters. First, locate the sysLocation and sysContact directives. These define your Linux client’s Physical location.

Therefore, feel free to provide your client’s location.
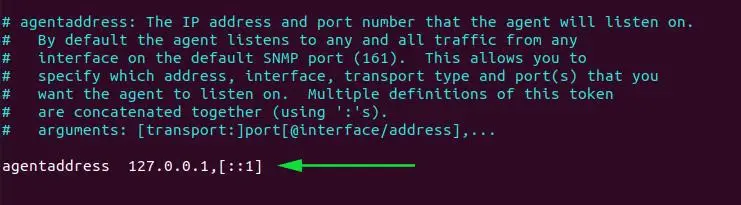
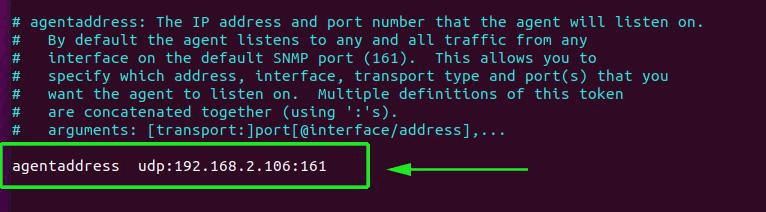
Next, locate the agentaddress directive. This refers to the IP address and the port number that the agent will listen to.
Adjust the directive as shown below where 192.168.2.106 is my client system’s address.
agentaddress udp:192.168.2.106:161
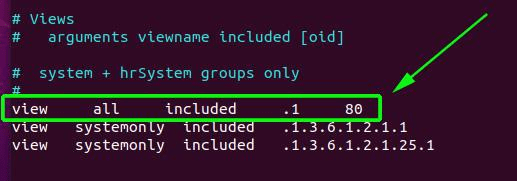
The directive will now allow the system’s local IP to listen to any snmp requests. Next up, add the view directive below above the other view directives:
view all included .1 80
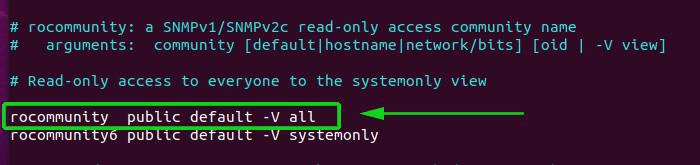
Next, change the rocommunity attribute shown below
rocommunity  public default -V systemonly
to:
rocommunity  public default -V all
Finally, to ensure the snmp service is working as expected, run the command below on the Linux host.
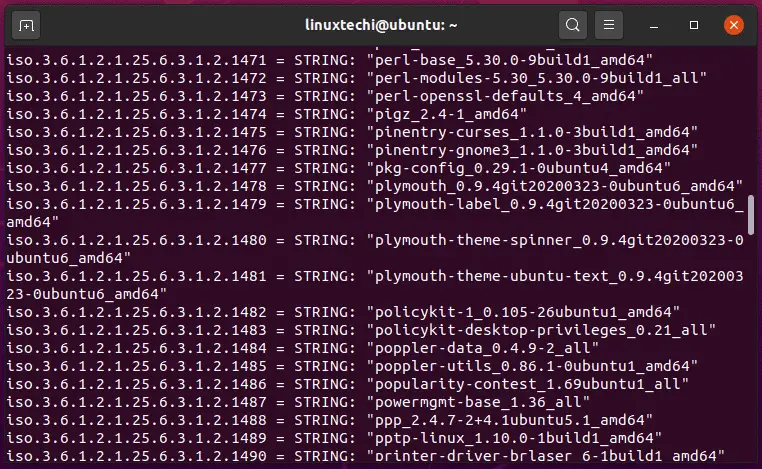
$ sudo snmpwalk -v 1 -c public -O e 192.168.2.106
You should get some massive output as shown.
For CentOS 8
In CentOS 8, the configuration is slightly different. First, locate the line that begins with the com2sec directive as shown:

We will specify a new security name known as AllUser and delete the notConfigUser as shown:

Next, locate the line that starts with the group directive as shown.
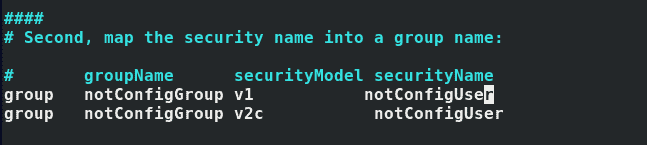
We will modify the second attribute and specify AllGroup as the group name and AllUser as the security name as previously defined.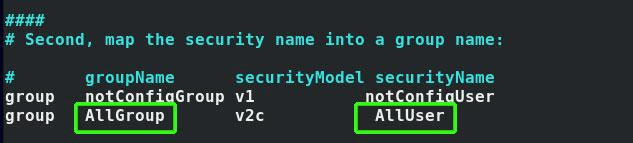
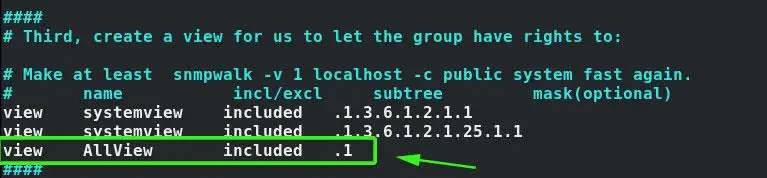
In the view section, add this line
view AllView included .1
Finally, locate the line beginning with the access directive.

Modify it as shown:

Save the changes and exit the configuration file. Restart snmpd daemon for the changes to take effect
$ sudo systemctl restart snmpd
Also, enable the service to start on boot.
$ sudo systemctl enable snmpd
Once again, verify if the snmp configuration is working as expected using the snmpwalk command:
$ sudo snmpwalk -v 2c -c public -O e 127.0.0.1
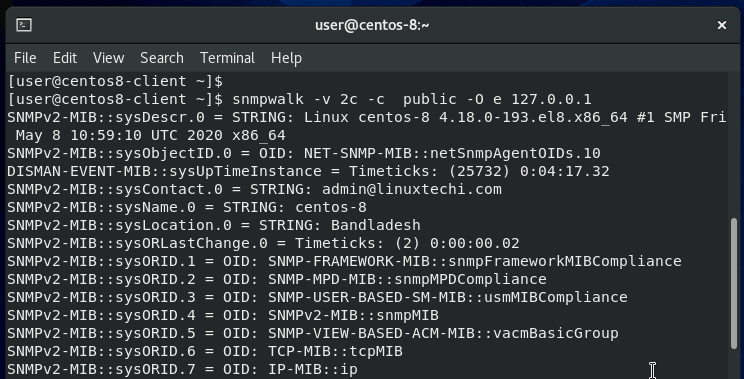
Perfect! everything seems to be running as expected.
Step 3) Configure the firewall rules for snmp
Next, we need to open udp port 161 to allow snmp traffic on both the Cacti server and Linux hosts.
For Ubuntu 20.04 host
Run the beneaths commands to allow udp port 161 in firewall,
$ sudo ufw allow 161/udp
$ sudo ufw reload
For CentOS 8 host
For CentOS 8 client and the Cacti server that also runs on CentOS 8, invoke the following commands:
$ sudo firewall-cmd --add-port=161/udp --zone=public --permanent
$ sudo firewall-cmd --reload
Head over to the Cacti server and run the commands shown to confirm that snmp is shipping metrics from the remote clients.
$ sudo snmpwalk -v 1 -c public -O e 192.168.2.106  # Ubuntu
$ sudo snmpwalk -v 2c -c public -O e 192.168.2.104 # CentOS
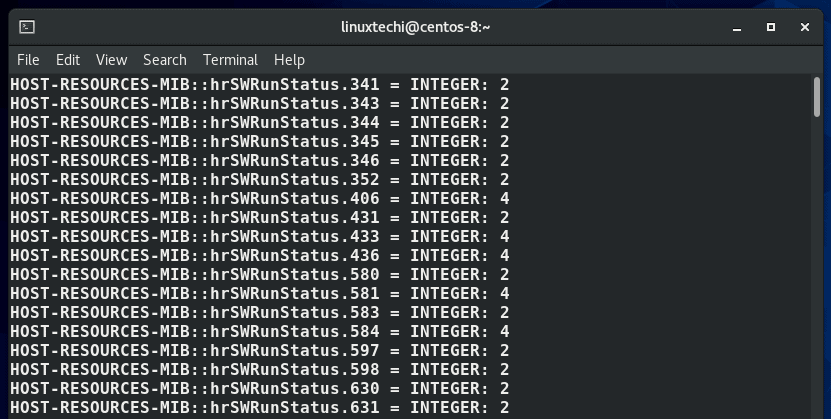
Great! This confirms that the Cacti server is receiving system metrics from the remote Linux systems.
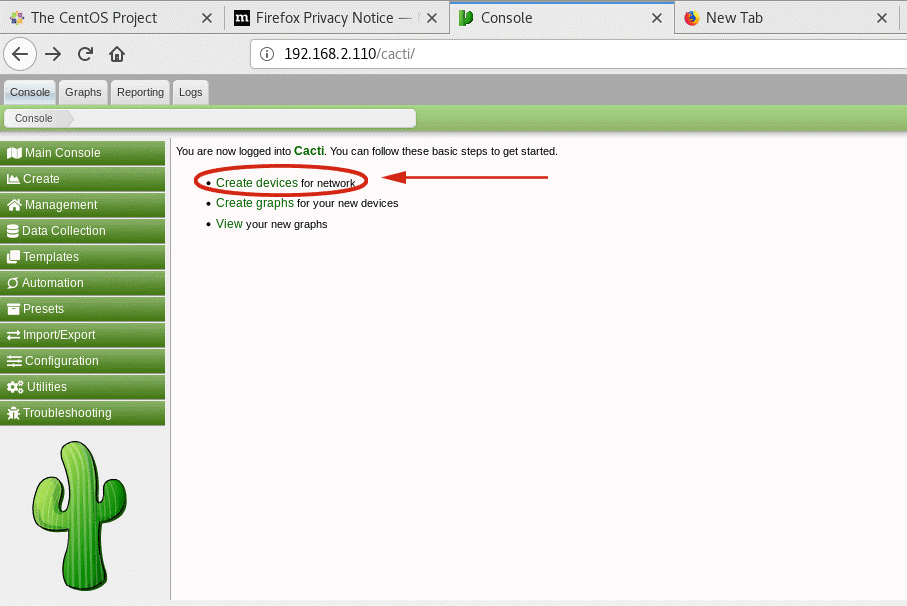
Step 4) Adding remote Linux host to Cacti
This is the last section where you have to add your remote Linux hosts. So, log in to the Cacti server and click on ‘Create devices’ as shown.
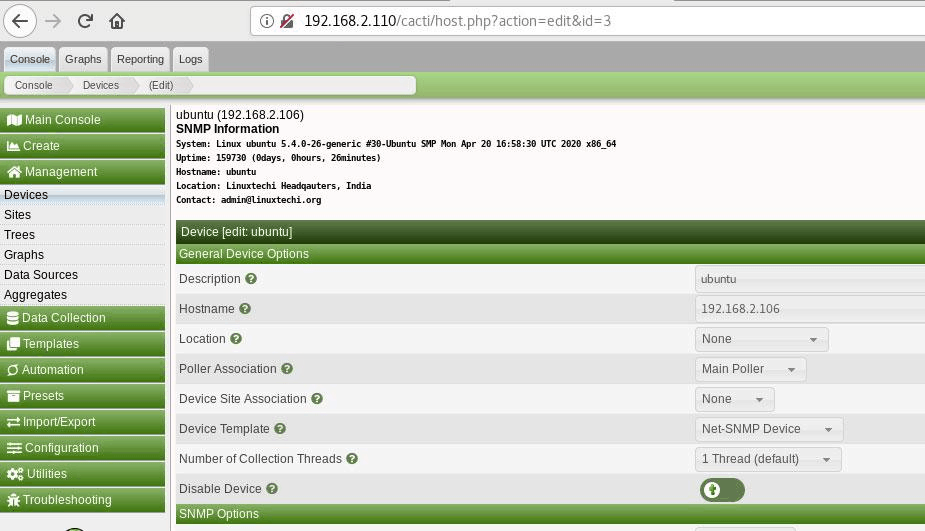
In my case, my Ubuntu remote host was already detected by Cacti and listed as shown.

Click on your device and be keen to notice the SNMP information at the very top as shown.
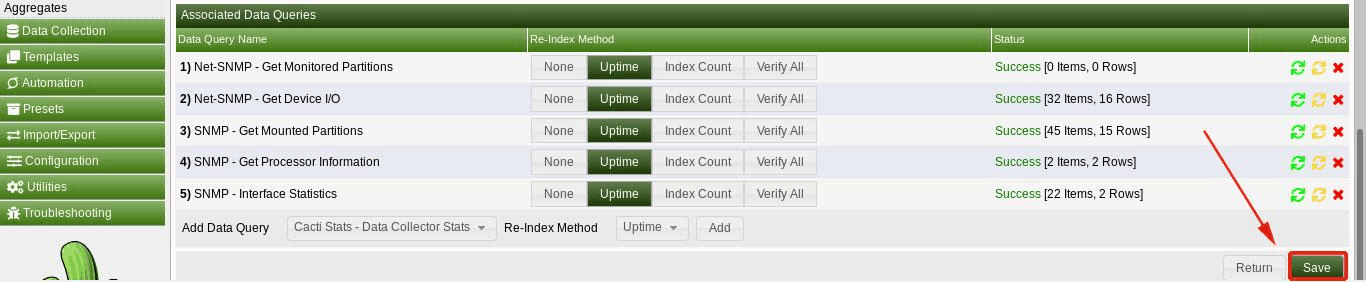
Next, scroll down and click on the ‘Save’ button.
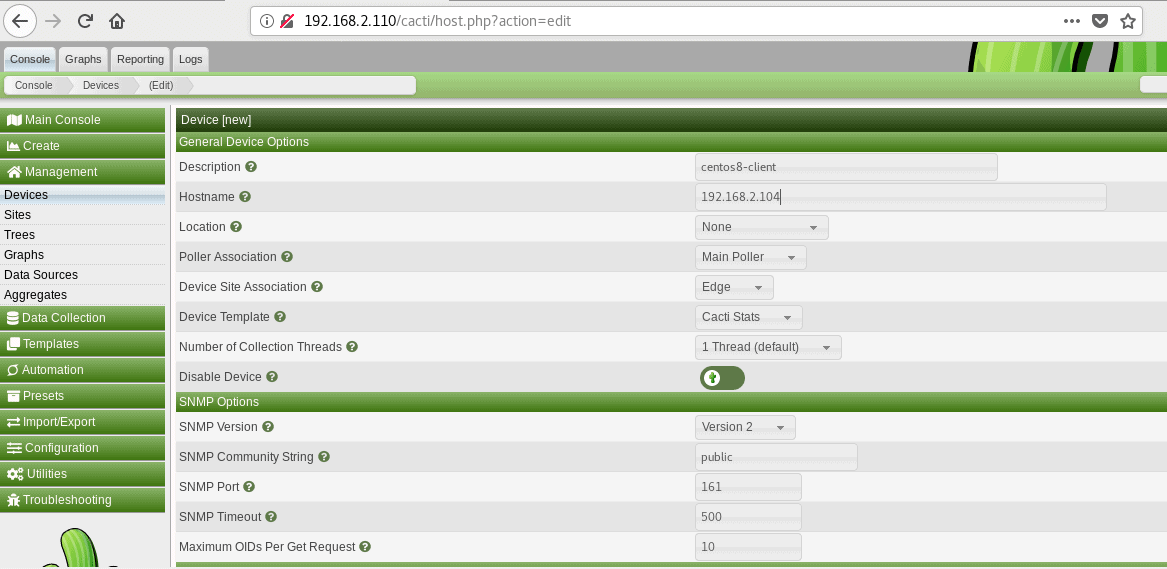
If your device is not listed, simply click on ‘Create’ > ‘Devices’ and fill out the details of your device like in the CentOS8 host as shown.
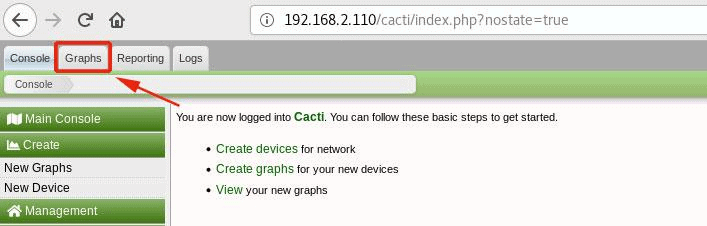
Once the device is added, click on the ‘Graphs’ tab.
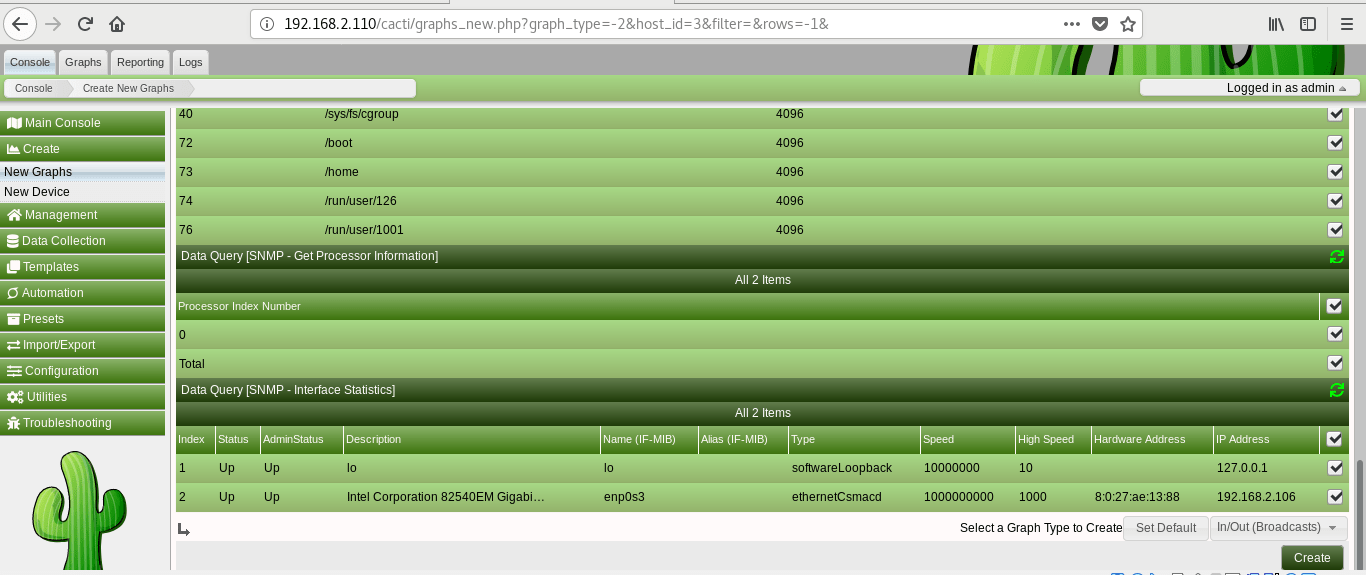
On the next page, select your device’s name
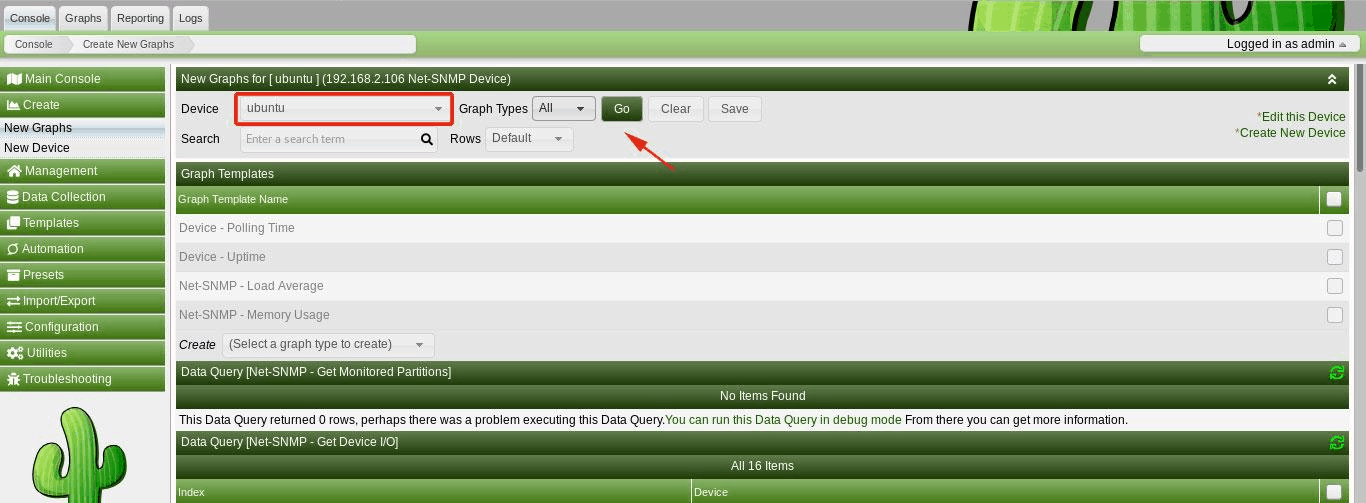
Scroll all the way to the bottom and click the ‘Create’ button.
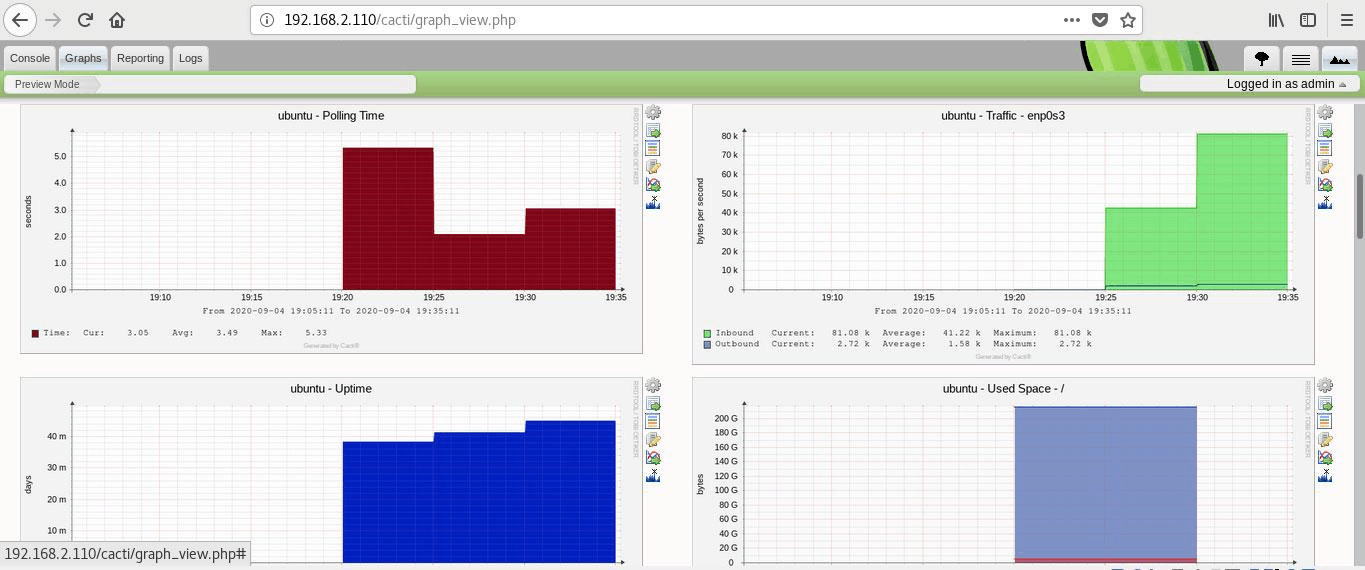
Wait about 10-20 minutes for the graphs to start being populated. Finally, you will start noticing the remote host’s statistics being graphed as shown.
And this brings a conclusion to this article. We are glad you were able to follow along the way. Do let us know how it went and we will gladly help out in case of any issues.