Good news for Ubuntu users, Canonical has released Ubuntu 20.04 LTS on 23rd April 2020. As it is an LTS (Long Term Support) release so ubuntu users will keep getting updates and support till April 2025. So, it is worth to upgrade your Ubuntu 18.04 LTS desktop to Ubuntu 20.04 LTS (Focal Fossa).
In this article we will demonstrate how to upgrade Ubuntu 18.04 LTS to 20.04 LTS. There are two ways to do it either via command line or GUI (Graphical Interface). To complete the upgrade smoothly, a stable internet is required on your Ubuntu system.
Upgrade Ubuntu 18.04 LTS to 20.04 LTS via Command Line
We strongly recommend please the take backup of your existing Ubuntu 18.04, may be on some external drive.
Also Read : How to Use TimeShift to Backup and Restore Ubuntu Linux
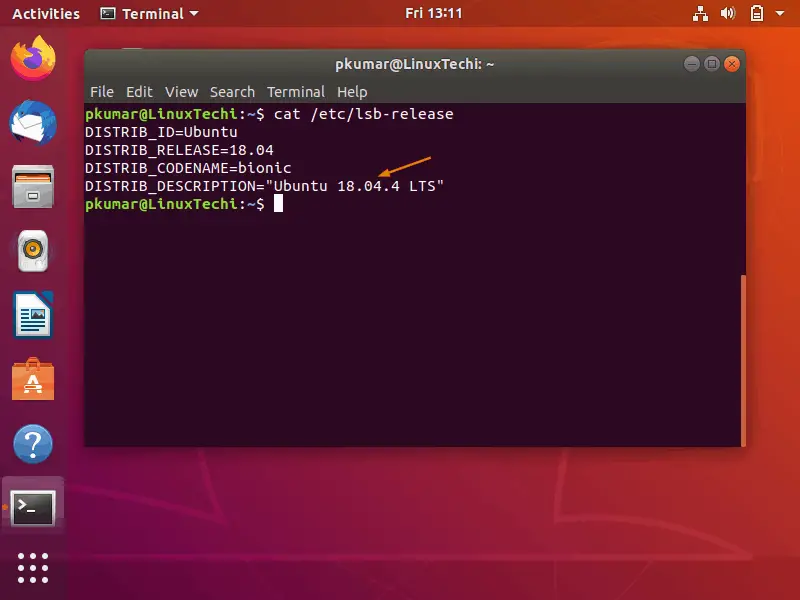
Before start upgrading, let’s take a notw of existing Ubuntu Version, open the terminal and run below command,
pkumar@LinuxTechi:~$ cat /etc/lsb-release
We will get the output of above command something like below,
Let’s deep dive into upgradation steps
Step 1) Apply all updates of installed packages
Rub below apt command to install all the updates of installed packages,
pkumar@LinuxTechi:~$ sudo apt update
pkumar@LinuxTechi:~$ sudo apt upgrade -y
Once all the updates are installed including the kernel then reboot your system
pkumar@LinuxTechi:~$ sudo reboot
Step 2) Remove unused Kernels and install ‘update-manager-core’
Once your Ubuntu 18.04 LTS desktop is available after reboot, then it is recommended to remove unused kernels to free up the space from /boot partition, run beneath command:
pkumar@LinuxTechi:~$ sudo apt --purge autoremove
Execute below command to install “update-manager-core“, as it is required for upgrade, though on most of the systems it should be installed by default. In case it is not installed run below command,
pkumar@LinuxTechi:~$ sudo apt install update-manager-core -y
Step 3) Start Upgrade Process
Run following command to view whether new 20.04 LTS version is available for your system.
pkumar@LinuxTechi:~$ sudo do-release-upgrade
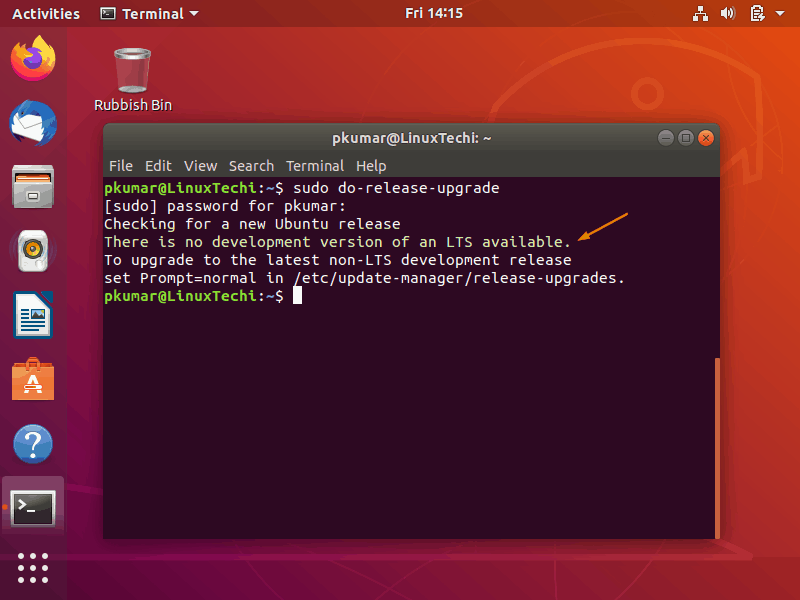
If, in the above command’s output, you got a message that “There is no development version of an LTS available” then we can force the above command by passing the parameter “-d” to look for the new latest LTS version.
Now run the command to initiate the upgrade procedure,
pkumar@LinuxTechi:~$ sudo do-release-upgrade -d
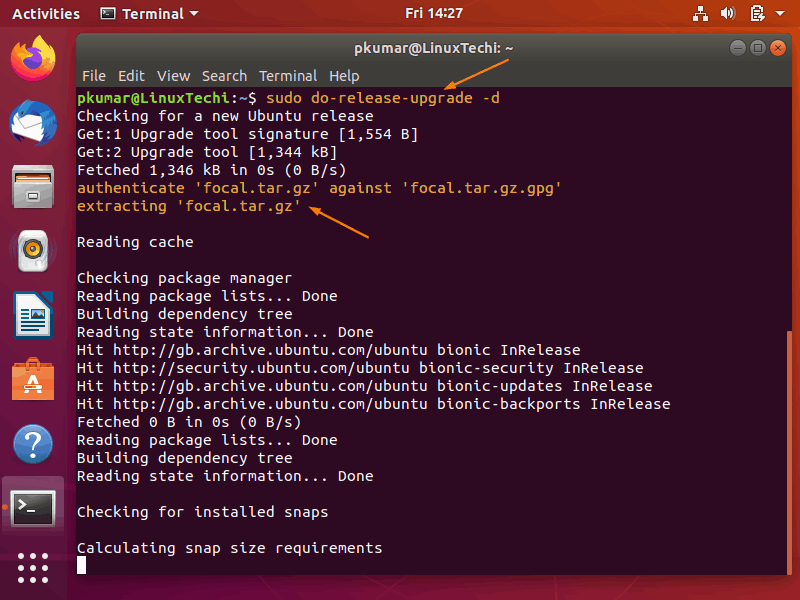
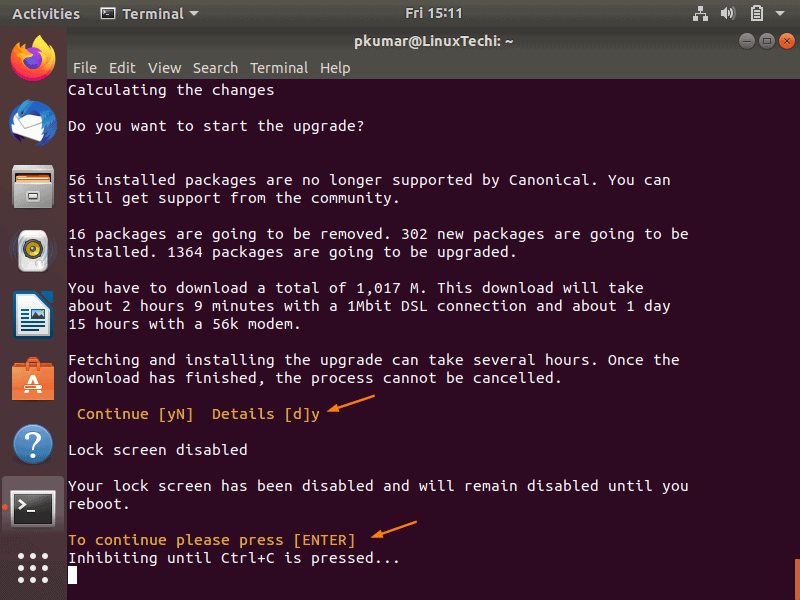
During upgrade procedure, it will prompt you couple of times to type “y” to update package repositories and sometime “enter” to confirm to proceed with upgrade,
Once the upgrade process is completed successfully then we will get following message
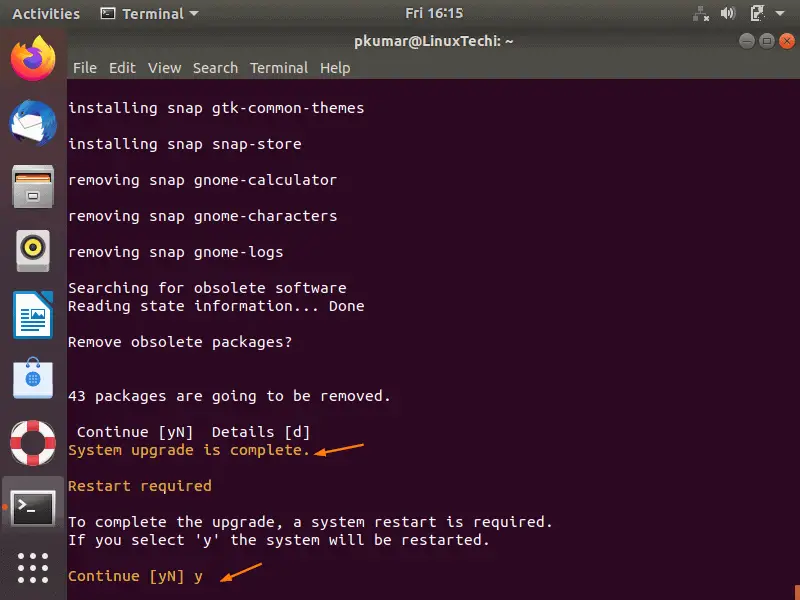
Above output confirms that upgrade is completed, upgrade tool prompted us to press ‘y’ to restart the system.
Step 4) Verify Upgrade
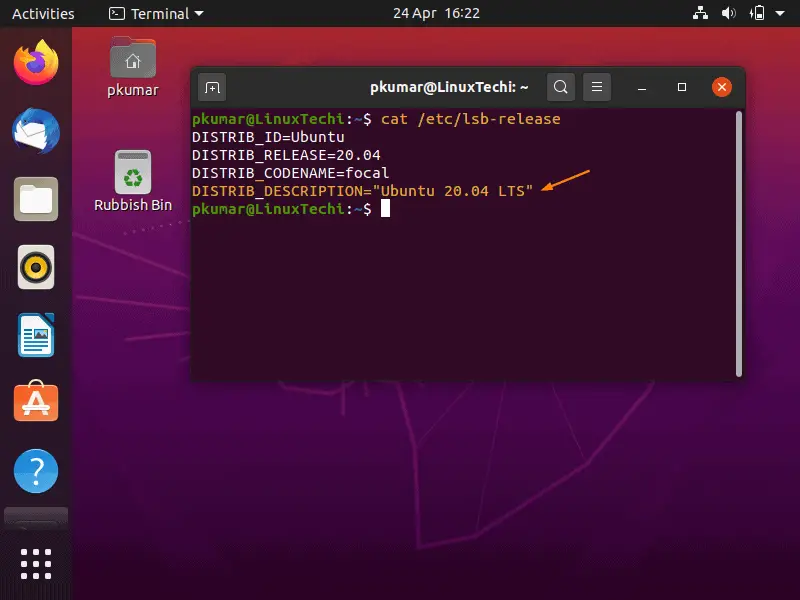
Once the system boots after the upgrade, open the terminal type following to verify the Ubuntu version,
pkumar@LinuxTechi:~$ cat /etc/lsb-release
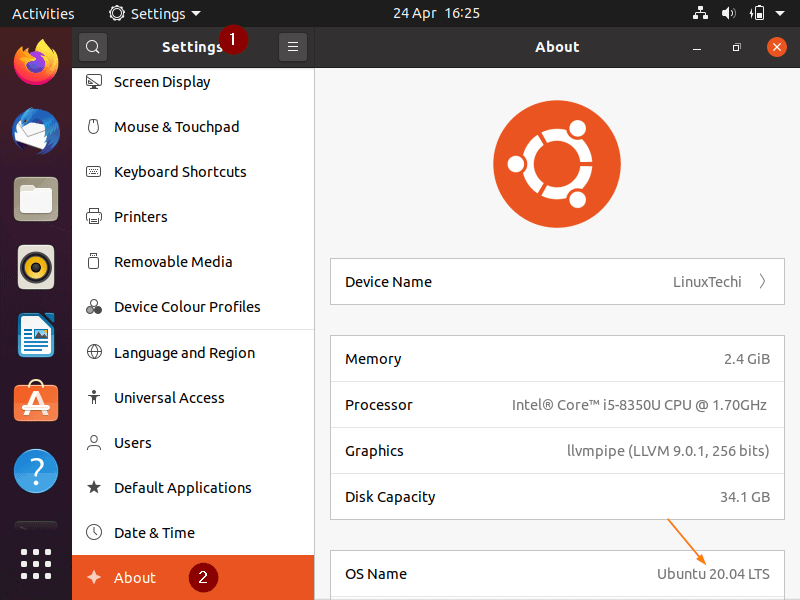
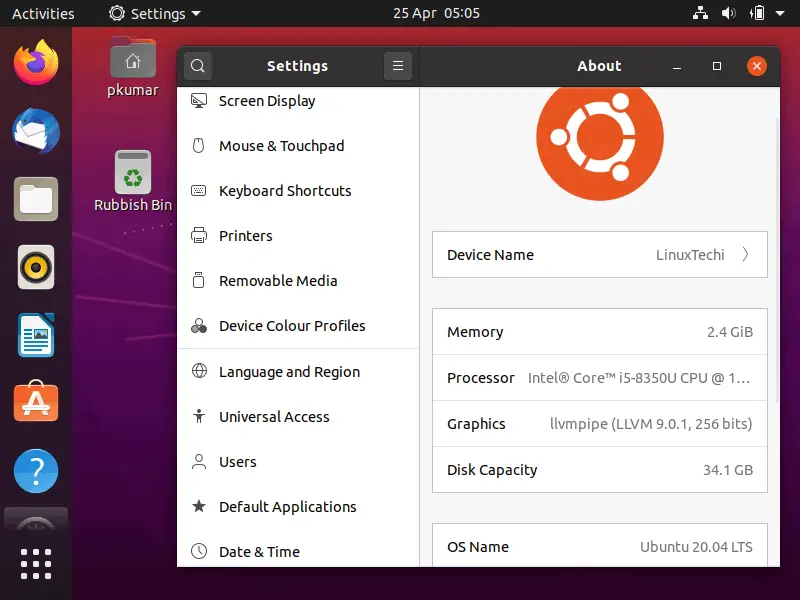
Another way to verify the Ubuntu version, Go to Settings and then choose About
This confirms that we have successfully upgrade our Ubuntu 18.04 LTS to latest Ubuntu 20.04 LTS.
Upgrade Ubuntu 18.04 LTS to 20.04 LTS via GUI
Note: The first important task is to take the backup of your Ubuntu 18.04 LTS desktop.
Step 1) Apply Updates of installed packages and reboot
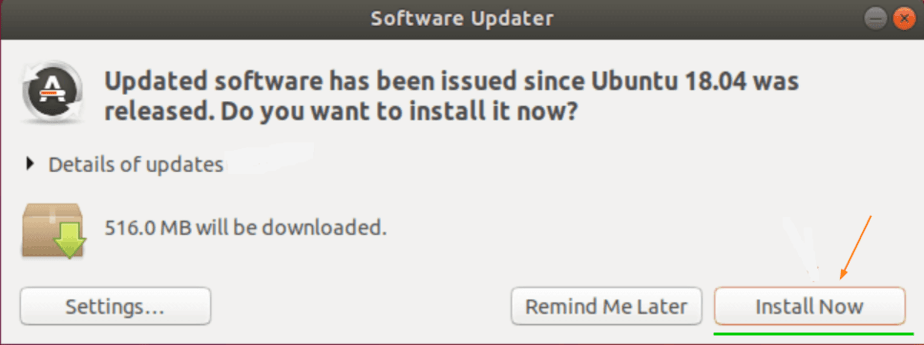
Search “Updater” from search dash and access it by clicking on its icon,
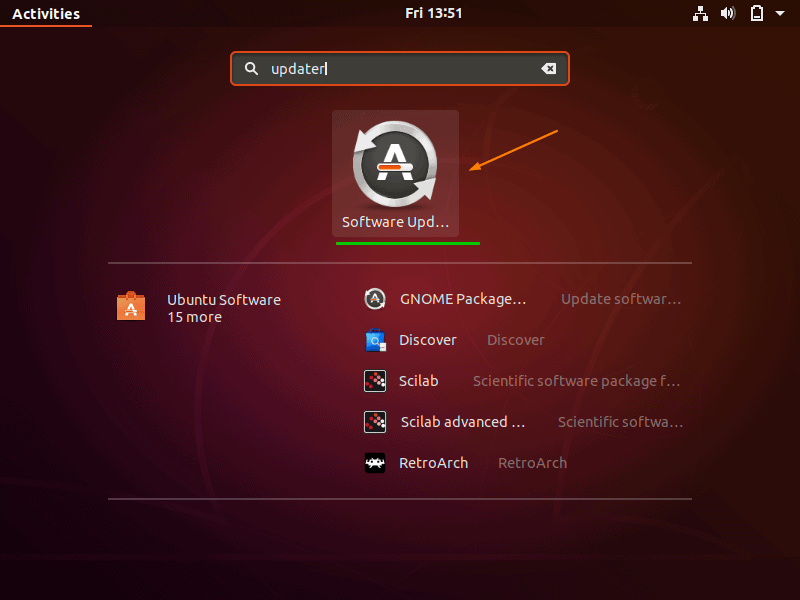
If the updates are available, then we will get the following screen , click on ” Install Now”
Once all the updates are installed, reboot your system once.
Step 2) Start Upgrade Process
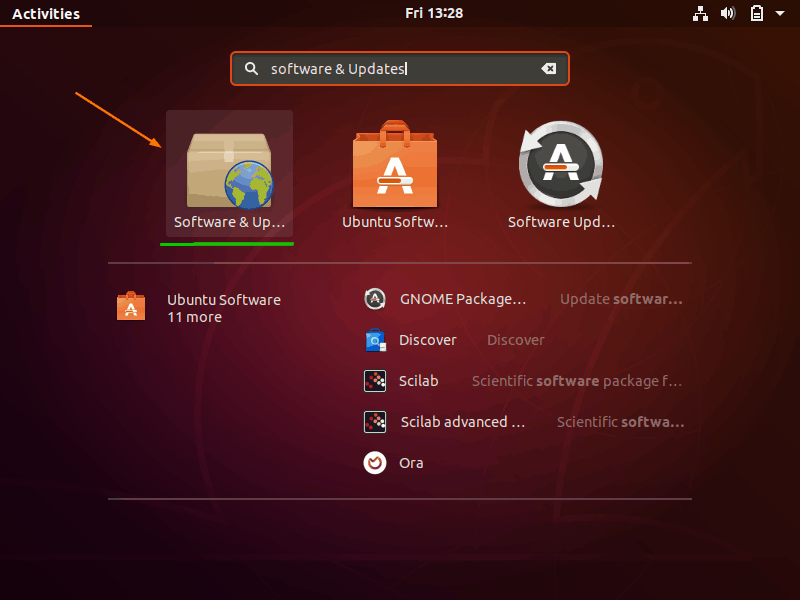
Once the system is available after reboot, from the search dash look for “Software & Updates” and then click on its Icon,
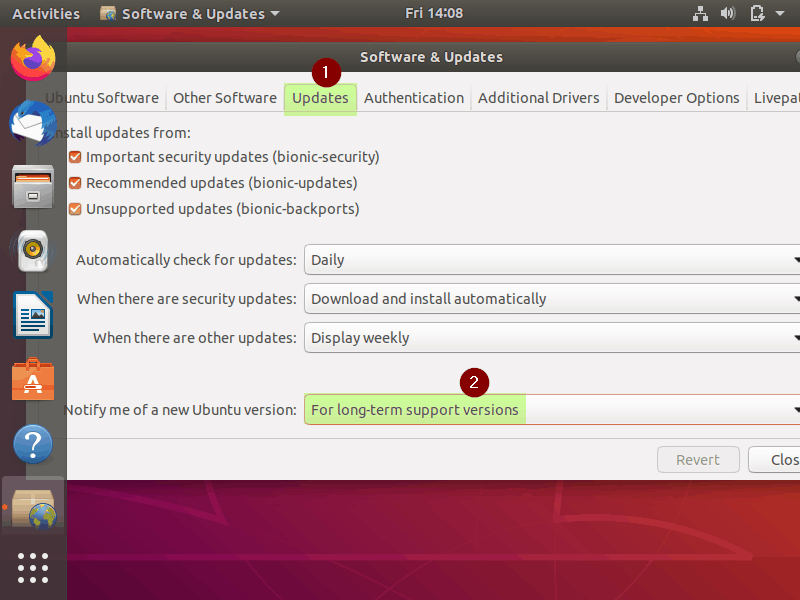
From the Updates Tab, set “For long-term support versions” via “Notify me of a new Ubuntu version” drop down menu.
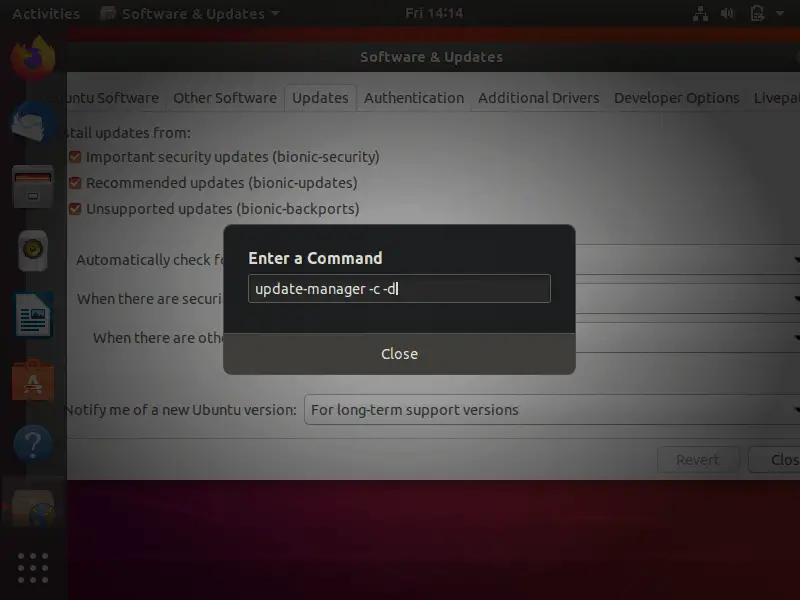
If no upgrade appears, then type “ALT+F2“, enter the command as “update-manager -c -d” and hit enter
In next screen, we will get the following , which says that Ubuntu 20.04 LTS is available for upgrade.
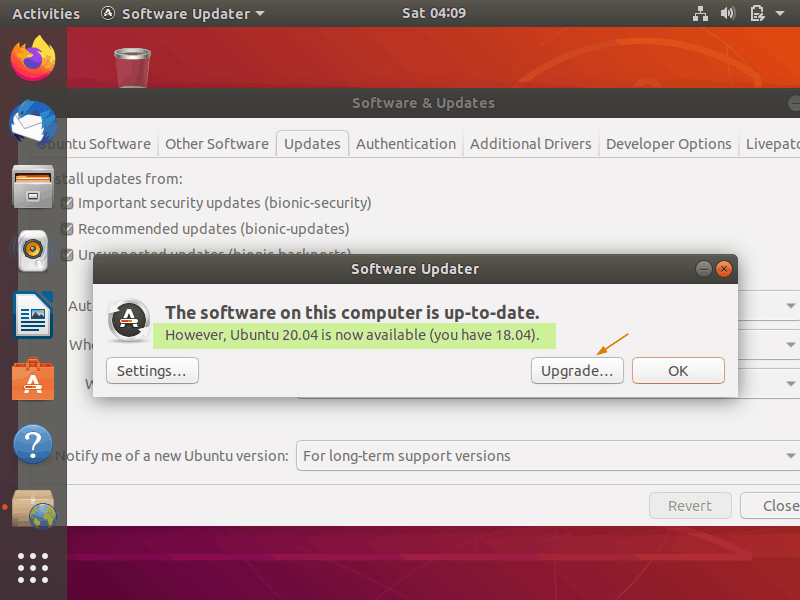
Click on “upgrade” to initiate the upgrade procedure, it will prompt you to enter your user’s credentials.
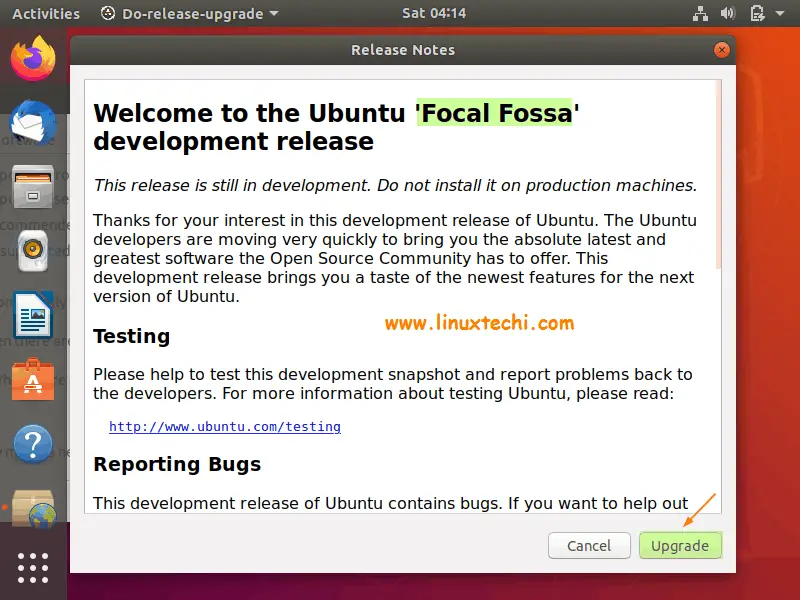
In the next window, choose “Upgrade“,
Now follow the screen instructions to complete the upgrade procedure, once it is upgraded successfully, it will prompt you to restart the system.
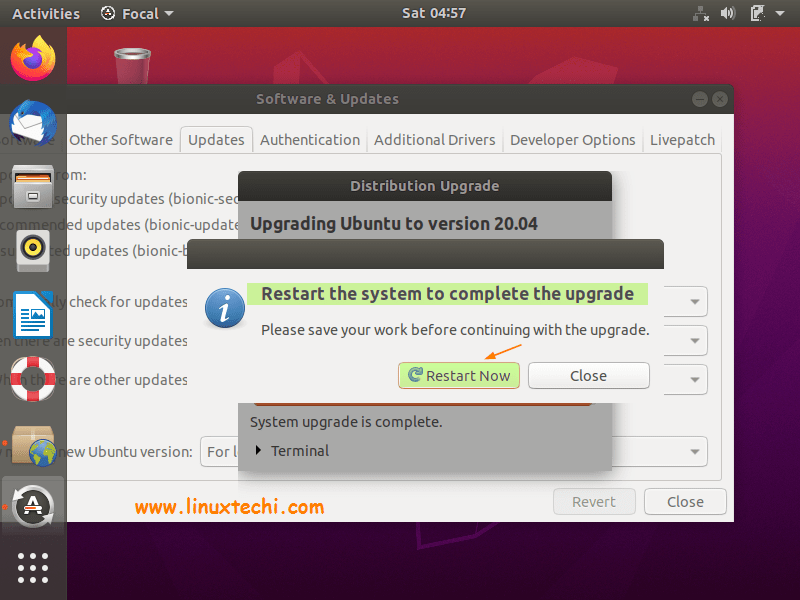
Click on “Restart Now”
Step 3) Verify Ubuntu version after upgrade
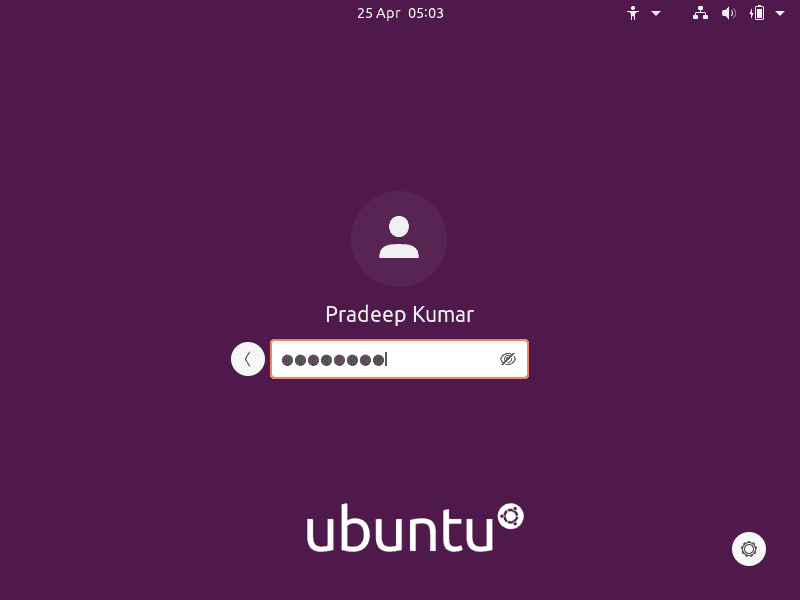
Once your Ubuntu system boots up after upgrade, Login and verify Ubuntu version:
From the search tab look for “Settings” and then choose “About”
Above confirms that we have successfully upgrade our Ubuntu 18.04 LTS to 20.04 LTS. That’s all from this article. Your feedback and comments are most welcome.

An unresolvable problem occurred while calculating the upgrade.
This was likely caused by:
* Unofficial software packages not provided by Ubuntu
Please use the tool ‘ppa-purge’ from the ppa-purge
package to remove software from a Launchpad PPA and
try the upgrade again.
If none of this applies, then please report this bug using the
command ‘ubuntu-bug ubuntu-release-upgrader-core’ in a terminal. If
you want to investigate this yourself the log files in
‘/var/log/dist-upgrade’ will contain details about the upgrade.
Specifically, look at ‘main.log’ and ‘apt.log’.
Worked perfectly
Hi Pradeep!!
Thanks for providing this excellent, to the point, with screenshots and commands, a very helpful artical . . .
I updated UBUNTU 18.04 LTS to 20.04 LTS without any problem . . .over WiFi 2Mbps first I updated 18.04 LTS it took around half an hour.
after restart, I used SOFTWARE AND UPDATES here no upgrade appeared so I used >> then type “ALT+F2“, enter the command as “update-manager -c -d” and hit enter. . .
now it’s great to use 20.04 LTS all programmes BLENDER, MESHEYE, GIMP, MUSIC, WiFi are performing well and running excellent . .
Thanks!!
The upgrade went surprisingly well and the server seems to be working correctly but when I try to SSH (Putty) into the server I get:
Couldn’t agree a key exchange algorithm (available: curve25519-sha256, curve25519-libssh.org.ecdh-sha3-nistp256,ecdh-sha2-nistp384, endh-sha2-nistp521, diffie-hellman-group16-sha512,diffie-hellman-group18,diffie-hellman-group14-sha256)
Any ideas please?
To resolve this issue, upgrade your ssh server and ssh-client (putty)
Hi all, Is there anyway to upgrade Ubuntu from 18 to 20 without user interaction. Completely from a shell script. I am trying to avoid user interaction at this command
sudo do-release-upgrade -d
I updated successfully but got a message saying the Apache2 failed to start, then when I check NGINX, and it was active. I assume the default server is NGINX after upgrading instead of Apache2, should I stop NGINX and use Apache2, or leave NGINX as of now? If I leave NGINX, should I ignore the message about failed Apache2? Thank you so much!