In this article, we will show you how to install Jenkins on RHEL 9/8. We will also go through why there is a need of an additional tool for delivering a project. But before we start with all gun blazing and put this tool to work, we should know what it is exactly and why it is needed.
Jenkins is an open-source software for continuous software development. It is based on Java and it is the only tool which can be used in every part of software development cycle.
What is Jenkins ?
Jenkins is a CI/CD tool. Here CI means continuous integration and CD means continuous delivery. Jenkins is also considered as automation tool or server, It helps to automate software development which are related to building, testing and deploying. It is a server-based tool which runs on servlet containers like Apache Tomcat.
Why do we need Jenkins tool?
As maximum organization is now having agile process. Agile methodology is a practice that promotes both continuous integration and continuous delivery, it has scrum process that can be of 2/3 weeks, which is also known as scripts. In every sprint developers and tester has to do continuous development and testing with continuous integration and continuous delivery. In every sprint client get the privilege to check that the software/application is building according to the given requirement. They also have the leverage to change/update the requirement according to their business needs. This is one of the main reasons why Jenkins is one of the most popular tools in the market nowadays.
Prerequisites
- Minimal RHEL 9/8
- User with sudo rights
- Stable Internet Connection
- Active subscription
Jenkins Lab
- Host Name: Jenkins.linuxtechi.com
- IP Address: 192.168.1.190
- SELinux : Enabled
- Firewall: Running
without any delay, let’s login to your RHEL system and follow the following steps.
1) Update hosts file and apply updates
Add the following hostname entry in /etc/hosts file, run below echo command:
$ echo "192.168.1.190 jenkins.linuxtechi.com" | sudo tee -a /etc/hosts
Install all the available updates using the beneath dnf command,
$ sudo dnf update -y
Once all the updates are installed successfully then reboot your system once.
$ sudo reboot
2) Add Jenkins Package Repository
Run the following command to add Jenkins package repository for RHEL 9/8 system.
$ sudo dnf install wget -y
$ sudo wget -O /etc/yum.repos.d/jenkins.repo https://pkg.jenkins.io/redhat-stable/jenkins.repo
Next, import GPG key for Jenkins packages
$ sudo rpm --import https://pkg.jenkins.io/redhat-stable/jenkins.io-2023.key
3) Install Jenkins on RHEL 9/8 with dnf command
Java is one of the perquisites for Jenkins, so run below dnf command to install java.
$ sudo dnf install -y fontconfig java-17-openjdk
Verify the java version using below command:
$ java --version

Now install Jenkins using beneath dnf command,
$ sudo dnf install jenkins -y

4) Start and Enable Jenkins Service via systemctl
Run following systemctl command to start and enable Jenkins service
$ sudo systemctl start jenkins
$ sudo systemctl enable jenkins
Verify Jenkins service status by running following command,
$ sudo systemctl status jenkins
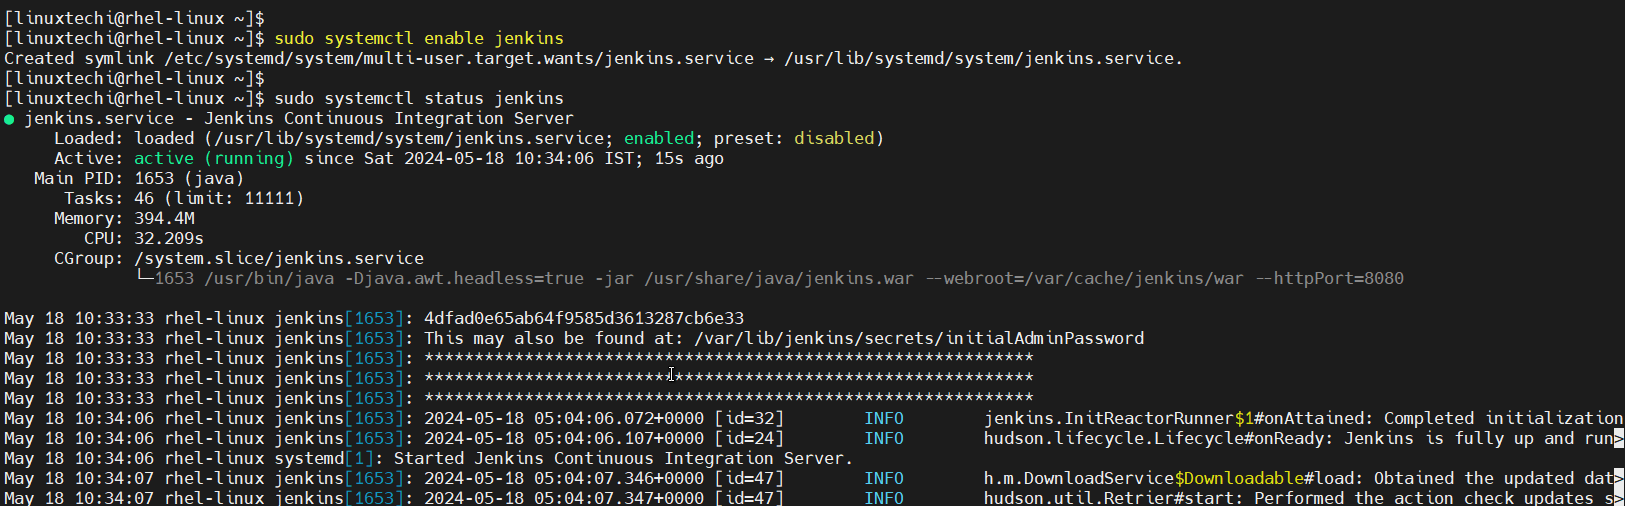
Above output shows that Jenkins service is active and running.
5) Configure Firewall Rules for Jenkins
Allow 8080 tcp port in OS firewall for Jenkins, run following firewall-cmd commands,
$ sudo firewall-cmd --permanent --add-port=8080/tcp
$ sudo firewall-cmd --reload
6) Setting Up Jenkins with Web Portal
In this step, we will setup the Jenkins via its web portal, access its portal from the browser and type the URL:
http://<Server-IP>:8080
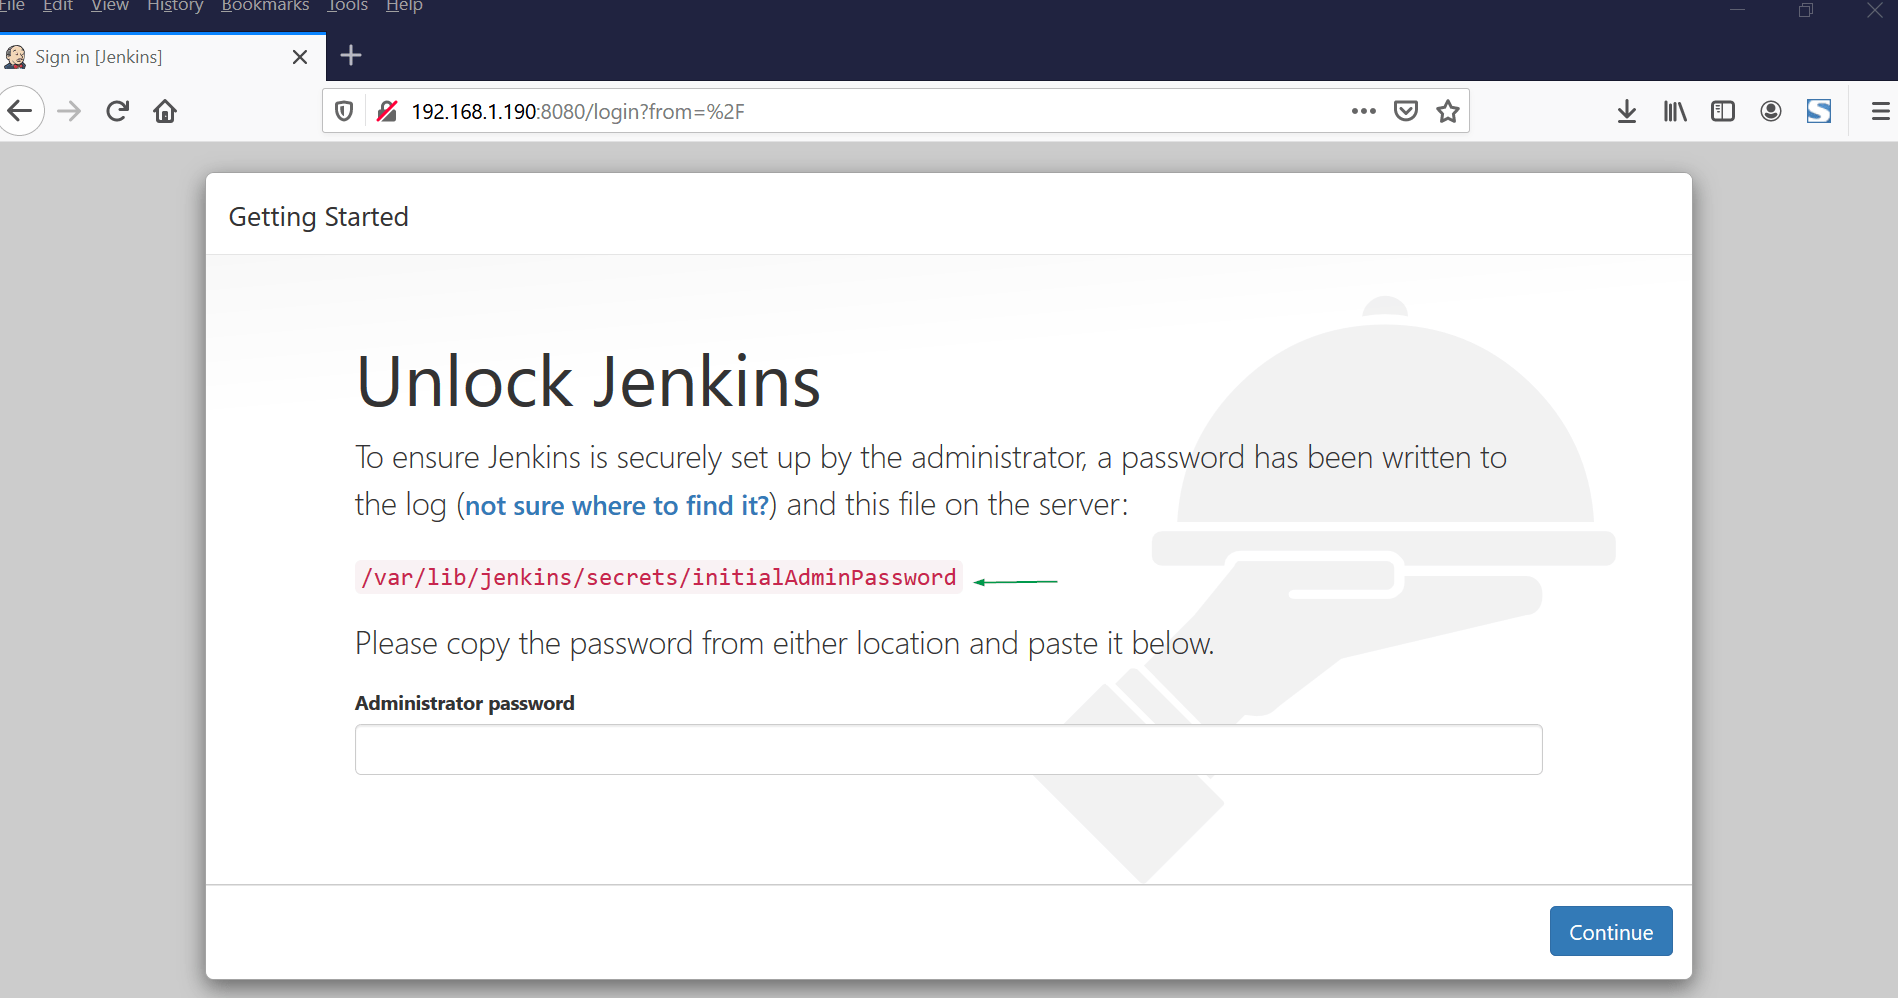
The browser displays the unlock Jenkins page. It will ask to enter temporary password. To retrieve this password run following cat command from the terminal,
$ sudo cat /var/lib/jenkins/secrets/initialAdminPassword
4dfad0e65ab64f9585d3613287cb6e33
$
Copy and paste the password into the password field and then click on continue.

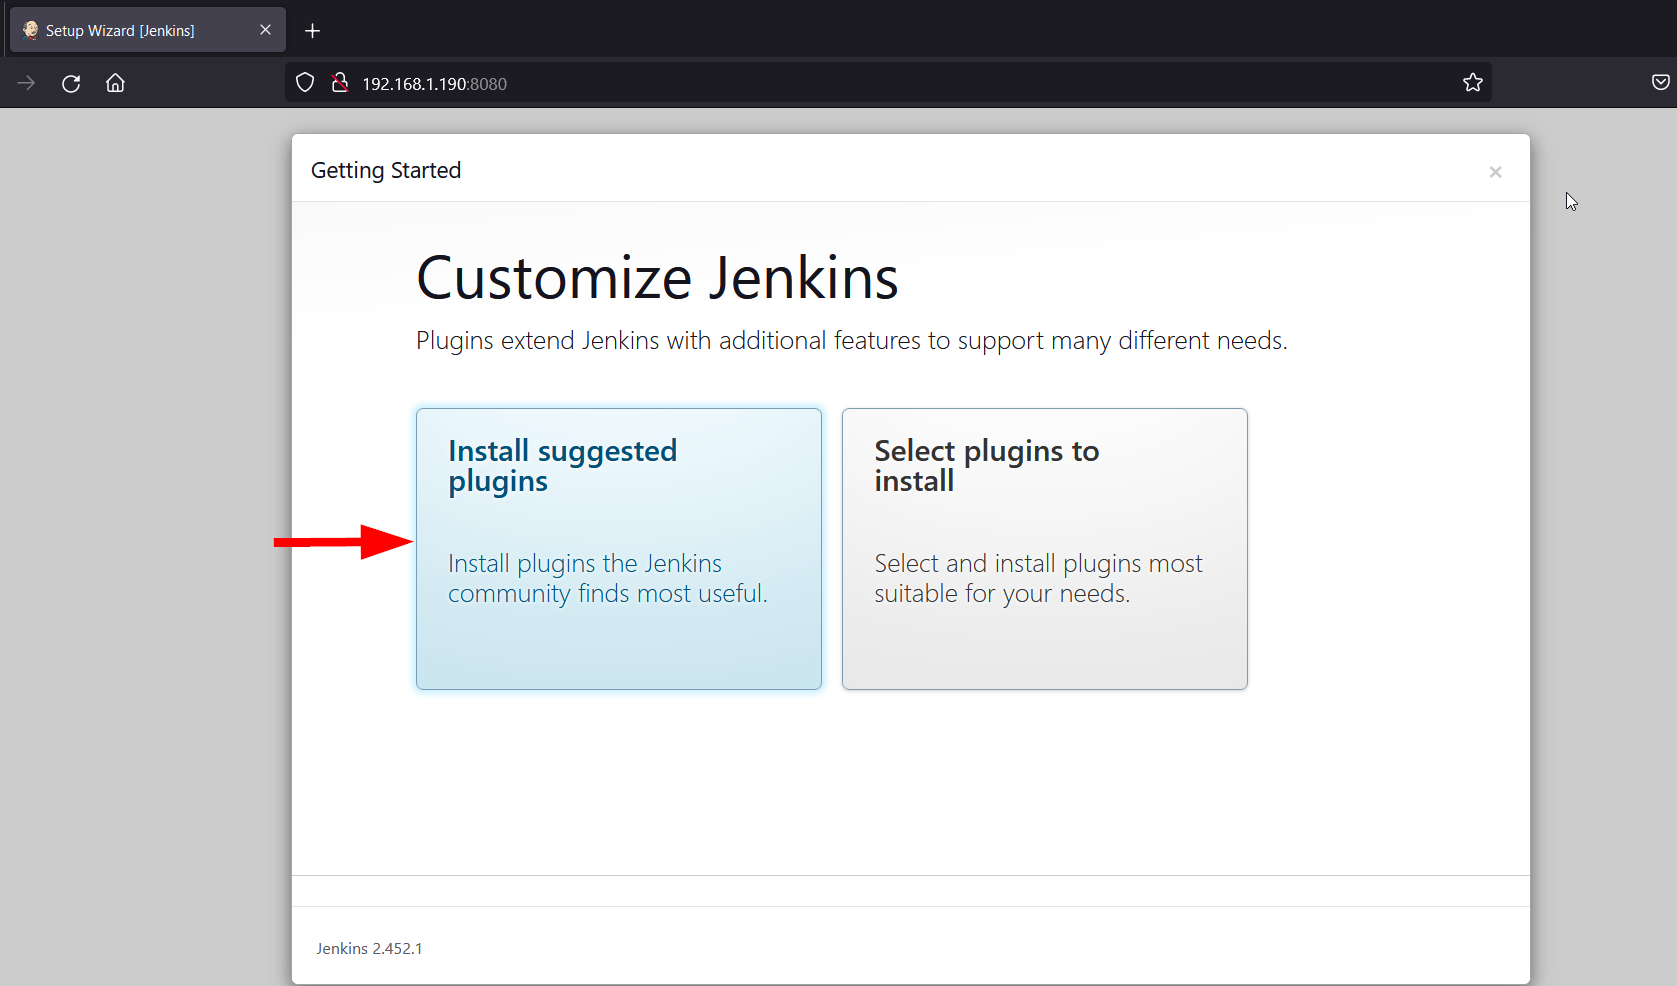
Jenkins will now ask to install plugins. There will be two options ‘Install using suggested plugins‘ or ‘Select plugins to install‘. It is recommended to go with ‘Install using suggested plugins ‘. So Click on the first option
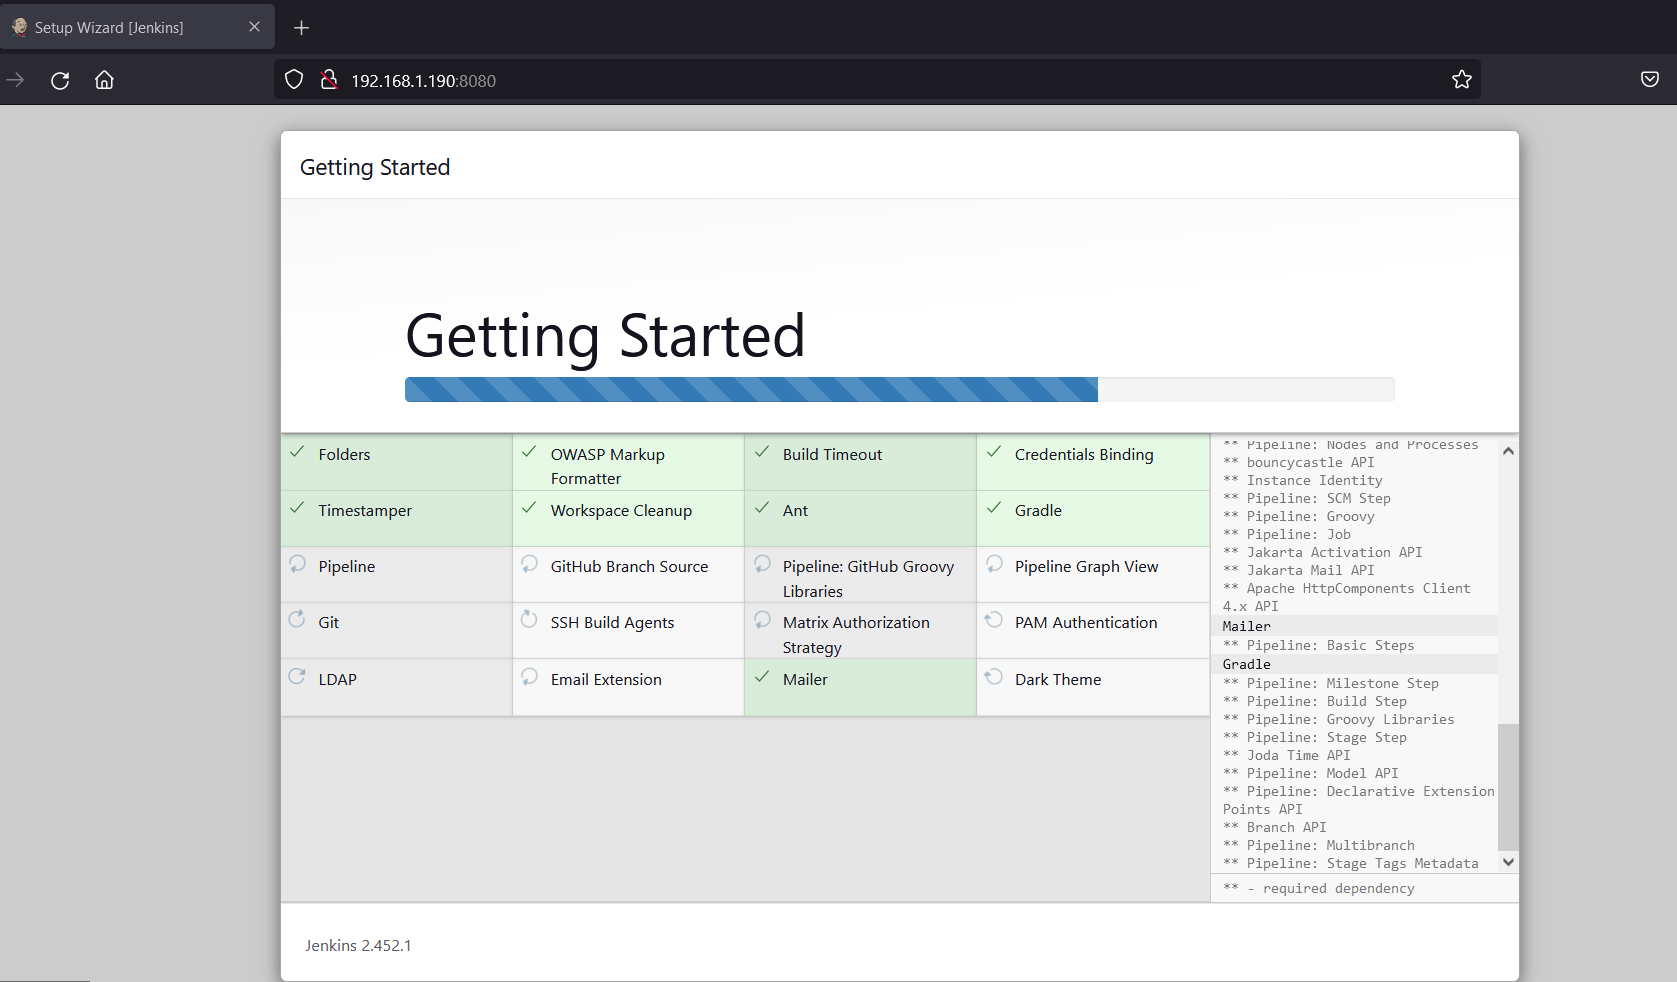
Once all the suggested plugins are installed then setup wizard will prompt us to create admin user.
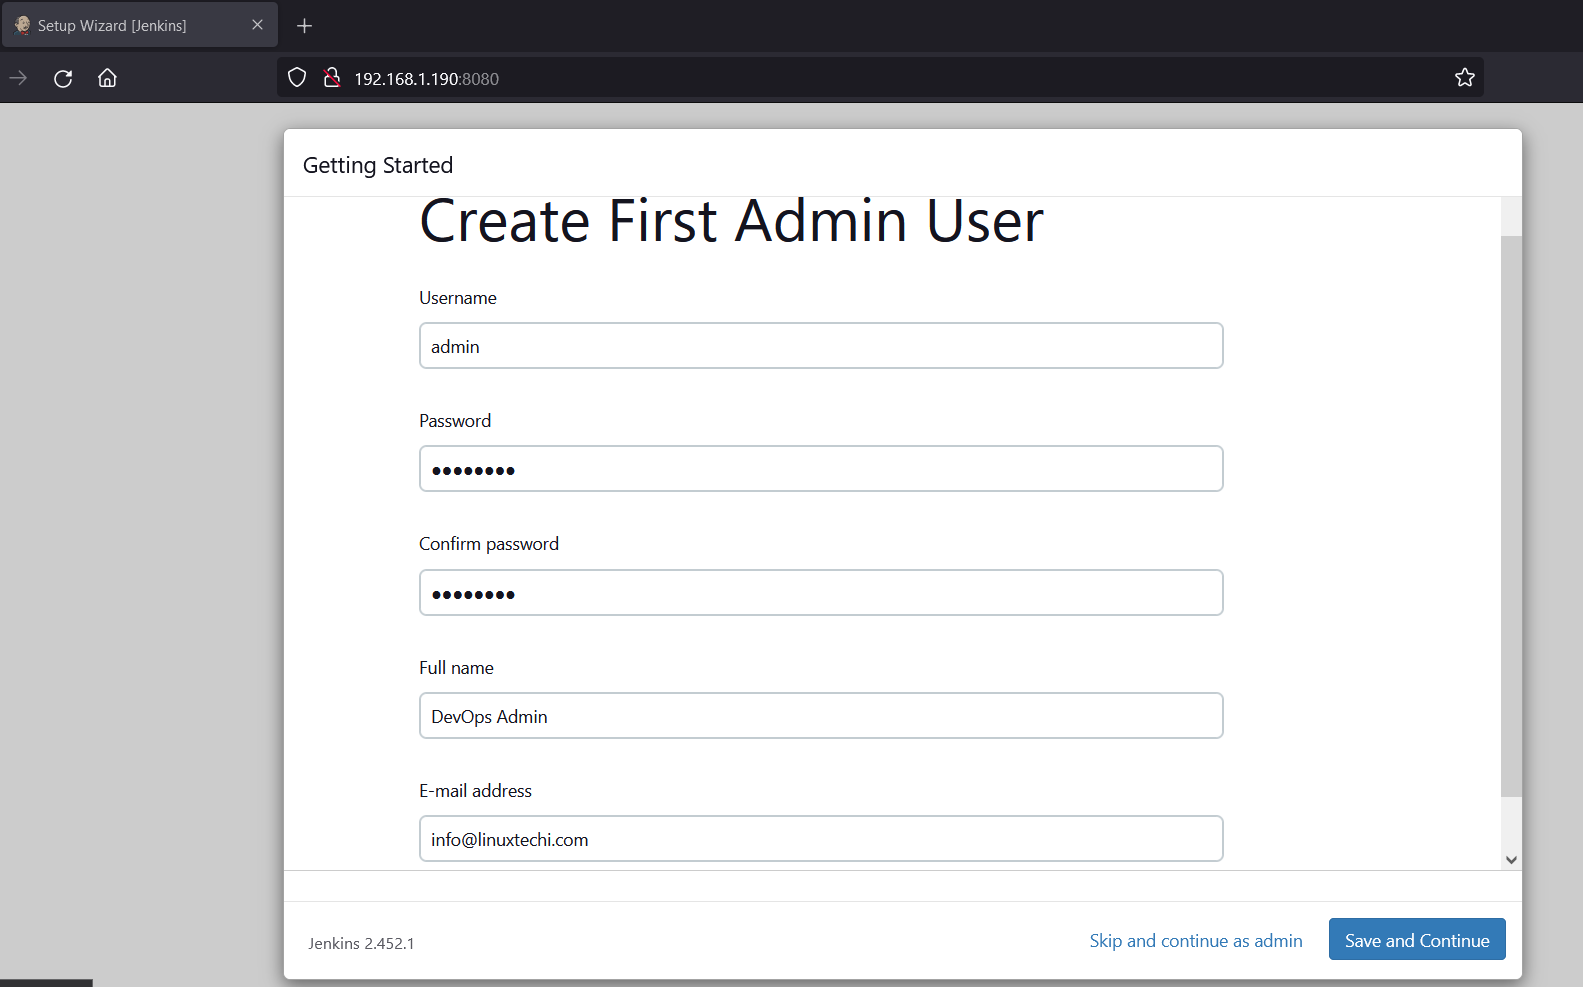
Click on ‘Save and Continue‘
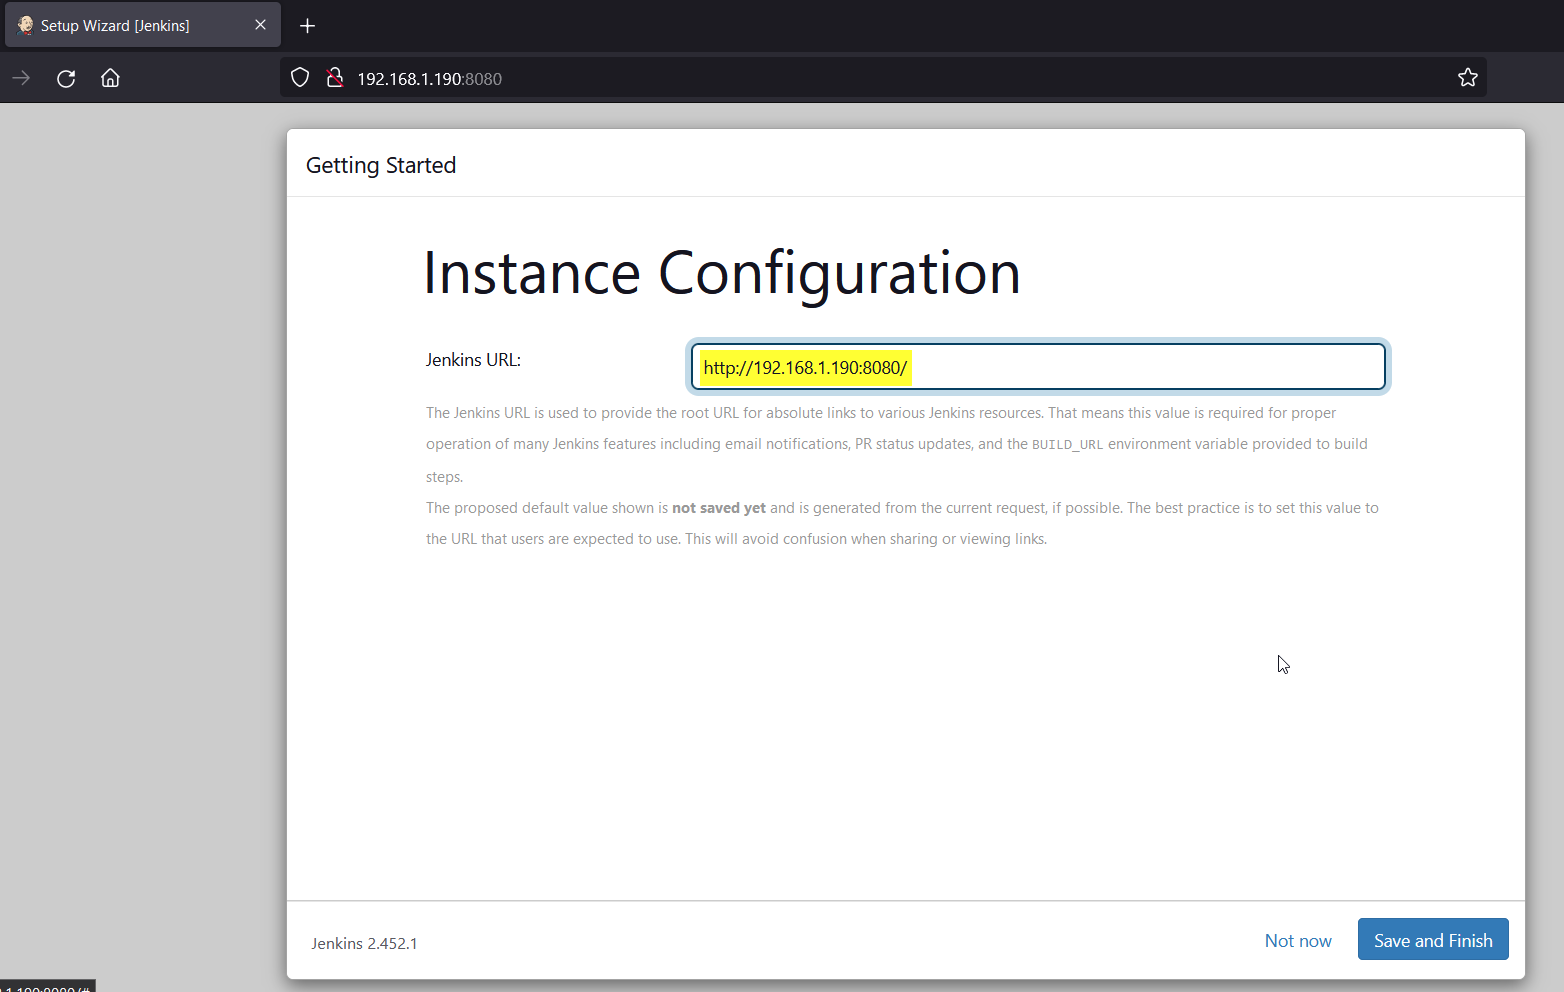
Click on ‘Save and Finish’
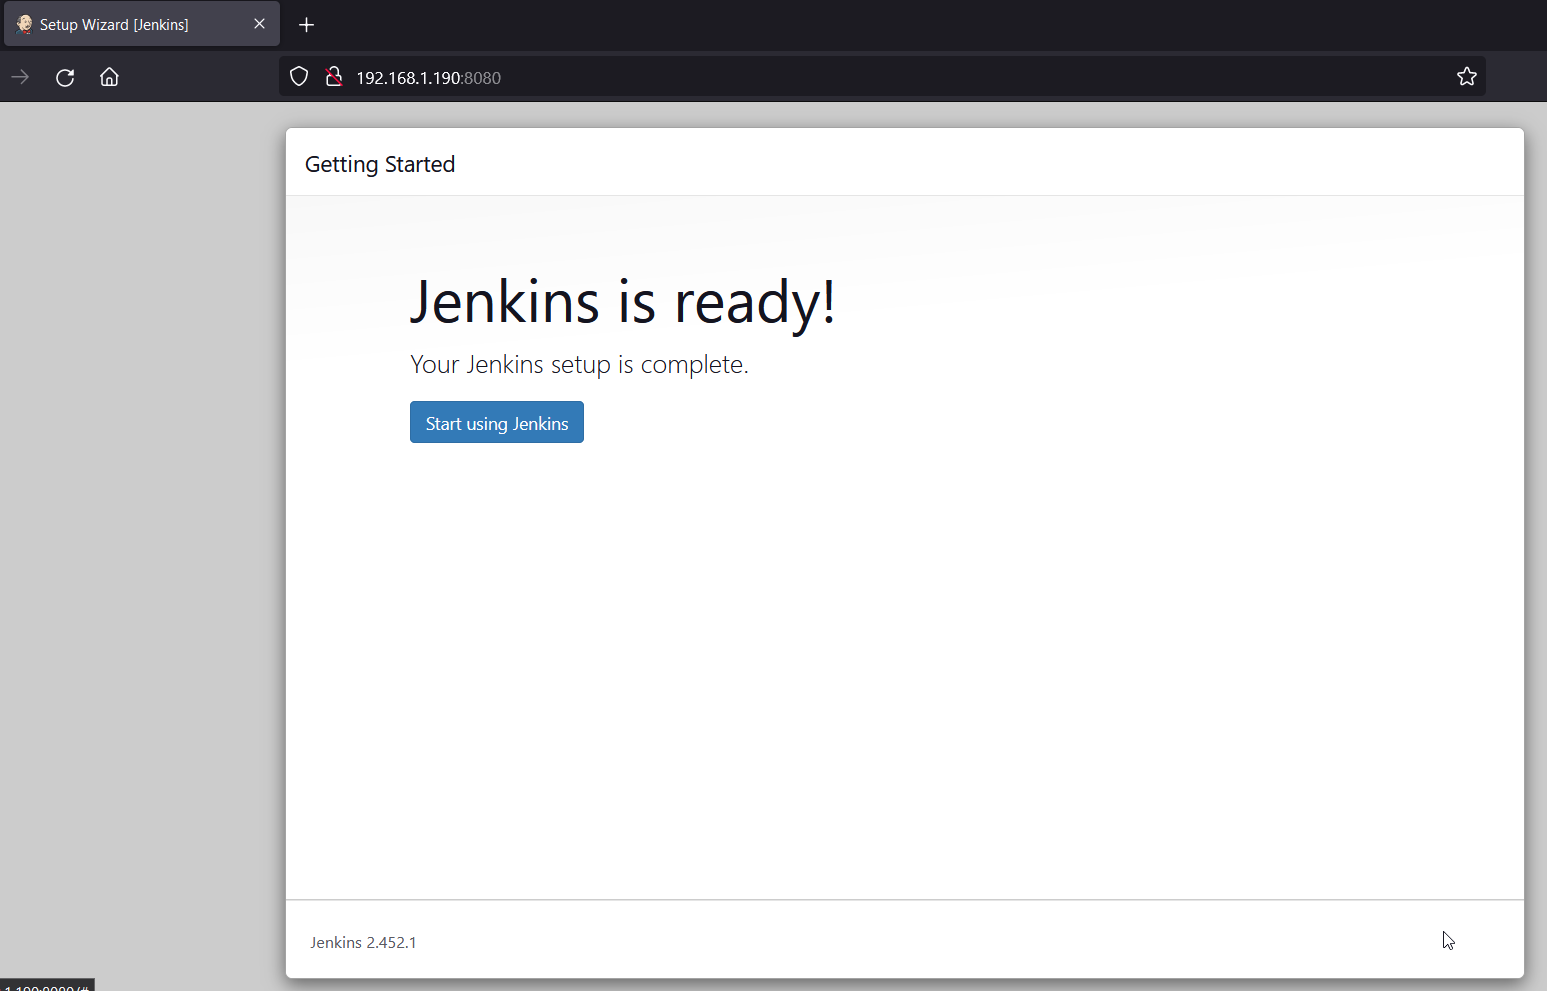
Click on ‘Start Using Jenkins’, it will take us to Jenkins dashboard:
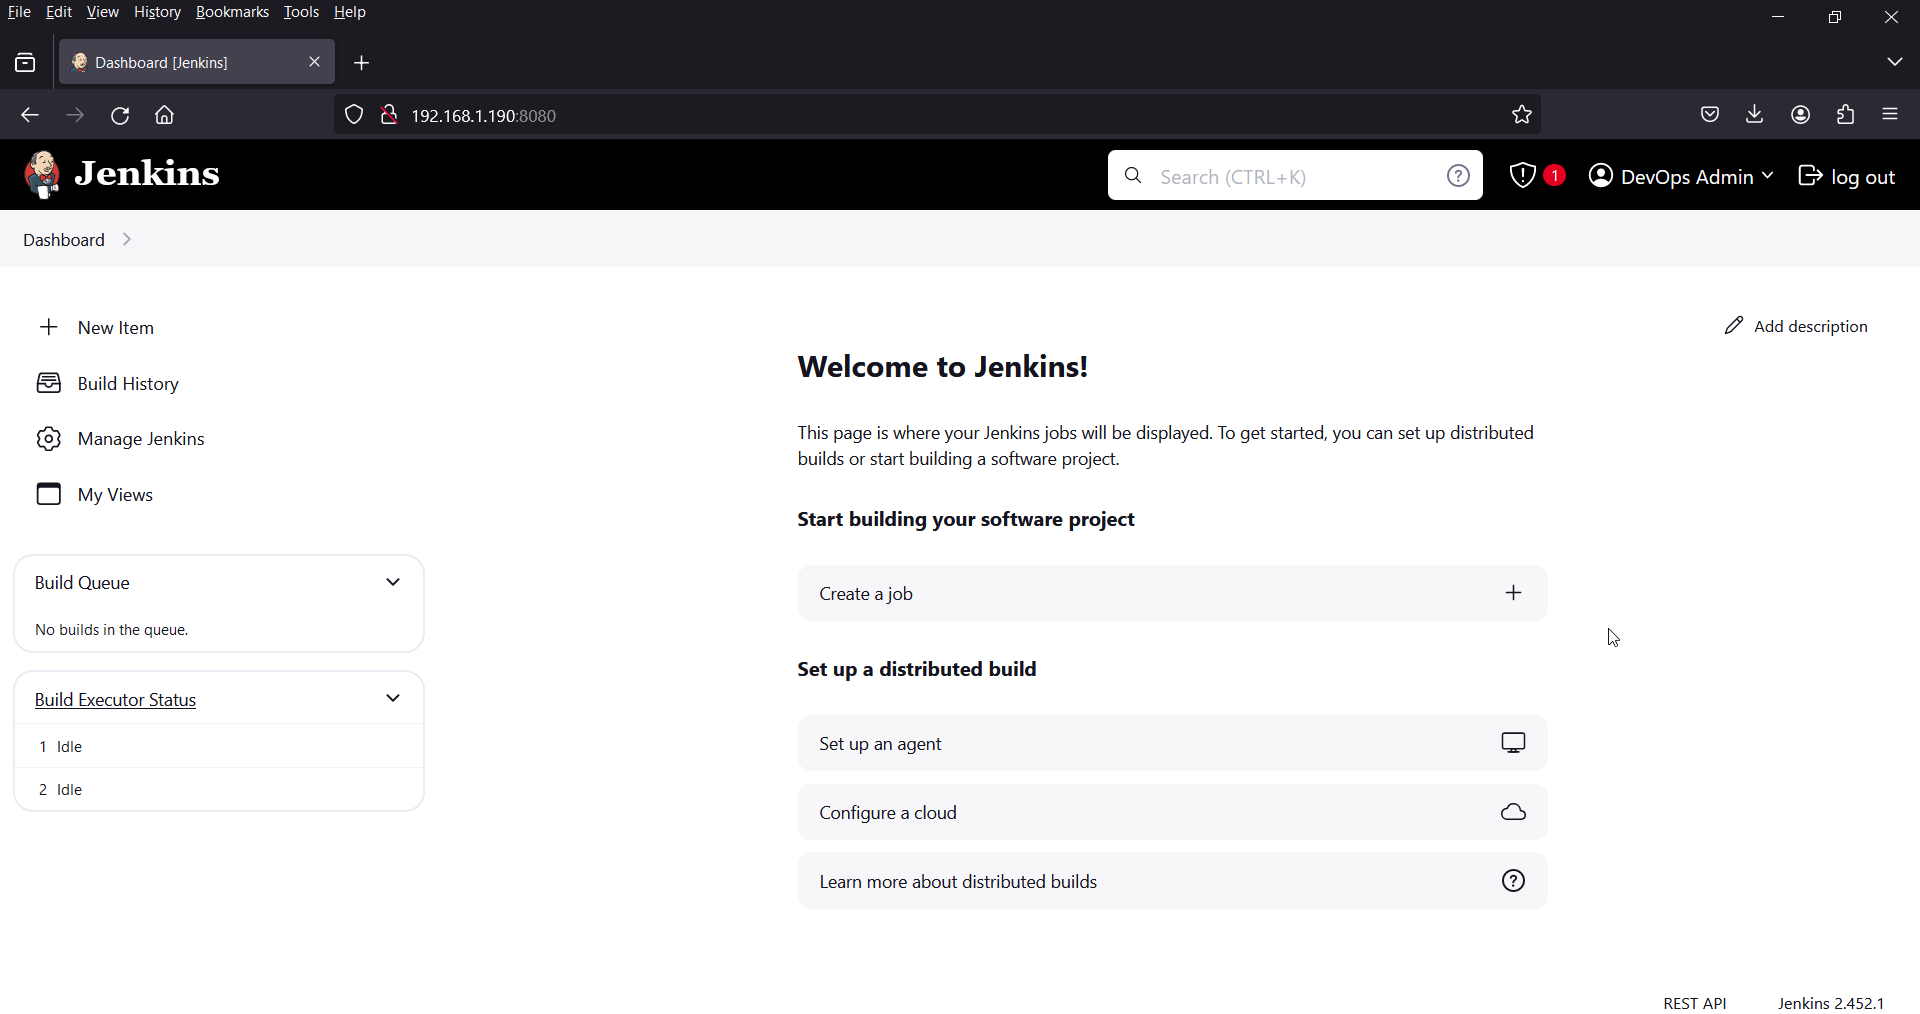
Above screen confirms that Jenkins has been installed successfully. That’s all from this article, feel free to post your queries and feedback in below comments section.
Nice article with good explanation.
[root@vmi371756 ~]# systemctl status -l jenkins
● jenkins.service – LSB: Jenkins Automation Server
Loaded: loaded (/etc/rc.d/init.d/jenkins; generated)
Active: active (exited) since Mon 2021-01-25 03:12:34 CET; 4min 20s ago
Docs: man:systemd-sysv-generator(8)
Process: 2223 ExecStop=/etc/rc.d/init.d/jenkins stop (code=exited, status=0/SUCCESS)
Process: 2237 ExecStart=/etc/rc.d/init.d/jenkins start (code=exited, status=0/SUCCESS)
I got error wwith status is active (exited)
Thanks… Jenkins Installation worked great for RHEL 8.
Had issues with the versions of Java on a RHEL 8 box and Jenkins now only accepting Java versions 11 or 17.
Used the following commands
/usr/sbin/alternatives –config java and /usr/sbin/alternatives –config javac
to select the right versions of Java.