In this blog post, we will explain how to use docker compose to launch multi-container application.
Docker compose is a command line tool to define and configure multi-container applications. In other words we can say docker compose is used to link multiple containers and deploy application from a single command. Let’s assume we want to deploy WordPress site inside a container, so to deploy this we would be requiring one Web Server container (Apache/ nginx) and one database container (mysql / mariadb).
With Docker Compose we can easily include multiple containers inside our docker-compose file and can also define all other configuration required for my application. Docker-compose tool can be used in development, testing and staging environment, apart from these it can be easily used in CI (Continues Integration) workflow.
Prerequisites
- Pre Install Docker on your Linux system
- Local User with sudo rights
- Internet connectivity
Note: I am assuming docker is already installed on your Linux system if not then refer below documentation.
Also Read: How to Install Docker on Ubuntu 24.04 Step-by-Step
Install Docker Compose
Login to your docker host and run the beneath command to install docker.
// For Ubuntu and Debian
$ sudo apt update
$ sudo apt install docker-compose-plugin -y
// RPM based distributions
$ sudo yum update
$ sudo yum install docker-compose-plugin -y
To verify the docker compose version run beneath command,
$ docker compose version
Docker Compose version v2.28.1
$
Use Docker Compose to Launch Multi-Container Application
To deploy multi-container application with docker-compose command , first create a directory under that directory create a compose file with name ‘docker-compose.yml‘ or ‘docker-compose.yaml‘. In that compose file, we will define the services for our application and container images. In this guide, we will deploy wordpress using docker compose.
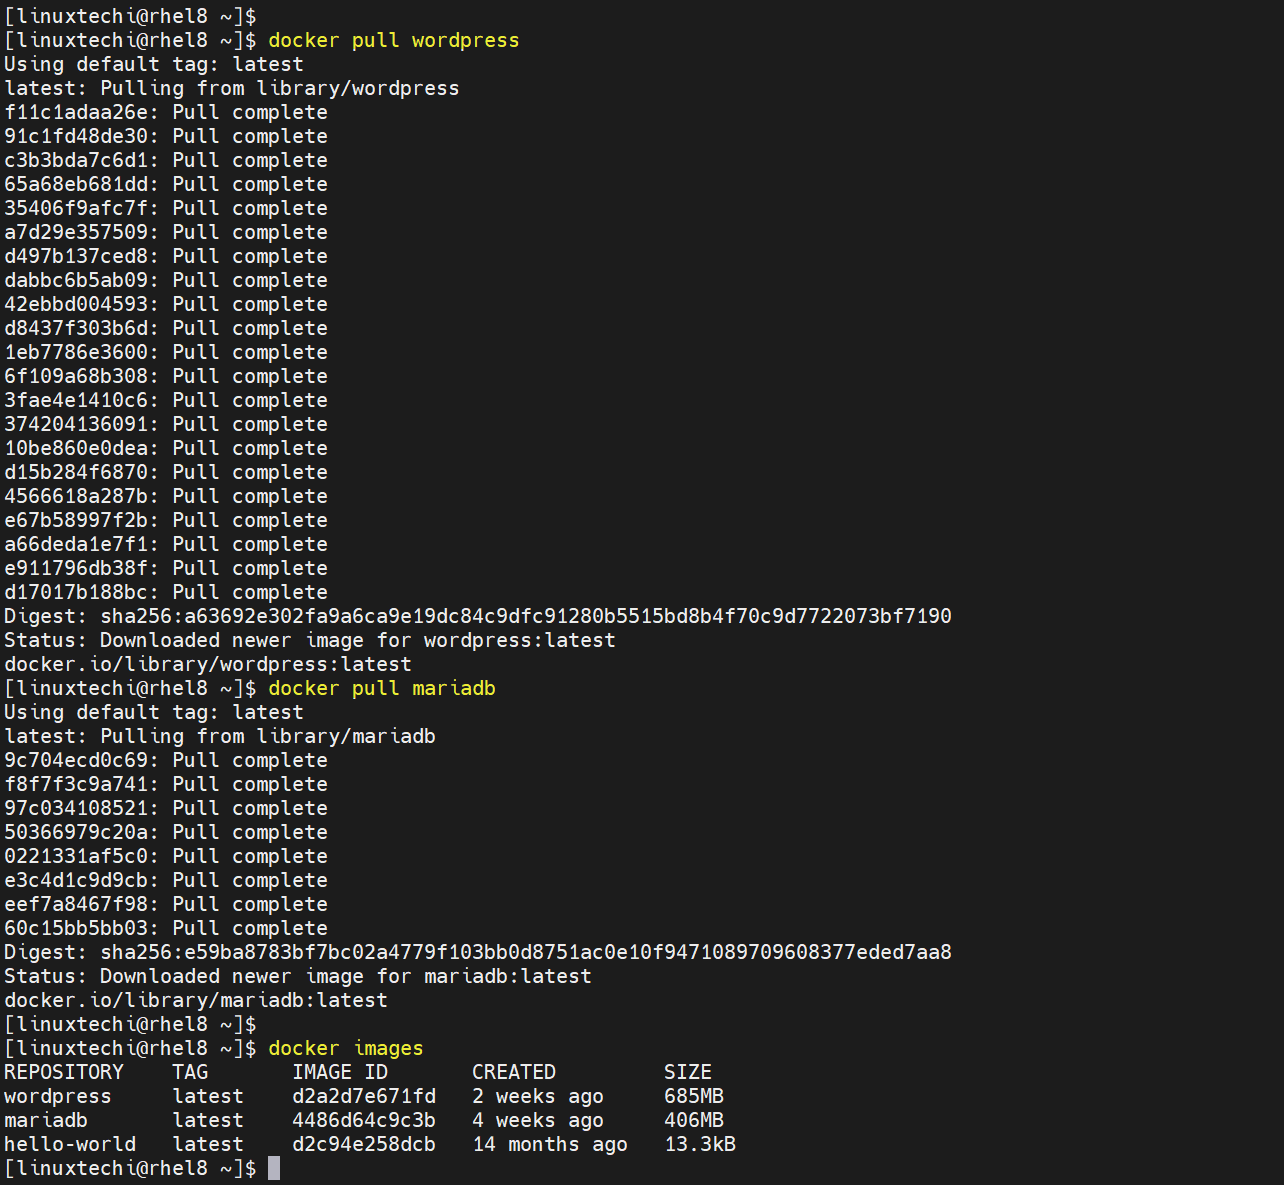
Before start creating compose file, let’s first pull WordPress and MariaDB container images.
$ docker pull wordpress
$ docker pull mariadb
$ docker image ls
Create a directory with name “wordpress-site”
$ mkdir wordpress-site && cd wordpress-site/
Create docker-compose.yml file with the following content
$ vi docker-compose.yml
services:
  wordpress:
  image: wordpress:latest
  container_name: wordpress
  depends_on:
    - db
  ports:
    - "8000:80"
  environment:
    WORDPRESS_DB_HOST: db:3306
    WORDPRESS_DB_USER: dbuser
    WORDPRESS_DB_PASSWORD: 6zcznAEjLWp79P
    WORDPRESS_DB_NAME: wordpress
  volumes:
    - wordpress_data:/var/www/html

  db:
  image: mariadb:latest
  container_name: mariadb
  environment:
    MYSQL_ROOT_PASSWORD: 6zcznAEjLWp79P
    MYSQL_DATABASE: wordpress
    MYSQL_USER: dbuser
    MYSQL_PASSWORD: 6zcznAEjLWp79P
  volumes:
    - db_data:/var/lib/mysql

volumes:
  wordpress_data:
  db_data:
save and close the file.
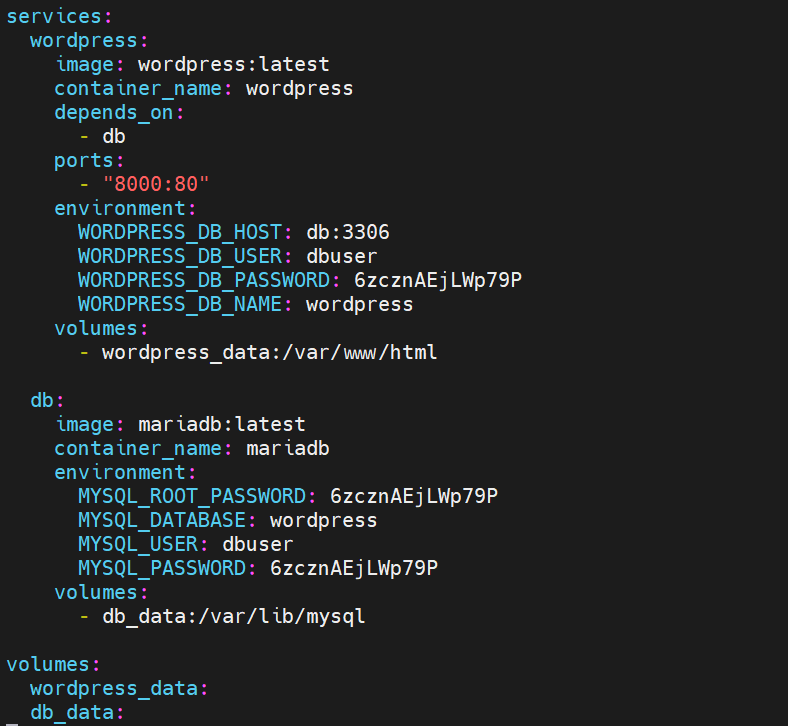
In the above compose file we have define two services with the name “wordpress” and “db”, for these services I have also specified container image . Apart from this I have specify environments by mentioning the mysql root password and wordpress db password.
Let’s deploy our application by running below command
$ docker compose up -d
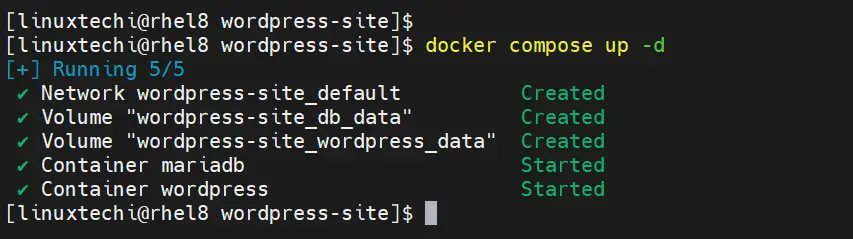
Note: Run ‘docker compose up -d’ command from the directory where docker-compose file exists.
Above Command will deploy two containers with name “wordpress” and “mariadb”. Try access your WordPress site using URL :
http://{docker-host-ip}:8000
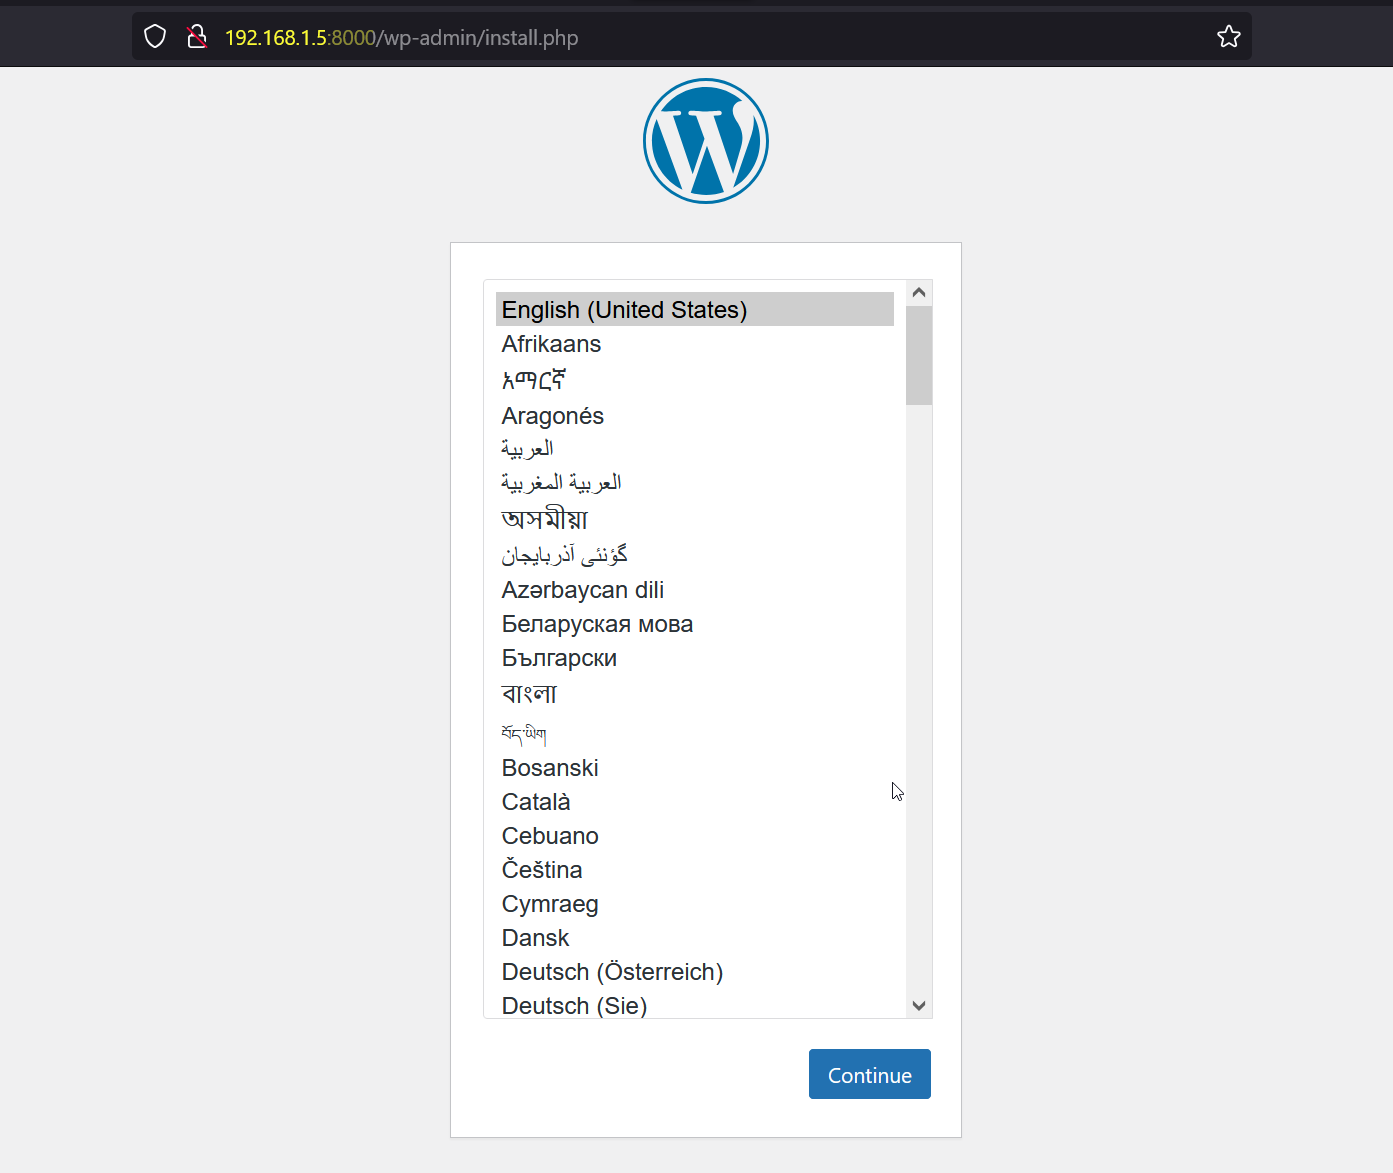
Follow screen instructions to finish WordPress Installation. This confirms that we have successfully deployed WordPress site inside the containers using docker compose tool.
Let’s have a look on options of ‘docker compose’ command
List the Containers which are deployed for our application
$ docker compose ps

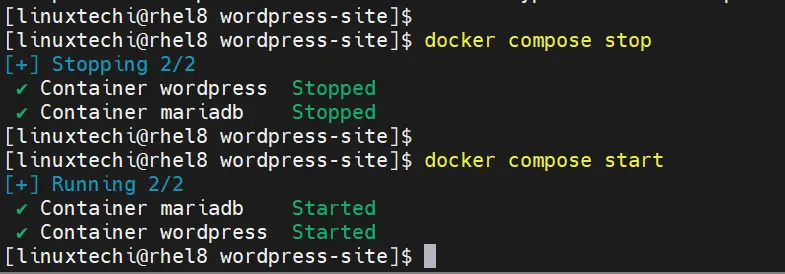
Stop and start containers & Its services
To stop container and services , run
$ docker compose stop
Run ‘docker compose start’ to start containers and its services
$ docker compose start
View Container Logs
Run ‘docker compose logs’ command to view logs of containers and to view the logs of a specific container use the command ‘docker compose logs {conatainer-name}’
$ docker compose logs
$ docker compose logs -f  // this will show the live logs
$ docker compose logs mariadb  // this will show logs only from mariadb container
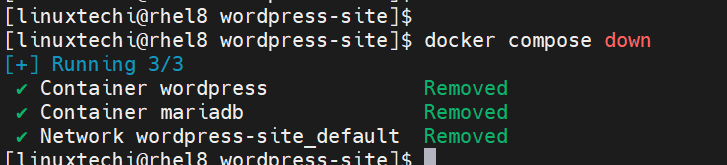
Stop & Remove Containers along with its network
With help of ‘docker-compose down’ command we can stop and remove containers from a single command
$ docker compose down
That’s all from this guide, For more options please refer “docker compose –help“. Feel free to post your query and feedback in below comments section.