In this post, we will explain how to install nginx on Ubuntu 24.04 LTS step-by-step. In addition to this, we will also cover how install ssl certificates on Nginx.
Nginx is a free and open-source web server, it can also be used as reverse proxy, HTTP load balancer, HTTP Cache and mail proxy. Nginx is available for all the Unix like operating systems and released under BSD-like license.
Prerequisites
- Pre-Install Ubuntu 24.04 LTS
- Sudo user with admin rights
- Internet Connectivity
Install Nginx on Ubuntu 24.04 LTS
Nginx package and its dependencies are available in the default package repositories of Ubuntu 24.04, so its installation is straight forward , open the terminal and run following apt commands.
$ sudo apt update
$ sudo apt install nginx -y

Start & Enable Nginx service, run
$ sudo systemctl start nginx
$ sudo systemctl enable nginx
Use below commands to verify the nginx service status,
$ sudo systemctl status nginx
$ sudo systemctl is-active nginx
Output of above commands would be something like below,

Allow Nginx Ports ( 80 & 443 ) in firewall
In case OS firewall is enabled and configured on your Ubuntu 22.04 system then execute the below ufw commands to allow 80 and 443 port,
$ sudo ufw allow 80/tcp
Rules updated
Rules updated (v6)
$ sudo ufw allow 443/tcp
Rules updated
Rules updated (v6)
$
Now Verify rules using the below command,
$ sudo ufw status numbered
Status: active
     To                         Action      From
     --                         ------      ----
[ 1] 80/tcp                     ALLOW IN    Anywhere
[ 2] 443/tcp                    ALLOW IN    Anywhere
[ 3] 22/tcp                     ALLOW IN    Anywhere
[ 4] 80/tcp (v6)                ALLOW IN    Anywhere (v6)
[ 5] 443/tcp (v6)               ALLOW IN    Anywhere (v6)
[ 6] 22/tcp (v6)                ALLOW IN    Anywhere (v6)
$
Once you are done with above changes, let’s verify the Nginx Welcome Page!!!
$ curl -v http://<Server-IP-Address>
or
Open your Web browser, type : http://{Your-Server-IP-Address}
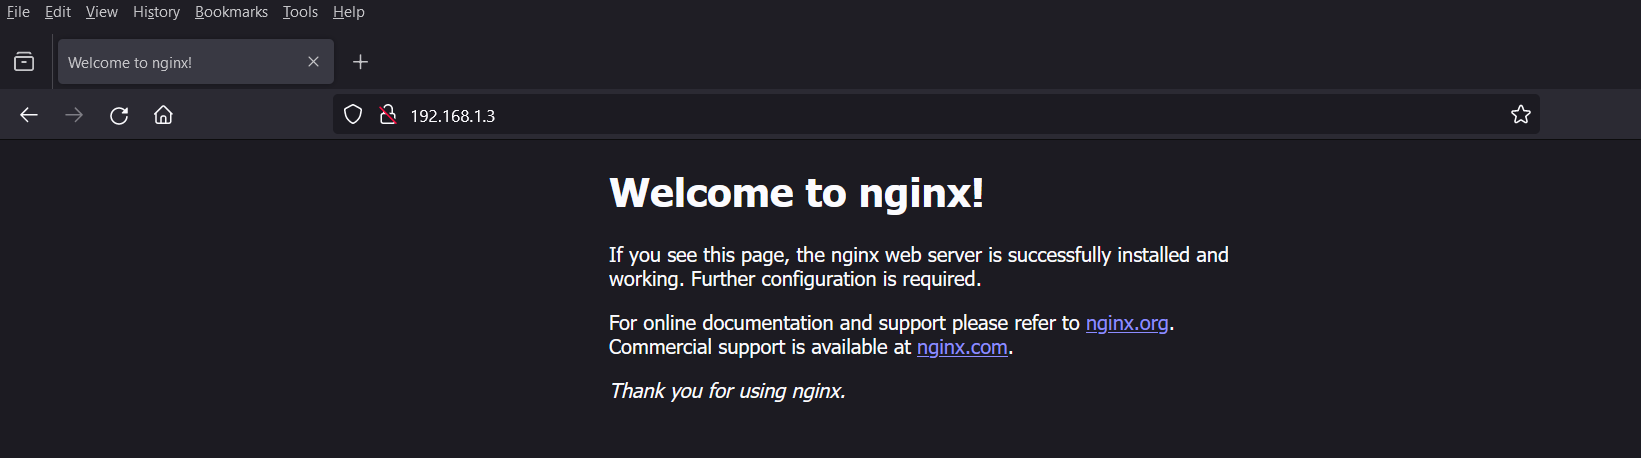
Above page confirms that basic nginx web server installation is completed. Let’s discuss server block in nginx.
Server Block in Nginx
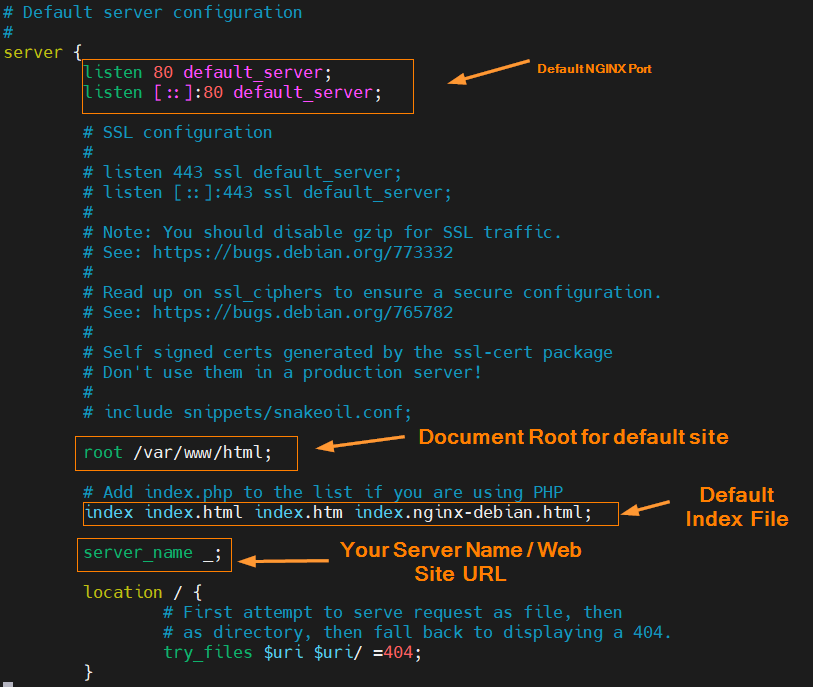
In Apache Web Server we have virtual hosts concept where we can define details of multiple web sites, similarly in Nginx we have Server blocks means block for each web site, let’s look into the default server block (/etc/nginx/sites-available/default) and then we will create our own site’s server block,
$ sudo vi /etc/nginx/sites-available/default
Define Your Custom Server Block
Let’s assume, we want to create a custom server block for web server www.linuxtechi.lan,
Create a document root using below command,
$ sudo mkdir /var/www/linuxtechi
Create a index.html under web server document root,
$ sudo vi /var/www/linuxtechi/index.html
<!DOCTYPE html>
<html>
<head>
<title>Welcome to LinuxTechi</title>
</head>
<body>
<h1>Welcome to LinuxTechi</h1>
<p>LinuxTechi Welcome Page running on NGINX Web Server - Ubuntu 24.04</p>
</body>
</html>
save and close the file.
Now create your server block by creating a file “linuxtechi.lan” with the following content under the folder /etc/nginx/sites-available
$ sudo vi linuxtechi.lan
server {
       listen 80;
       root /var/www/linuxtechi;
       index index.html;
       server_name www.linuxtechi.lan;
}
To activate the above created server block, create a symbolic link from “/etc/nginx/sites-available/linuxtechi.lan” to “/etc/nginx/sites-enabled”
$ sudo ln -s /etc/nginx/sites-available/linuxtechi.lan /etc/nginx/sites-enabled
Restart your nginx service using below command,
$ sudo systemctl restart nginx
Note: In case you don’t have DNS server then you should add below entries in hosts file of your client machine,
192.168.1.3 www.linuxtechi.lan
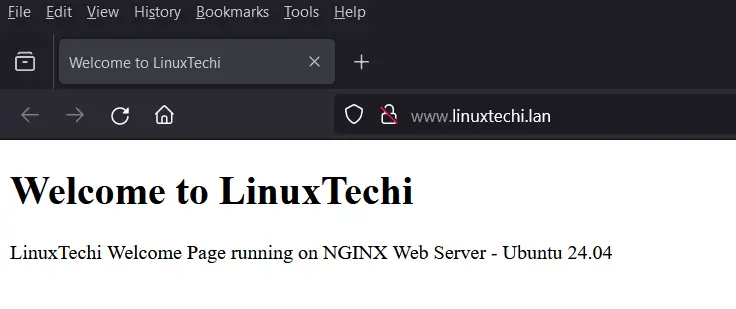
Now access your web server via url : http://{Web-Server-Name}
In my case , url is http://www.linuxtechi.lan
Install SSL Certificate On Nginx
As of now our nginx web server is running on non-secure port 80, to make the web server secure then we need to install ssl certificates. You can get the SSL certificates from the trusted sources or you can also use self-signed certificates generated via openssl command.
In this post, I am generating the self-signed certificates for my web server using openssl command,
$ sudo openssl req -x509 -days 703 -sha256 -newkey rsa:2048 -nodes -keyout /etc/ssl/private/linuxtechi.key -out /etc/ssl/certs/linuxtechi-cert.pem
Output,
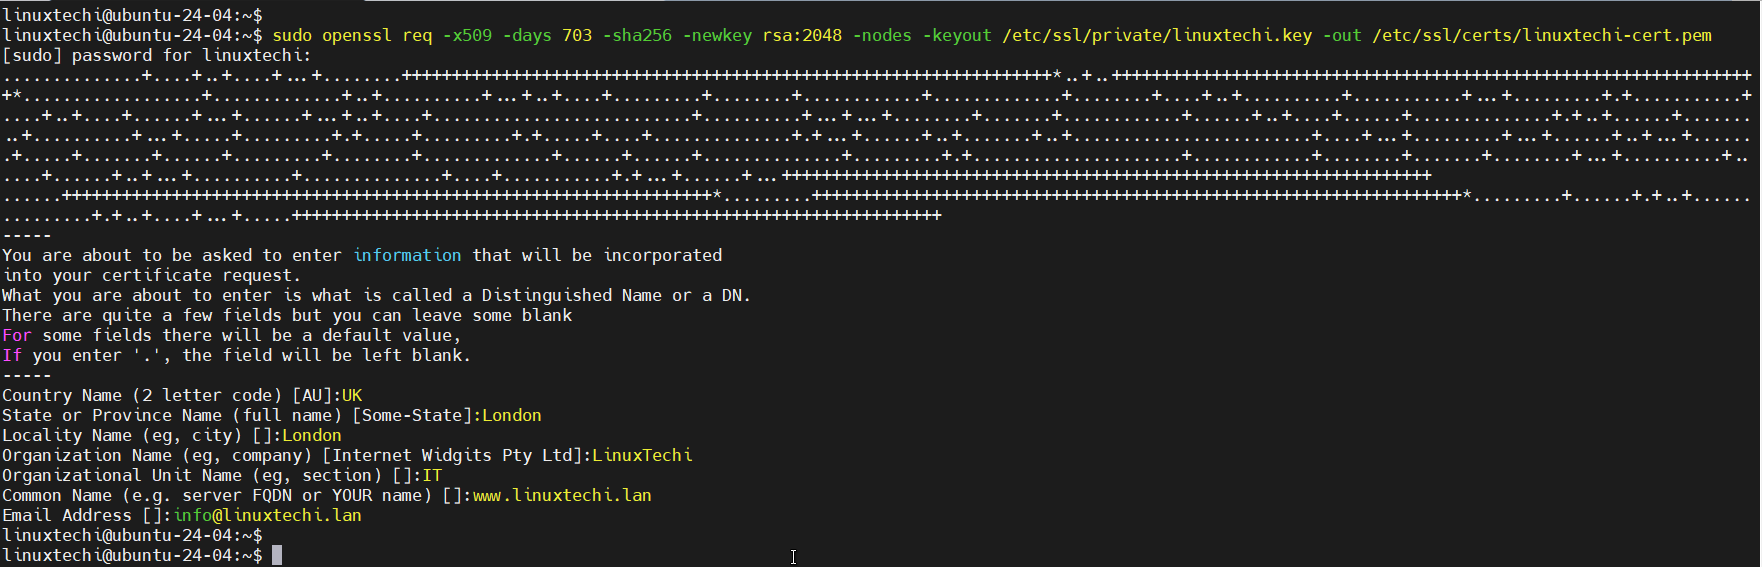
Above command has generated the private key with “linuxtechi.key” and certificates with name “linuxtechi-cert.pem“, these certificates will be applicable for the next two years.
Now update your server block, add the key and certificate location and change the web server port from 80 to 443,
$ sudo vi /etc/nginx/sites-available/linuxtechi.lan
server {
       listen 443 ssl;
       root /var/www/linuxtechi;
       index index.html;
       server_name www.linuxtechi.lan;
       ssl_certificate /etc/ssl/certs/linuxtechi-cert.pem;
       ssl_certificate_key /etc/ssl/private/linuxtechi.key;
}
Save and exit file and then restart nginx service using following command,
$ sudo systemctl restart nginx
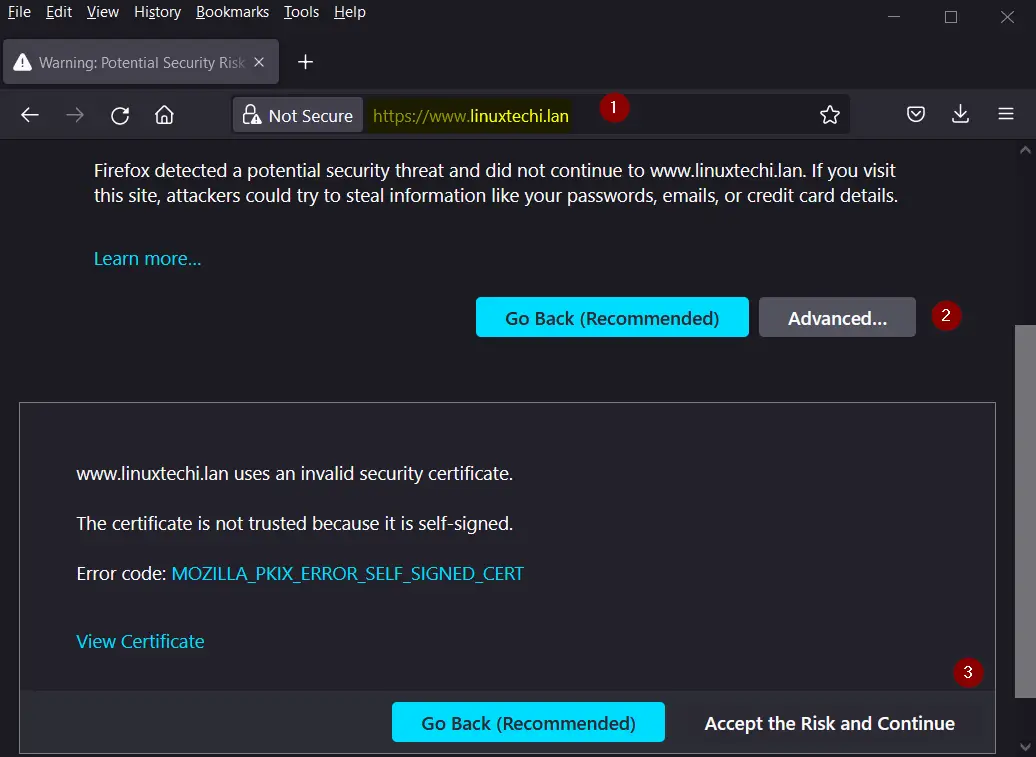
Access your web server on https protocol like,
https://www.linuxtechi.lan
Note: As we have installed our self-signed certificates so we have to first time click on “Advanced” and then “Accept the Risk and Continue” while accessing the web server on HTTPS.
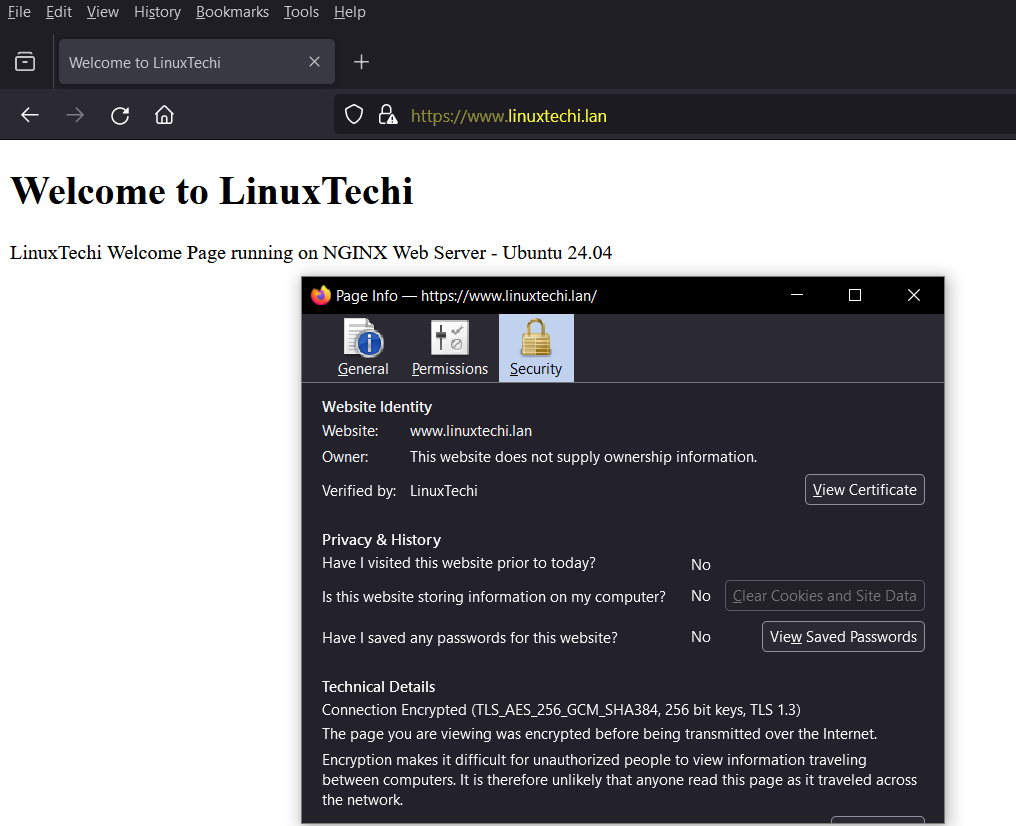
This confirms that we have successfully enabled self-signed certificates on our Nginx Web server running on Ubuntu 24.04 LTS. That’s all from this post, feel free to post your queries and feedback in below comments section.
Also Read: How to Install Git on Ubuntu 24.04


This is exactly what I was looking for long time. Thanks for this article. I am just starter for Linux whereas brought new Ubuntu based Dell inspiron laptop & try to gain as much Linux operational knowledge as possible.
please add similar information on reverse proxy and mail proxy ;-). your article is nice.
Very well documented
Very helpful tips,
I will use the same to solve issues of my company Indiaaccess Servers and Hostasp Servers
Thanks for your info