In this guide, we will show you how to install NFS server on Ubuntu 22.04 step-by-step.
Network File System (NFS) is a powerful and widely-used protocol that allows you to share files and directories between multiple Linux systems over a network. Setting up an NFS server on Ubuntu 22.04 or 20.04 can be a valuable addition to your network infrastructure, enabling efficient file sharing among your devices.
Prerequisites
- A machine running Ubuntu 22.04.
- A machine running Rocky Linux for the NFS client.
- Administrative (sudo) privileges on both the machines.
- A basic understanding of the Linux terminal.
Lab setup
- NFS Server IP: 192.168.1.103 Ubuntu 22.04
- Client System IP: 192.168.1.105 Rocky Linux 9
1) Install NFS Server on Ubuntu 22.04
To get started we are going to install the NFS kernel server package on Ubuntu 22.04 which will, in effect, turn it into an NFS server. But first, let’s update the package list as shown.
$ sudo apt update
Package repositories of Ubuntu 22.04 has the latest and stable NFS server package and its dependencies. Therefore, run the following command to install the NFS server,
$ sudo apt install nfs-kernel-server -y
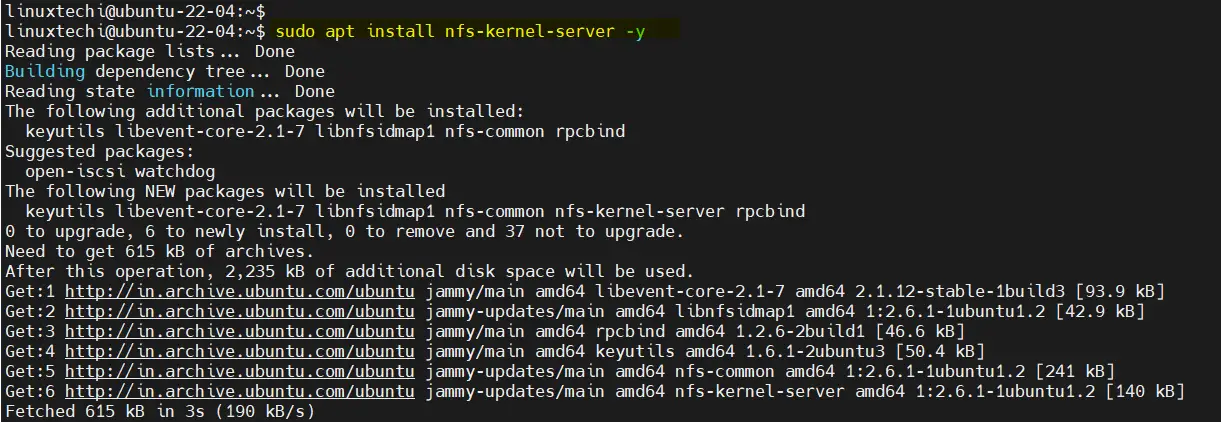
This command will also install additional packages such as keyutils, nfs-common, rpcbind, and other dependencies required for the NFS server to function as expected.
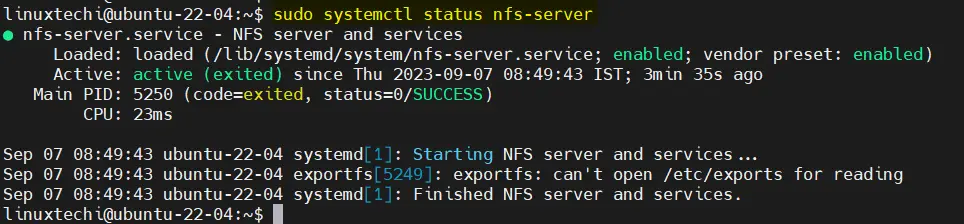
Verify nfs-server service status, run
$ sudo systemctl status nfs-server
2) Create the Shared Directory for NFS Server
Next, you’ll need to create the directory you want to share via NFS. This is the directory in which we will place files to be shared across the local area network For this example, let’s create a directory named “my_share” in the /mnt directory:
$ sudo mkdir /mnt/my_shares
Since we want all the files accessible to all clients, we will assign the following directory ownership and permissions using chown command,
$ sudo chown nobody:nogroup /mnt/my_shares
$ sudo chmod -R 777 /mnt/my_shares
These permissions are recursive and will apply to all the files and sub-directories that you will create.
3) Configure NFS Exports
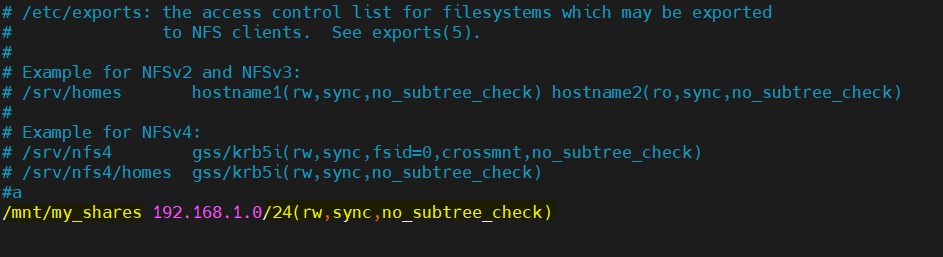
After creating the NFS directory share, now, you’ll need to configure NFS exports to specify which directories you want to share and who can access them. Open the exports file ( /etc/exports) in a text editor:
$ sudo vi /etc/exports
To allow access to a single client, add the line below and replace the client-IP parameter with the client’s actual IP.
/mnt/my_shares client-IP(rw,sync,no_subtree_check)
In order to add more clients to the list, simply specify more lines as shown below:
/mnt/my_shares client-IP-1(rw,sync,no_subtree_check)
/mnt/my_shares client-IP-2(rw,sync,no_subtree_check)
/mnt/my_shares client-IP-3(rw,sync,no_subtree_check)
Additionally, you can specify an entire subnet a shown.
/mnt/my_shares 192.168.1.0/24 (rw,sync,no_subtree_check)
This allows all clients in the 192.168.1.0 subnet access to the server. In our case, we will grant all clients access to the NFS server as shown
/mnt/my_shares 192.168.1.0/24(rw,sync,no_subtree_check)
Save and exit the text editor.
Let’s briefly brush through the permissions and what they stand for.
rw: Allows the client to read and write to the shared directory.sync: Data is written to the disk immediately (synchronous).no_subtree_check: Disables subtree checking for better performance.
4 ) Export the Shared Directory
Once you’ve defined the exports, you need to export them by running:
$ sudo exportfs -a
Above command makes the shared directory accessible over the network (192.168.1.0/24).
5) Firewall Rules for NFS Server
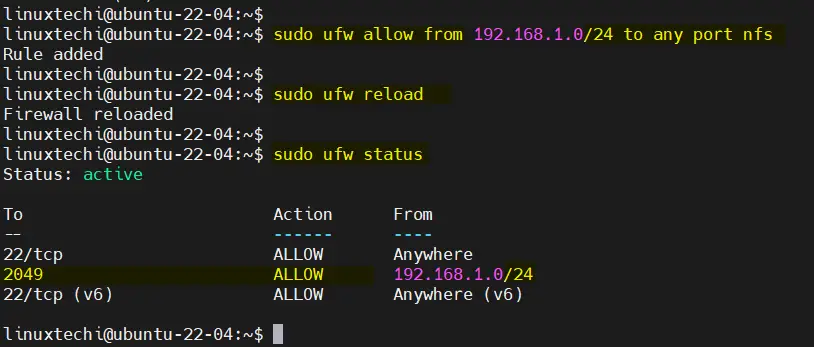
If you’re using UFW (Uncomplicated Firewall), you need to allow NFS traffic. Use the following commands:
$ sudo ufw allow from [client-IP or client-Subnet-IP] to any port nfs
In our case, the command will appear as follows:
$ sudo ufw allow from 192.168.1.0/24 to any port nfs
$ sudo ufw reload
$ sudo ufw status
We are all good now with configuring the NFS Server. The next step is to configure the client and test if your configuration works. So, let’s proceed and configure the client.
6) Mount NFS Share on Rocky Linux 9
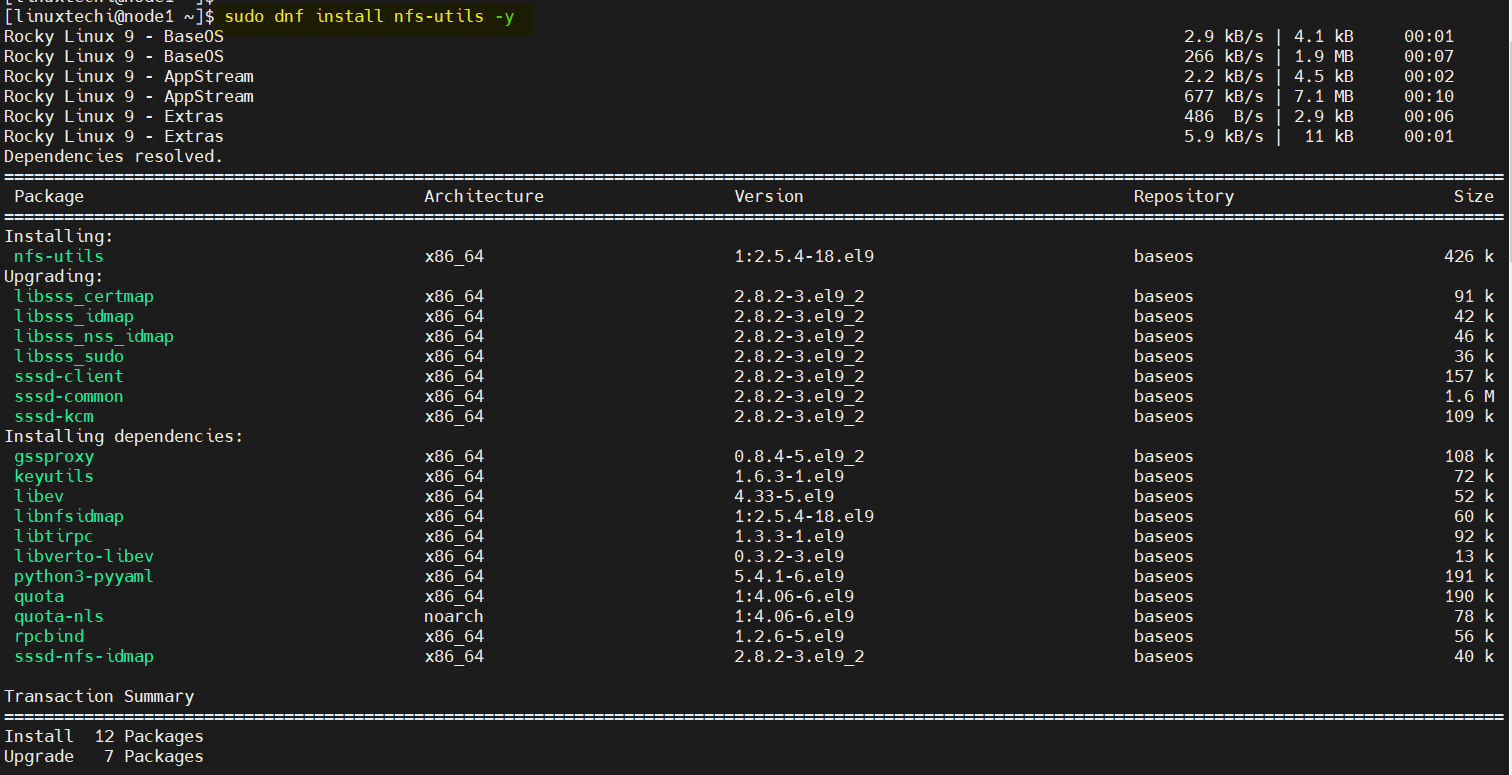
Login to Rocky Linux 9 system and install nfs client using following command,
$ sudo dnf install nfs-utils -y
After NFS client installation, create a directory (client_shared_folder) under /mnt folder on which we will mount NFS share from the server.
$ sudo mkdir -p /mnt/client_shared_folder
Finally, mount the remote NFS share directory to the client directory as follows.
$ sudo mount 192.168.1.103:/mnt/my_shares /mnt/client_shared_folder
$ df -Th /mnt/client_shared_folder
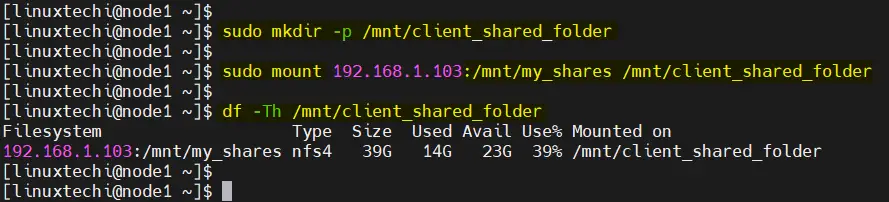
Perfect, output above confirms that remote nfs share is mounted on “/mnt/client_shared_folder”
7) Test NFS Share
You can verify that the NFS share is mounted correctly by listing the contents of the mounted directory:
$ cd /mnt/client_shared_folder
$ ls
To test if our configuration is working, we are going to create a test file in the NFS shared directory, head back to the NFS server and run,
$ cd /mnt/my_shares
$ touch nfs_share.txt

Now, let’s get back to our client and see if we can see the file in our mounted directory
$ ls /mnt/client_shared_folder/
And voila! There goes our file as shown in the snippet below. This is confirmation that our setup was successful.

That’s all from this guide, we hope this guide was beneficial to you and that you can comfortably share files using NFS on your network. Kindly do paste your queries and feedback in below comments section.
Conclusion
Congratulations! You’ve successfully installed NFS server on Ubuntu 22.04 and configured an NFS client on Rocky Linux 9. You can now share files and directories between these two systems effortlessly. NFS is a robust solution for network file sharing and can be customized further to suit your specific needs. Explore the possibilities and leverage NFS to streamline your file-sharing requirements.
Read Also : How to Install KVM on Ubuntu 22.04 (Jammy Jellyfish)