In this post, we will show how to install nfs server on Debian 12 step-by-step. We will also explain how to mount NFS share on the remote Linux machine using automount utility.
Network File System (NFS) is a widely used protocol for sharing files and directories between Unix-like operating systems over a network. It allows you to seamlessly access files and folders on remote servers as if they were local. The latest NFS is version 4, It provides central management which can be secured with a firewall and Kerberos authentication.
Prerequisites
- A Debian 12 System to act as the NFS server.
- Any Linux machine that will serve as the NFS client.
- Administrative access to both the server and client.
Lab Environment
- NFS server : 192.168.1.240 (Debian 12)
- NFS Client : 192.168.1.250 (Rocky Linux)
Now, let’s dive into the installation and configuration steps of NFS Server.
1) Install NFS Server on Debian 12
First, let’s set up the NFS server on your Debian 12 machine. Open a terminal and follow these steps:
Update your package list to ensure you have the latest information about available packages:
$ sudo apt-get update
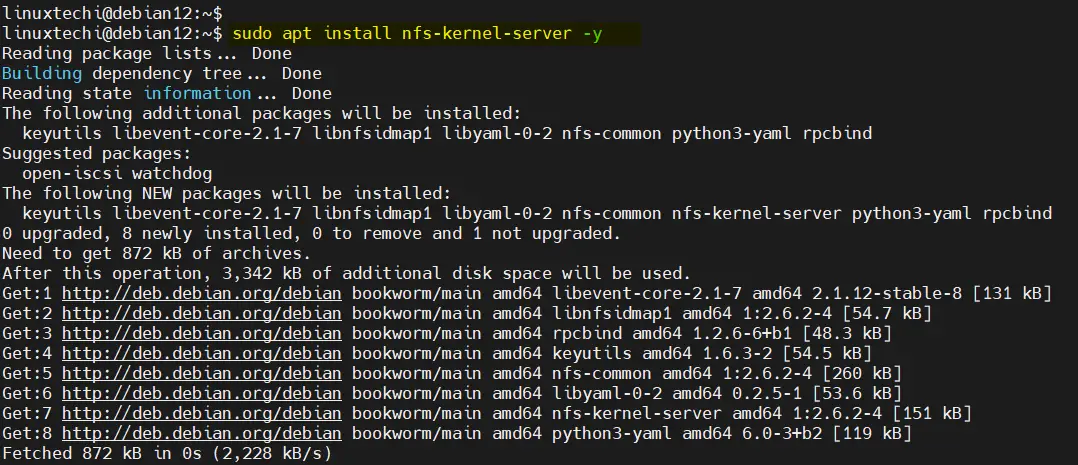
Install nfs server package:
$ sudo apt install nfs-kernel-server -y
After installing NFS server package and its dependencies, start the NFS service and enable it to start on boot:
$ sudo systemctl start nfs-kernel-server
$ sudo systemctl enable nfs-kernel-server
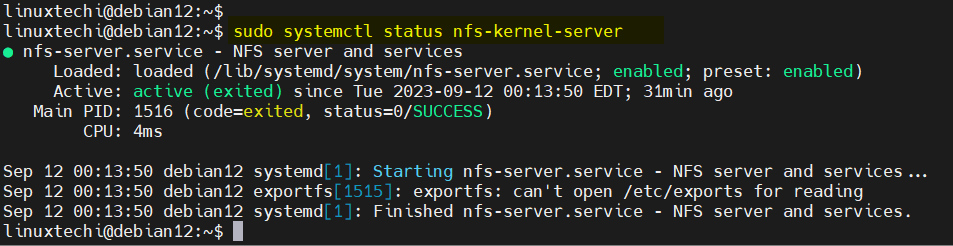
Verify the NFS service, run
$ sudo systemctl status nfs-kernel-server
2) Configure NFS Exports on the Server
First make a directory which will shared over the network using nfs.
$ sudo mkdir -p /mnt/nfsshare
As NFS share will be used by any user on the client, so set the following permissions on the directory using chown command.
$ sudo chown nobody:nogroup /mnt/nfsshare
Assign the following permission on the directory so that user on client machine can read and write the files. However, you can set it as per your requirement.
$ sudo chmod 755 /mnt/nfsshare
Update the export information in /etc/exports file
$ sudo vi /etc/exports
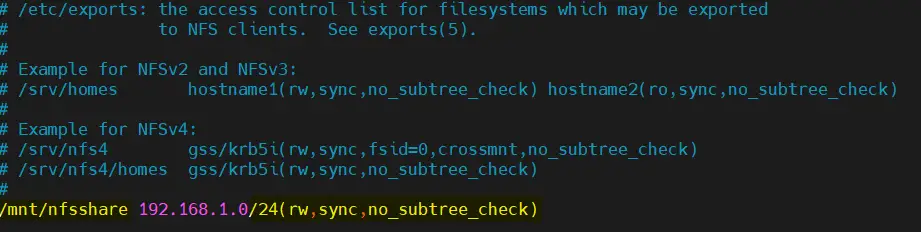
Add the following entry at the end of the file.
/mnt/nfsshare 192.168.1.0/24(rw,sync,no_subtree_check)
save and exit the file
Your /etc/export file should look like,
Here,
- 192.168.1.0/24 : Allowed network to access NFS share.
- rw: Allows read and write access.
- sync: Data is written to the server’s disk immediately for consistency.
- no_subtree_check: Disables subtree checking to omprove NFS performance.
Now, export the shared directory.
$ sudo exportfs -a
If above does not throw any error. Meaning, your configuration is correct.
3) Firewall Rules for NFS Server
In case firewall is enabled on your Debian system then you must allow NFS traffic. Open the necessary ports allow the client to connect to NFS by using the following command,
$ sudo ufw allow from 192.168.1.0/24 to any port nfs
$ sudo ufw reload
4) Install NFS Client on Remote System
Now, access your remote linux system where you want to mount nfs share. Install NFS client package:
For Rocky Linux / AlmaLinux / RHEL
$ sudo dnf install nfs-utils -y
For Ubuntu & Debian
$ sudo apt install nfs-common
5) Mount NFS Share on Client Machine
Make a directory on which NFS share will be mounted,
$ sudo mkdir -p /mnt/shared_nfs
For permanent mount add the following entry in /etc/fstab file. Open the file using any of your favorite editors.
$ sudo vi /etc/fstab
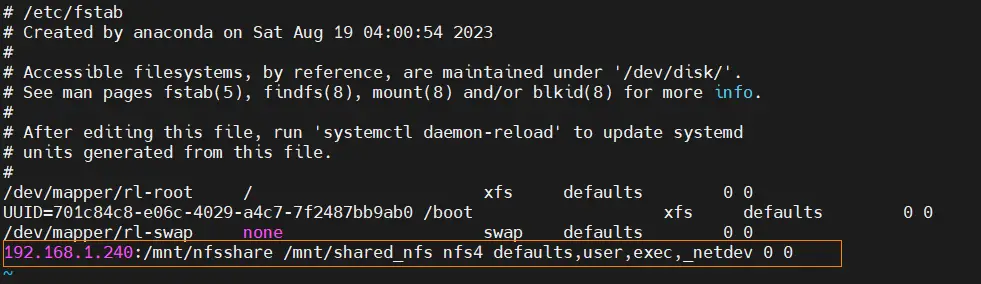
Add following line at the end of the file,
192.168.1.240:/mnt/nfsshare /mnt/shared_nfs nfs4 defaults,user,exec,_netdev 0 0
save and exit the file.
Your file should look like,
where,
- 192.168.1.240:/mnt/nfsshare = shared folder coming from nfs server
- /mnt/shared_nfs = mount directory in client machine
- nfs4 = signifies nfs version 4
- defaults,user,exec = Permit any user to mount the file system also allow them to exec binaries
- _netdev: It prevents the client from attempting to mount nfs file system until the network has been enabled.
Mount the NFS file system using below commands,
$ systemctl daemon-reload
$ sudo mount -a
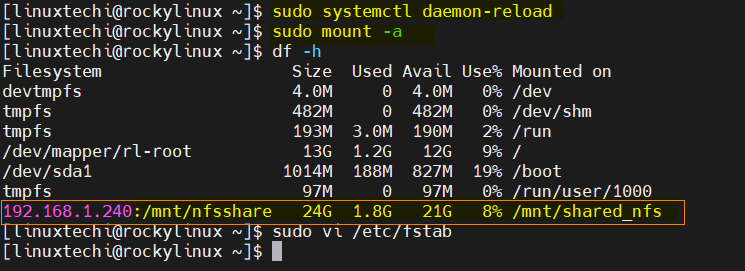
You can test the connection by creating a file in /mnt/shared_nfs on the client machine.
Let’s try to create a file with touch command on a NFS share,
$ cd /mnt/shared_nfs
$ touch testFile.txt
If this doesn’t show any error your configuration is fine and you are ready to use NFS share system.
Note: It is not recommended to use fstab for mounting the NFS share. Instead use the auto-mounter, It will automatically mounts/unmounts NFS share on the demand.
Mounting NFS Share using automount utility
Install autofs package which will provide automount utility. Run the following command on client machine
$ sudo dnf install autofs     // RHEL or Rocky Linux or Alma Linux
$ sudo apt install autofs    // Ubuntu or Debian
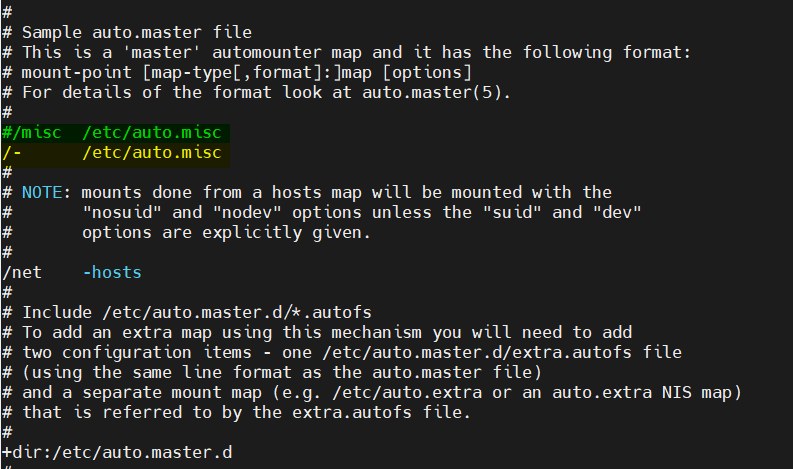
Edit the file /etc/auto.master, change the line “/misc /etc/auto.misc” to “/- /etc/auto.misc”
$ sudo vi /etc/auto.master
---
#/misc   /etc/auto.misc
/-       /etc/auto.misc
---
save and close the file
Now, edit the file “/etc/auto.misc” and add the following entry at the end,
$ sudo vi /etc/auto.misc
.....
/mnt/shared_nfs -fstype=nfs,rw,soft,intr 192.168.1.240:/mnt/nfsshare
.....
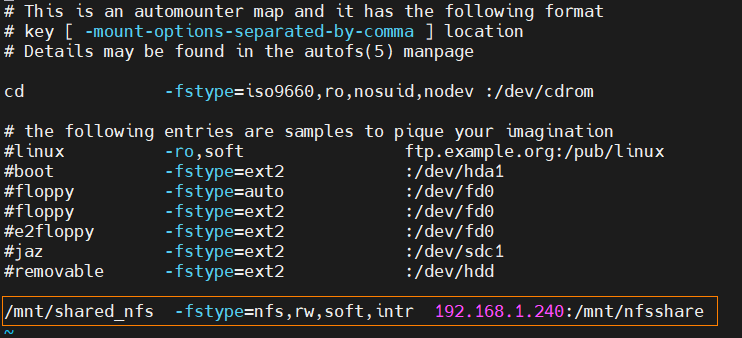
Where
- /mnt/shared_nfs : Mount point on the client machine
- -fstype=nfs,rw,soft,intr : File system type and options
- 192.168.1.240:/mnt/nfsshare : NFS Server and its share path
Restart autofs service to make above changes into the effect.
$ sudo systemctl restart autofs
Now, try to access the directory “/mnt/shared_nfs” and autofs should automatically mount the NFS share.
$ cd /mnt/shared_nfs/ ; ls
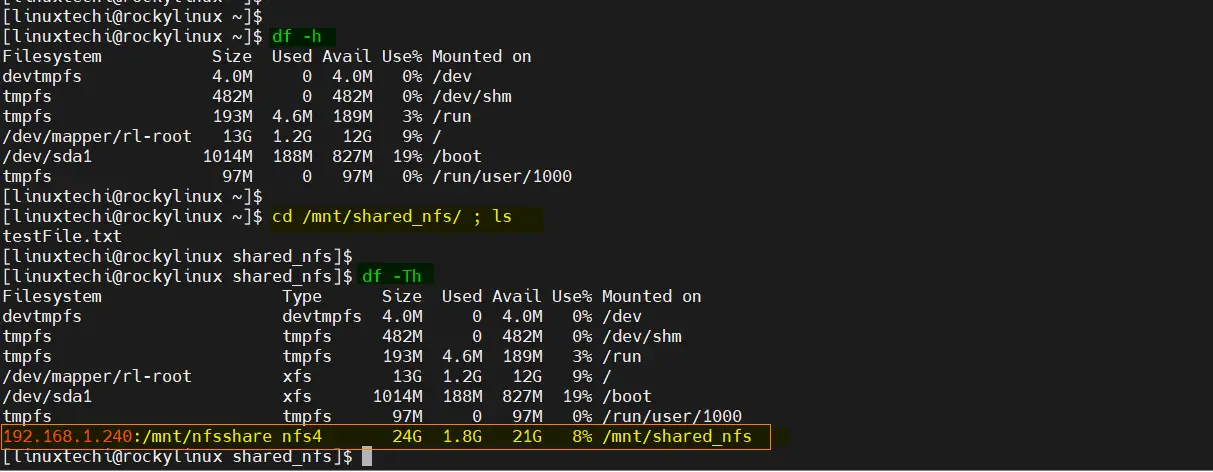
Perfect, above output confirms that automount is working fine as NFS share is mounted automatically when we try to access the folder “/mnt/shared_nfs”.
That’s all from this post, We hope that you have found it informative and useful. Kindly do post your queries and feedback in below comments section.

This is fine.
Never the less, i’m using Buster with a BannaPi.
NFS share can still be declared in fstab.
But at boot, they are not mounted automaticaly as before.
I spent quiet a lot of time getting my share nfs mounted, through
systemd at boot. And i have to say no luck up to know.
Any idea ?
Jacques
Never put nfs mounts in /etc/fstab. Instead use the auto-mounter. It automatically mounts/unmounts on demand and can be configured to timeout so you don’t hang your system on nfs.
Hello JACQUES,
if your storage device is network, please
add _netdev
in /etc/fstab
The final output should like
192.168.122.126:/mnt/nfsshare /mnt/shared_nfs nfs4 defaults,user,exec,_netdev 0 0
Hi Pratik
I am a newbie to all this Linux. Am trying to setup Logitech Media Server on my Tinker Board 2 S running Debian 10 v2. My music files reside on a Synology NAS. I followed your scripts and also the reply to Jacques to add _netdev to the line in fstab.
I can see the NAS on File Manager when I boot the board. However, it does not get mounted automatically. I need to click the icon or run mount -a from terminal.
How to get it mount automatically?