oVirt is a free and open source virtualization software used in Linux like operating systems such as Fedora, CentOS and RHEL. In other words we can say oVirt is the alternate of VMware vSphere in Linux. Ovirt community is founded and supported by Red Hat and it is considered as upstream project for Red Hat Enterprise Virtualization (RHEV).
oVirt consists of two main components :
- oVirt Engine
- oVirt Node
oVirt Engine is a graphical user interface or we can say it is a Web administrator portal from where we can manage virtual machines, compute, network and storage resources.
oVirt Node is either a RHEL / CentOS or Fedora Server on which vdsm service is up and running. Ovirt node will act as Hypervisor (KVM) on which all the Virtual machines will be created.
In this article we will install the latest version oVirt 4.0.3 on CentOS 7 / RHEL 7 . We will be using two servers one will act as ovirt engine and other will act as ovirt node. Below are the details :
oVirt Engine : ovirtengine.example.com (192.168.1.30 )
oVirt Node : ovirtnode.example.com (192.168.1.40)
Update the below entries in /etc/hosts file in case you don’t have your local dns server.
192.168.1.30  ovirtengine.example.com
192.168.1.40  ovirtnode.example.com
Installation Steps of oVirt Engine on CentOS 7 / RHEL 7
Following are minimal requirements for ovirt-engine :
- Minimal OS ( CentOS 7.x / RHEL 7.x )
- Dual core server
- 4 GB RAM
- 25 GB Disk Space
- 1-Gbps Lan Card
Perform the following steps one after the another to install ovirt engine.
Step:1 Update the server using yum command
Install latest update on server using beneath yum command.
[root@ovirtengine ~]# yum update -y
Once the updates are installed reboot the sever.
Step:2 Enable oVirt 4.0.3 Repository
ovirt engine packages are not available in CentOS and RHEL yum repositories. Run below command to set and enable ovirt 4.0 repertory
[root@ovirtengine ~]# yum install http://resources.ovirt.org/pub/yum-repo/ovirt-release40.rpm
Step:3 Install oVirt Engine Package using yum command
Execute the following yum command to install ovirt engine.
[root@ovirtengine ~]# yum install ovirt-engine -y
Step:4 Start the ovirt engine installer
Run the command ‘engine-setup’ from the console, it will start the ovirt engine installer and will interactively ask series of question during the installation and will save all the answers to a answer file. Answer file can be reused in order to automate the installation.
[root@ovirtengine ~]# engine-setup --generate-answer=/root/answer.txt
[ INFO ] Stage: Initializing
[ INFO ] Stage: Environment setup
 Configuration files: ['/etc/ovirt-engine-setup.conf.d/10-packaging-jboss.conf', '/etc/ovirt-engine-setup.conf.d/10-packaging.conf']
 Log file: /var/log/ovirt-engine/setup/ovirt-engine-setup-20160918040600-2gbi6m.log
 Version: otopi-1.5.2 (otopi-1.5.2-1.el7.centos)
[ INFO ] Stage: Environment packages setup
[ INFO ] Yum Downloading: base/7/x86_64 (0%)
[ INFO ] Yum Downloading: updates/7/x86_64 (0%)
[ INFO ] Stage: Programs detection
[ INFO ] Stage: Environment setup
[ INFO ] Stage: Environment customization

 --== PRODUCT OPTIONS ==--

 Configure Engine on this host (Yes, No) [Yes]: Yes
 Configure Image I/O Proxy on this host? (Yes, No) [Yes]: Yes
 Configure WebSocket Proxy on this host (Yes, No) [Yes]: Yes
 Please note: Data Warehouse is required for the engine. If you choose to not configure it on this host, you have to configure it on a remote host, and then configure the engine on this host so that it can access the database of the remote Data Warehouse host.
 Configure Data Warehouse on this host (Yes, No) [Yes]: Yes
 Configure VM Console Proxy on this host (Yes, No) [Yes]: Yes

 --== PACKAGES ==--

[ INFO ] Checking for product updates...
[ INFO ] No product updates found

 --== NETWORK CONFIGURATION ==--

 Host fully qualified DNS name of this server [ovirtengine.example.com]: ovirtengine.example.com
[WARNING] Failed to resolve ovirtengine.example.com using DNS, it can be resolved only locally
 Setup can automatically configure the firewall on this system.
 Note: automatic configuration of the firewall may overwrite current settings.
 Do you want Setup to configure the firewall? (Yes, No) [Yes]: No

 --== DATABASE CONFIGURATION ==--

 Where is the DWH database located? (Local, Remote) [Local]: Local
 Setup can configure the local postgresql server automatically for the DWH to run. This may conflict with existing applications.
 Would you like Setup to automatically configure postgresql and create DWH database, or prefer to perform that manually? (Automatic, Manual) [Automatic]: Automatic
 Where is the Engine database located? (Local, Remote) [Local]: Local
 Setup can configure the local postgresql server automatically for the engine to run. This may conflict with existing applications.
 Would you like Setup to automatically configure postgresql and create Engine database, or prefer to perform that manually? (Automatic, Manual) [Automatic]: Automatic

 --== OVIRT ENGINE CONFIGURATION ==--

 Engine admin password:
 Confirm engine admin password:
[WARNING] Password is weak: it is too simplistic/systematic
 Use weak password? (Yes, No) [No]: Yes
 Application mode (Virt, Gluster, Both) [Both]: Both

 --== STORAGE CONFIGURATION ==--

 Default SAN wipe after delete (Yes, No) [No]: No

 --== PKI CONFIGURATION ==--

 Organization name for certificate [example.com]: example.com

 --== APACHE CONFIGURATION ==--

 Setup can configure the default page of the web server to present the application home page. This may conflict with existing applications.
 Do you wish to set the application as the default page of the web server? (Yes, No) [Yes]: Yes
 Setup can configure apache to use SSL using a certificate issued from the internal CA.
 Do you wish Setup to configure that, or prefer to perform that manually? (Automatic, Manual) [Automatic]: Automatic

 --== SYSTEM CONFIGURATION ==--

 Configure an NFS share on this server to be used as an ISO Domain? (Yes, No) [No]: No

 --== MISC CONFIGURATION ==--

 Please choose Data Warehouse sampling scale:
 (1) Basic
 (2) Full
 (1, 2)[1]: 1

 --== END OF CONFIGURATION ==--

[ INFO ] Stage: Setup validation
[WARNING] Warning: Not enough memory is available on the host. Minimum requirement is 4096MB, and 16384MB is recommended.
 Do you want Setup to continue, with amount of memory less than recommended? (Yes, No) [No]: Yes

 --== CONFIGURATION PREVIEW ==--

 Application mode : both
 Default SAN wipe after delete : False
 Update Firewall : False
 Host FQDN : ovirtengine.example.com
 Engine database secured connection : False
 Engine database host : localhost
 Engine database user name : engine
 Engine database name : engine
 Engine database port : 5432
 Engine database host name validation : False
 DWH database secured connection : False
 DWH database host : localhost
 DWH database user name : ovirt_engine_history
 DWH database name : ovirt_engine_history
 DWH database port : 5432
 DWH database host name validation : False
 Engine installation : True
 PKI organization : example.com
 Configure local Engine database : True
 Set application as default page : True
 Configure Apache SSL : True
 DWH installation : True
 Configure local DWH database : True
 Engine Host FQDN : ovirtengine.example.com
 Configure Image I/O Proxy : True
 Configure VMConsole Proxy : True
 Configure WebSocket Proxy : True

 Please confirm installation settings (OK, Cancel) [OK]: OK

[ INFO ] Stage: Transaction setup
[ INFO ] Stopping engine service
[ INFO ] Stopping ovirt-fence-kdump-listener service
[ INFO ] Stopping dwh service
[ INFO ] Stopping Image I/O Proxy service
[ INFO ] Stopping websocket-proxy service
[ INFO ] Stage: Misc configuration
[ INFO ] Stage: Package installation
[ INFO ] Stage: Misc configuration
[ INFO ] Upgrading CA
[ INFO ] Initializing PostgreSQL
[ INFO ] Creating PostgreSQL 'engine' database
[ INFO ] Configuring PostgreSQL
[ INFO ] Creating PostgreSQL 'ovirt_engine_history' database
[ INFO ] Configuring PostgreSQL
[ INFO ] Creating CA
[ INFO ] Creating/refreshing Engine database schema
[ INFO ] Creating/refreshing DWH database schema
[ INFO ] Configuring Image I/O Proxy
[ INFO ] Setting up ovirt-vmconsole proxy helper PKI artifacts
[ INFO ] Setting up ovirt-vmconsole SSH PKI artifacts
[ INFO ] Configuring WebSocket Proxy
[ INFO ] Creating/refreshing Engine 'internal' domain database schema
[ INFO ] Generating post install configuration file '/etc/ovirt-engine-setup.conf.d/20-setup-ovirt-post.conf'
[ INFO ] Stage: Transaction commit
[ INFO ] Stage: Closing up
[ INFO ] Starting engine service
[ INFO ] Starting dwh service
[ INFO ] Restarting ovirt-vmconsole proxy service

 --== SUMMARY ==--

[ INFO ] Restarting httpd
 In order to configure firewalld, copy the files from
 /etc/ovirt-engine/firewalld to /etc/firewalld/services
 and execute the following commands:
 firewall-cmd --permanent --add-service ovirt-postgres
 firewall-cmd --permanent --add-service ovirt-https
 firewall-cmd --permanent --add-service ovirt-fence-kdump-listener
 firewall-cmd --permanent --add-service ovirt-imageio-proxy
 firewall-cmd --permanent --add-service ovirt-websocket-proxy
 firewall-cmd --permanent --add-service ovirt-http
 firewall-cmd --permanent --add-service ovirt-vmconsole-proxy
 firewall-cmd --reload
 The following network ports should be opened:
 tcp:2222
 tcp:443
 tcp:5432
 tcp:54323
 tcp:6100
 tcp:80
 udp:7410
 An example of the required configuration for iptables can be found at:
 /etc/ovirt-engine/iptables.example
 Please use the user 'admin@internal' and password specified in order to login
 Web access is enabled at:
 http://ovirtengine.example.com:80/ovirt-engine
 https://ovirtengine.example.com:443/ovirt-engine
 Internal CA E2:96:0B:A0:6C:1E:B5:0D:BB:7B:B5:29:4D:88:92:5A:DA:1E:95:BC
 SSH fingerprint: 1f:7b:59:12:01:8c:b5:d7:21:49:3b:e9:e4:d1:72:da
[WARNING] Warning: Not enough memory is available on the host. Minimum requirement is 4096MB, and 16384MB is recommended.

 --== END OF SUMMARY ==--

[ INFO ] Stage: Clean up
 Log file is located at /var/log/ovirt-engine/setup/ovirt-engine-setup-20160918040600-2gbi6m.log
[ INFO ] Generating answer file '/var/lib/ovirt-engine/setup/answers/20160918041930-setup.conf'
[ INFO ] Generating answer file '/root/answer.txt'
[ INFO ] Stage: Pre-termination
[ INFO ] Stage: Termination
[ INFO ] Execution of setup completed successfully
[root@ovirtengine ~]#
In Case firewall is enabled on your server , then execute steps mentioned in above output.
Step:5 Access oVirt Engine Web Administrator portal.
Open the web browser and type URL :
https://ovirtengine.example.com
or
https://IP_Address
Replace the domain name or IP address as per your setup.
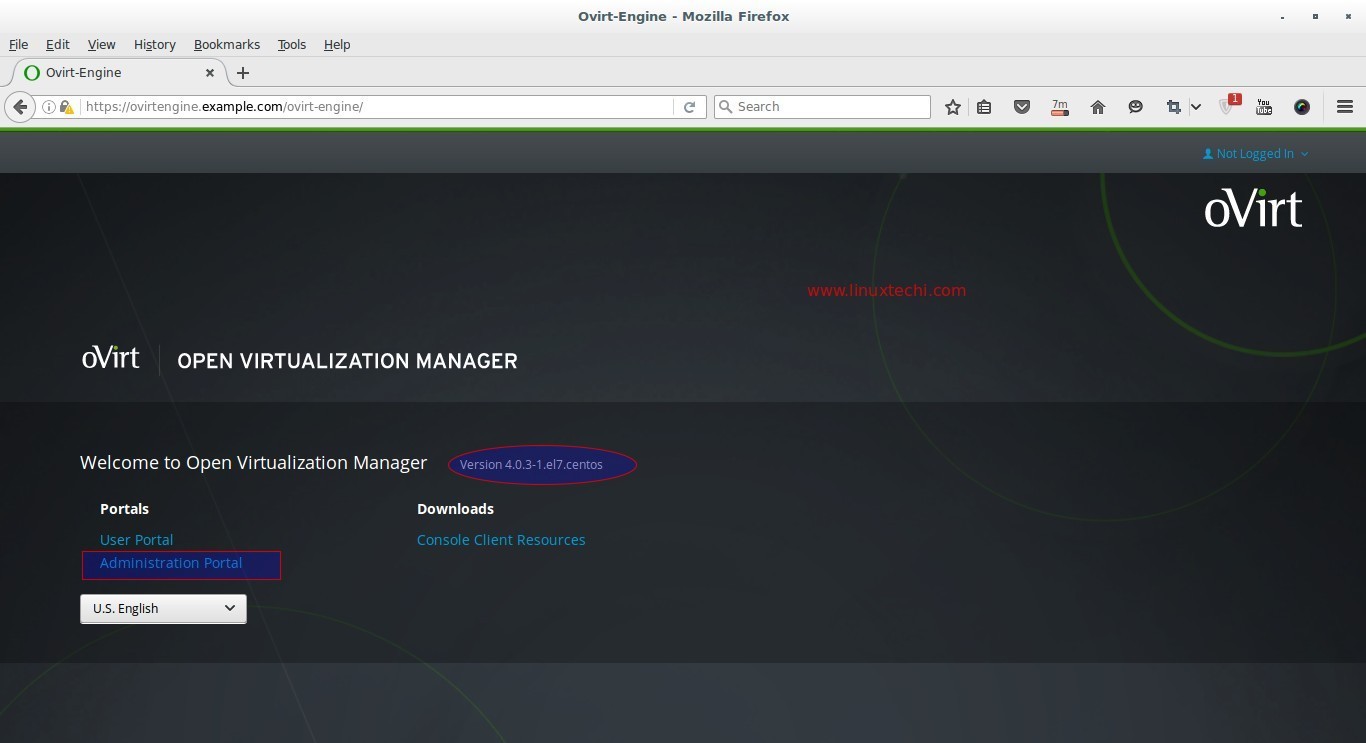
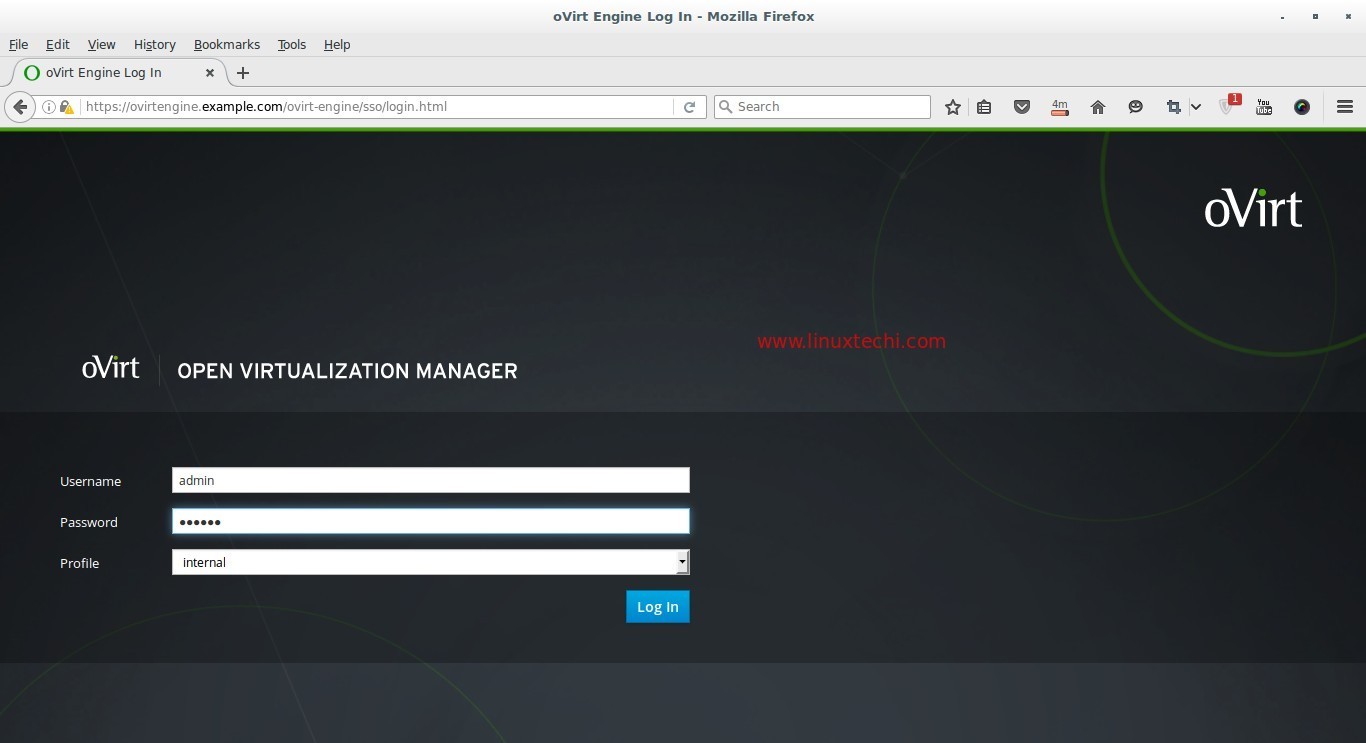
Click on Administrator Portal.
Enter the user name as ‘admin‘ and password that we mentioned during installation and Profile as internal.
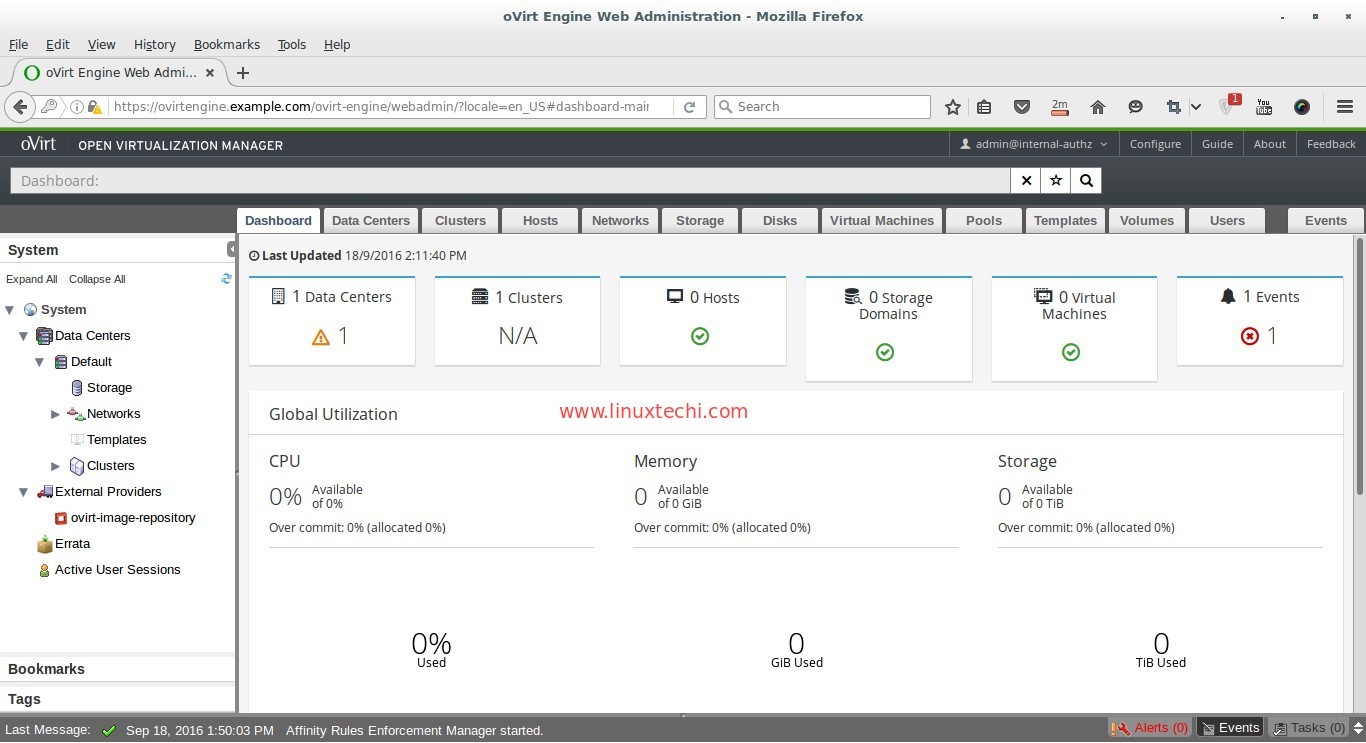
At this point ovirt engine installation is completed, now install ovirt node.
Installation Steps of oVirt Node (Hypervisor)
oVirt Node can be configure in two different methods , First method is that we can download the hypervisor or ovirt-node iso file from its official web site and install the server from the downloaded iso file.
Second method is that we can make existing CentOS , RHEL and Fedora server as ovirt node by installing vdsm package on it and then we will add that host or server manually from ovirt engine administrator portal.
Minimum requirements for oVirt Node is :
- Dual-core System
- 10 GB Physical RAM
- 10 GB Disk Space
- 1-Gbps Lan Card
In this tutorial i am going with first method, I have already downloaded the oVirt 4.0 Node iso file. Burn the downloaded iso file either into DVD or USB drive and Boot the boot the server with DVD/USB follow the Screen instructions.
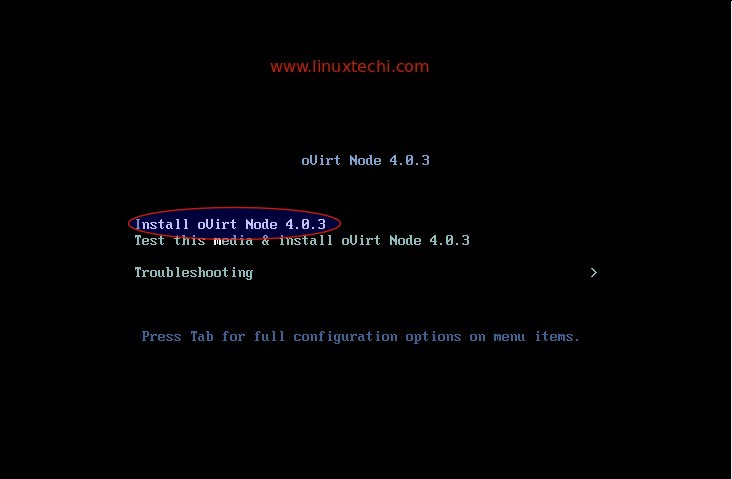
Select the first option ‘Install oVirt Node 4.0.3‘
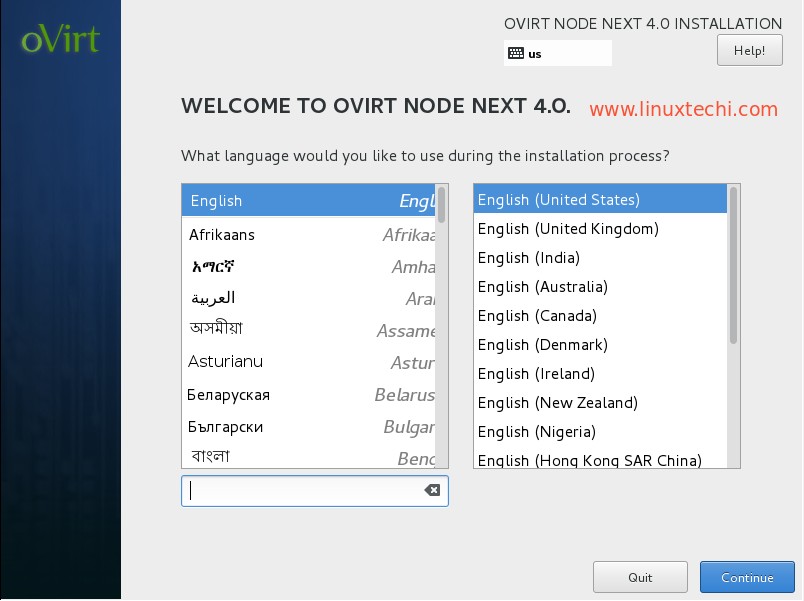
Select the Language and Click on Continue …
In the Next Step perform the following steps :
- Configure Networking
- Set Hostname
- Select disk for OS installation
- Date and Time as per setup
- Keyboard Layout
In my Case Hostname is “ovirtnode.example.com” and IP address is 192.168.1.40
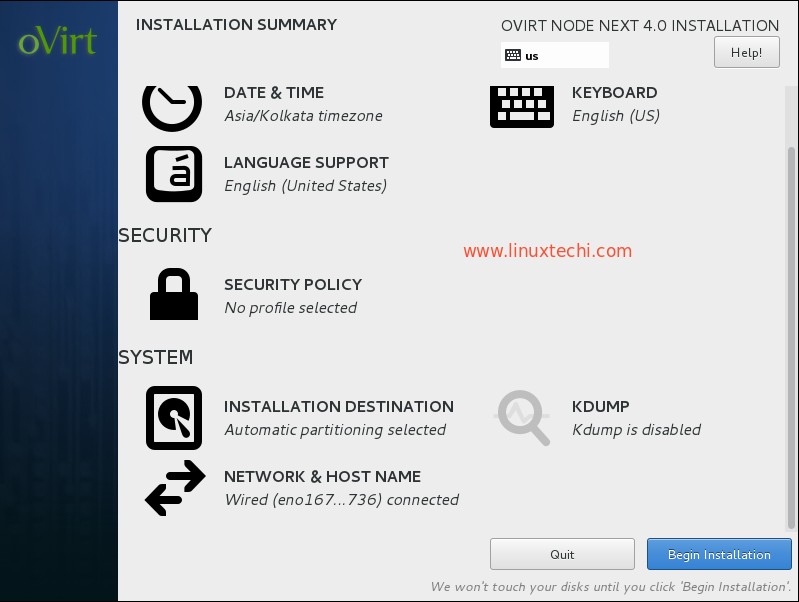
Click on Begin Installation
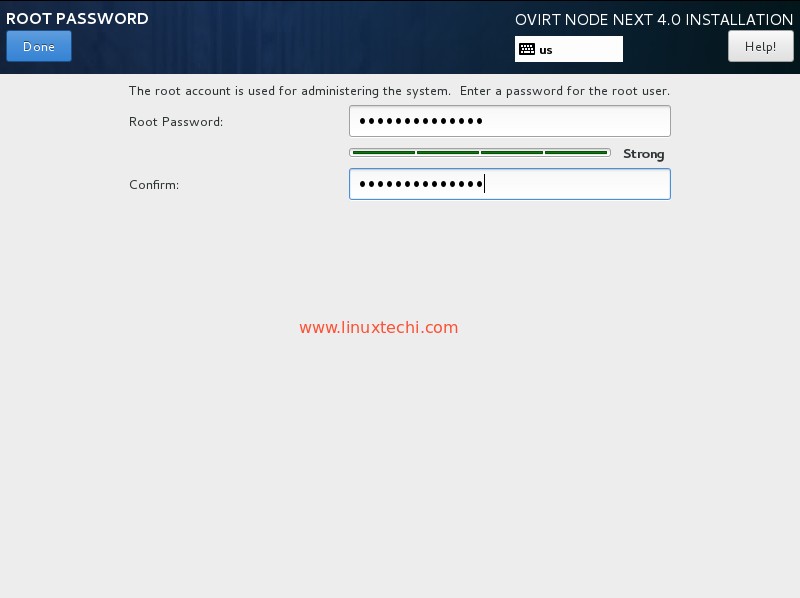
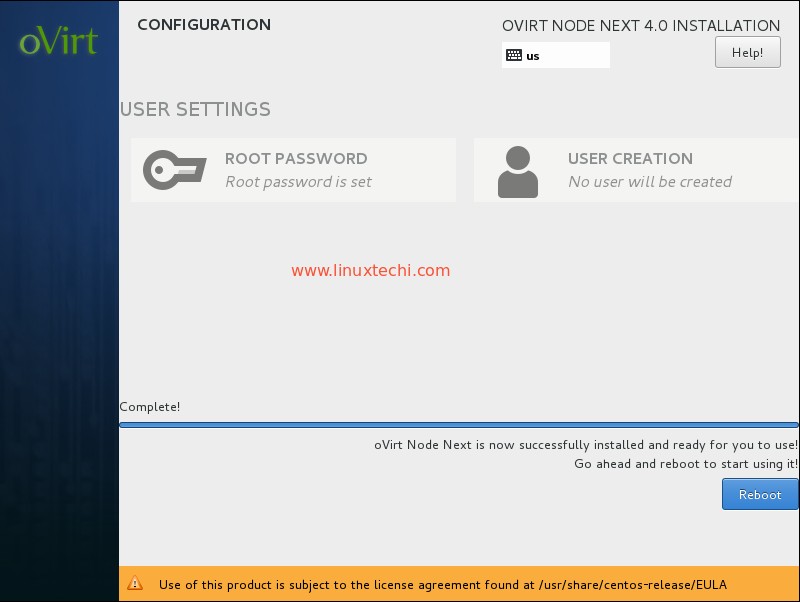
Set root password and click on done
oVirt 4.0.3 Node installation is in progress.
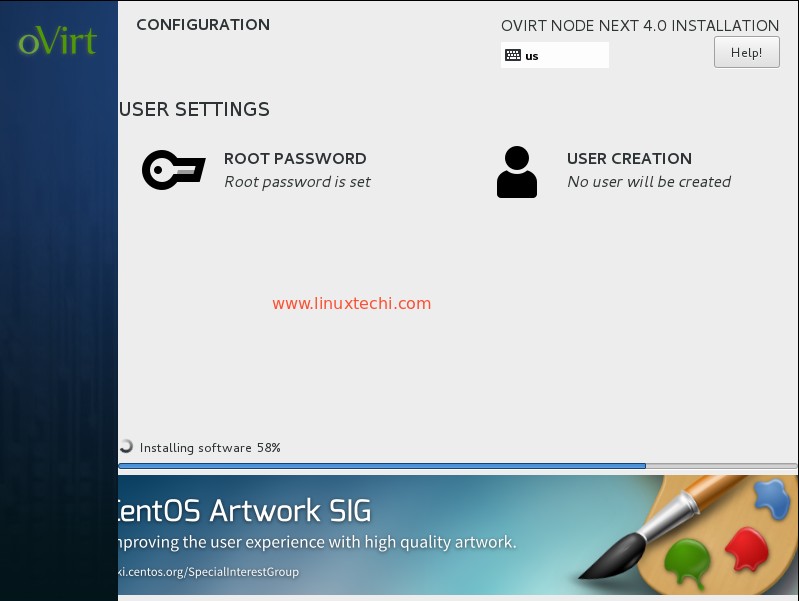
Once the installation is completed reboot your server.
Add oVirt Node (ovirtnode.example) in ovirt engine from Web Administrator Portal.
Login to Administrator Portal , Go to Hosts Tab —> click on New
Specify the ovirt node details.
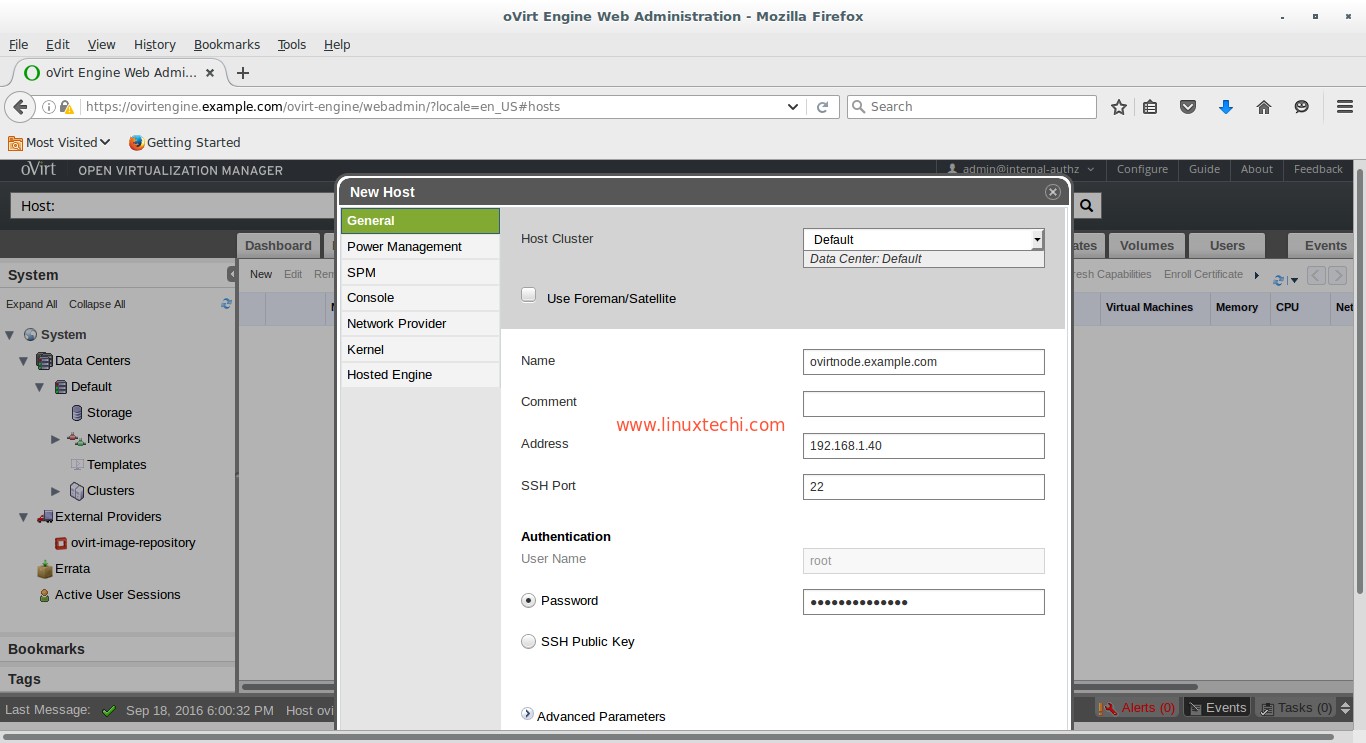
Once done with the entries, click on OK.

As i am doing this setup in my lab so i am not going to “Configure Power Management“. Click on OK
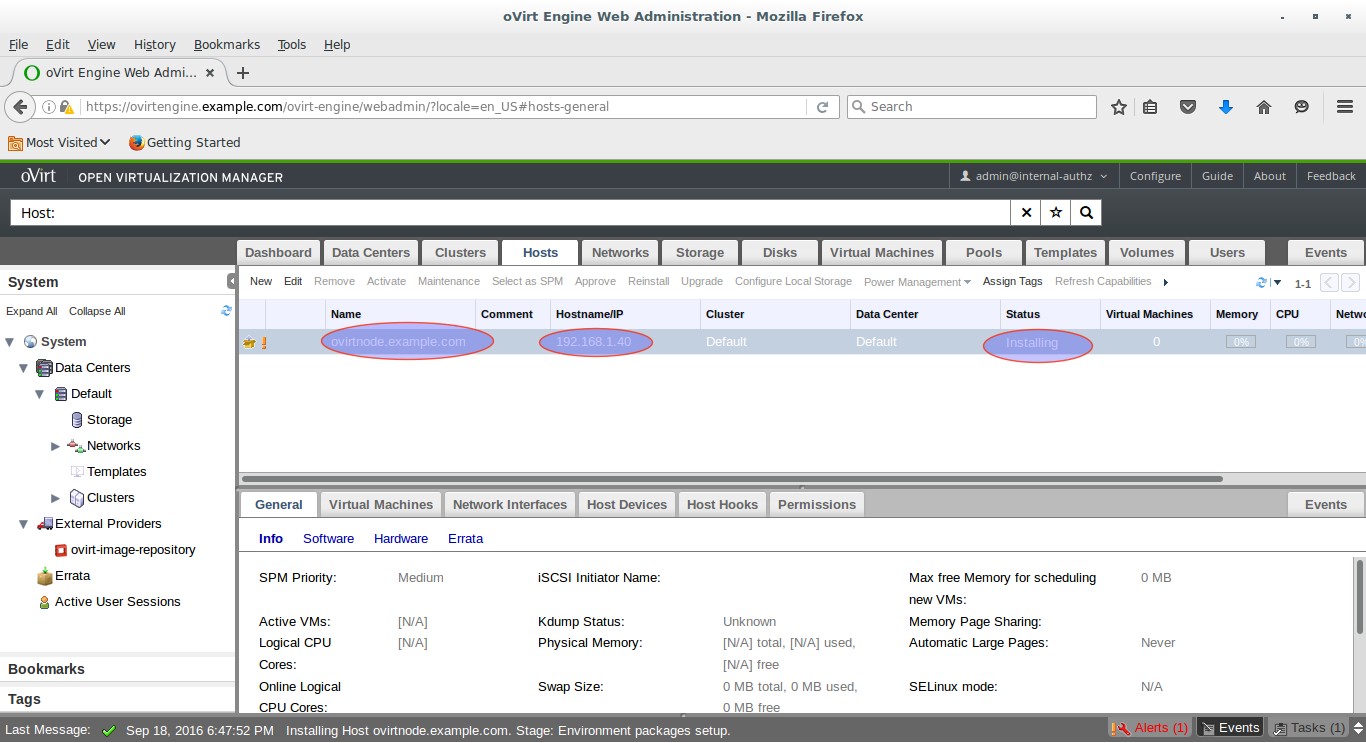
As we can see below that ovirt engine is installing the software on ovirt node. In Case host does not get activated after installing the software, then select Host and Click on Activate
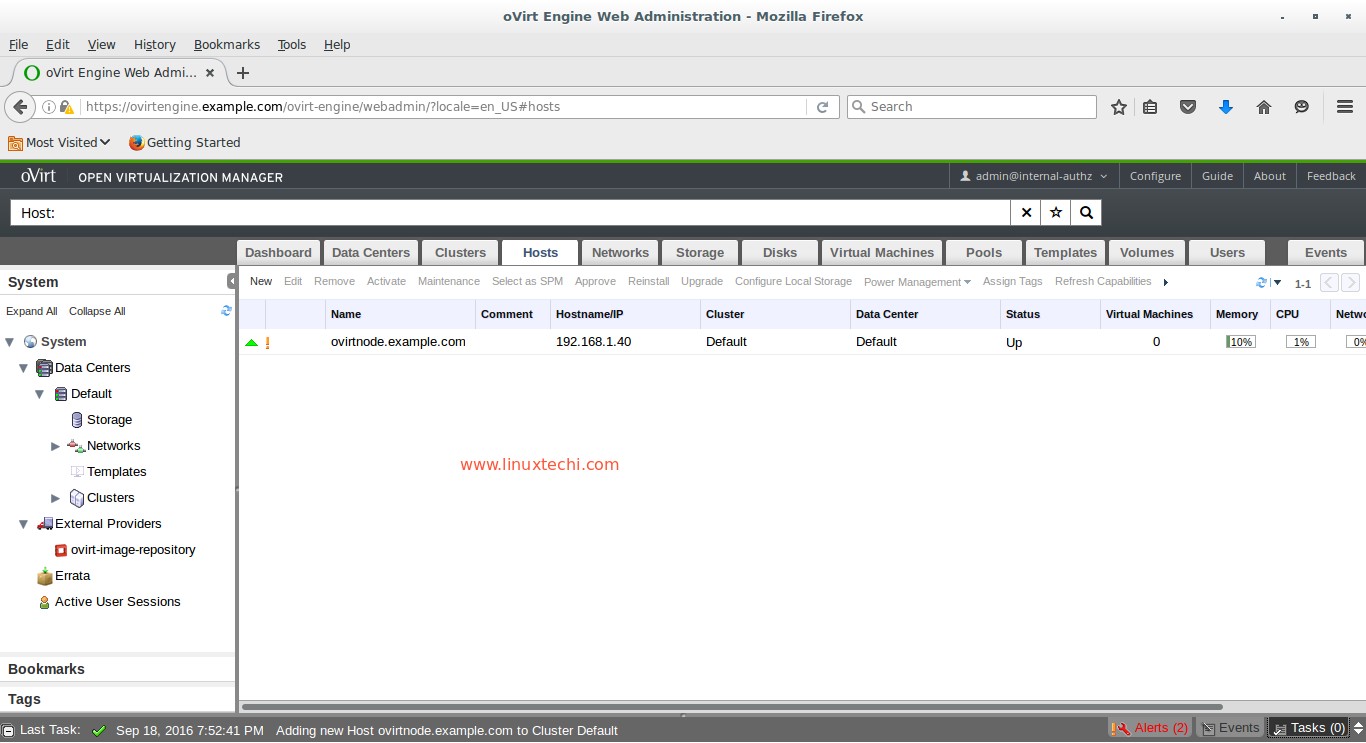
As we can see Host is activated now.
That’s all. Hope you like the installation and Configuration steps of oVirt 4.0.3.In the coming article we will discuss how to create data centers, cluster and Virtual machines.


Hi ,
can you plz share the steps to create data centers, cluster and Virtual machines.
Hi Arjun,
Refer the following url for data center, cluster and Virtual machine creation in oVirt Setup:
How to Create Data Center,Cluster & Virtual Machines in oVirt 4.0
Hi,
vm1 – ovirt engine, IP 192.168.8.8 (internal), on CentOS 7 Gnome desktop
vm2 – ovirt node, IP 192.168.8.5 (internal), on CentOS 7, minimum
Host – Ubuntu 16.04 Gnome desktop
KVM
I followed your document to install ‘ovirt engine’. Installation went through without problem. It works without problem as well. On Host browser running ovirtengine.example.com, ‘oVirt Open Virtualization Manager’ can be connected and login.
‘ovirt node’ on vm2 can be connected and login on Host browser running 192.168.8.5:9090
My question is “can I add ‘ovirt node’ on vm2 in ‘ovirt engine’ on vm1”? Or I must install ‘ovirt node’ on CentOS 7 of vm1?
Please advise. Thanks
Regards
SL
Ovirt Node is always on CentOS 7.x & RHEL 7.x, You can add further Ovirt Node to the Engine any time.
I recommend using the ovirt-release-master instead of ovirt-release-40, given that it looks like 41 is the current stable and 42-pre is already available.
Also if you want the gpg key, I used `wget -O /etc/pki/rpm-gpg/RPM-GPG-ovirt-4.0 http://resources.ovirt.org/pub/keys/RPM-GPG-ovirt-v2`
Ovrit platform for the virtual machine management how to implement the server after startup, the virtual machine is automatically switched on?
hi ! thanks for the tutorial.
question: now I have 3 servers with xenserver, how could I do the same installation with oVirt ?
I assume that ovirtnode is for each hardware machine, but where do I have to install the ovirt engine ? Can it be hosted inside a host ? or do I have to need an extra machine to have ovirt engine
thanks !!
Hi,
oVirt engine can be installed in a CentOS 7 VM outside of oVirt Nodes, whereas oVirt Node will be installed on Physical machine or in Lab it can be installed on Virtual Machines.
thank you.
I’ve search more about it, and also I found that once installed you can migrate the ovirt-engine into a new machine inside the hosts.
Hi,
Good Documentation. I have a Centos 7.4 installation with “Virtual host” option alone. Does that mean now i can consider this as a ovirt node and skip most of the installation steps under “Installation Steps of oVirt Node”.
Hello.
I use two laptops to try out oVirt and both use WLAN as internet access. The isntallation of oVirt – Engine was successful and I wanted to add the second laptop as a host. On both I installed CentOS 7 which is valid for using oVirt. When I want to add the host in the webportal it fails with the message: failed to configure management network on the host ovirt.
What is the problem on the host? Is it a DNS problem? I really need help. Thanks
Great work!
It would be nice if you had the time to update this guide to the new oVirt 4.2.1 version! There are some new things in the new versions installation I believe.
Hi,
As instructed in article installed oVirt engine in one VM with Cent 7 OS. Able to access manager web portal.
Also installed oVirt Node in other VM and able to access web portal of Noce.
now getting error while adding Host in oVirt engine (Failed to install Host H1. Failed to execute stage ‘Environment packages setup’: failure: repodata/repomd.xml from centos-ovirt40-release: [Errno 256] No more mirrors to try. ‘http://mirror.centos.org/centos/7/virt/x86_64/ovirt-4.0/repodata/repomd.xml’: [Errno 14] HTTP Error 404 – Not Found.)
please help to resolve.
Thanks.