In this blog post, we will explain how to install Jenkins on Ubuntu 24.04 step-by-step.
Jenkins is an open-source automation server widely used for continuous integration and continuous deployment (CI/CD) in software development. Jenkins offers user friendly Interface which allows to create Jobs and pipelines to simplify the process of building, testing, and deploying code.
Prerequisites
- Pre-Install Ubuntu 22.04
- Non-root user with sudo privileges
- At least 2GB RAM or more
- 40 GB disk space
- Internet Connectivity
Without much fuss , let’s deep dive into Jenkins installation steps on Ubuntu 24.04.
1) Install Java
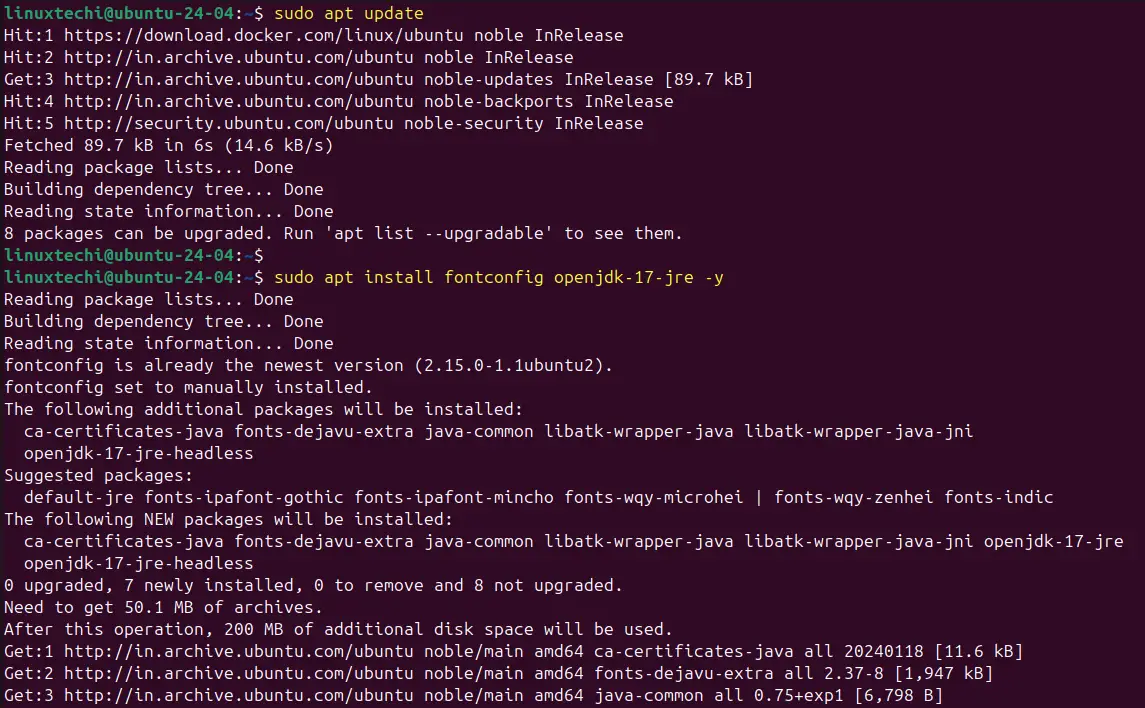
Jenkins is a Java based application, so we recommend to install OpenJDK 17 for latest and stable Jenkins. Open the terminal and run following commands.
$ sudo apt update
$ sudo apt install fontconfig openjdk-17-jre -y
Once the java is installed on your system, run beneath command to its version
$ java --version

Perfect! We now have OpenJDK installed. We can now proceed.
2) Add Jenkins APT Repository
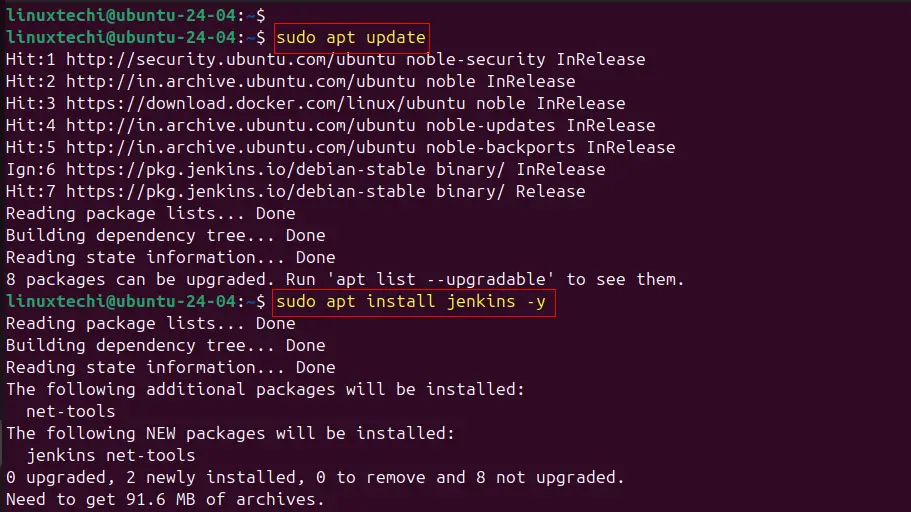
The default apt repositories of Ubuntu 24.04 does not have Jenkins package, so for its installation add APT repository using following set of commands.
$ sudo wget -O /usr/share/keyrings/jenkins-keyring.asc \
https://pkg.jenkins.io/debian-stable/jenkins.io-2023.key

$ echo "deb [signed-by=/usr/share/keyrings/jenkins-keyring.asc]" \
https://pkg.jenkins.io/debian-stable binary/ | sudo tee \
/etc/apt/sources.list.d/jenkins.list > /dev/null
3) Install Jenkins on Ubuntu 24.04
As all prerequisites are met, so we are good to proceed with Jenkins installation. Execute following apt commands.
$ sudo apt update
$ sudo apt install jenkins -y
Once the installation is complete, Jenkins should start automatically. To confirm this, run the command:
$ systemctl status jenkins
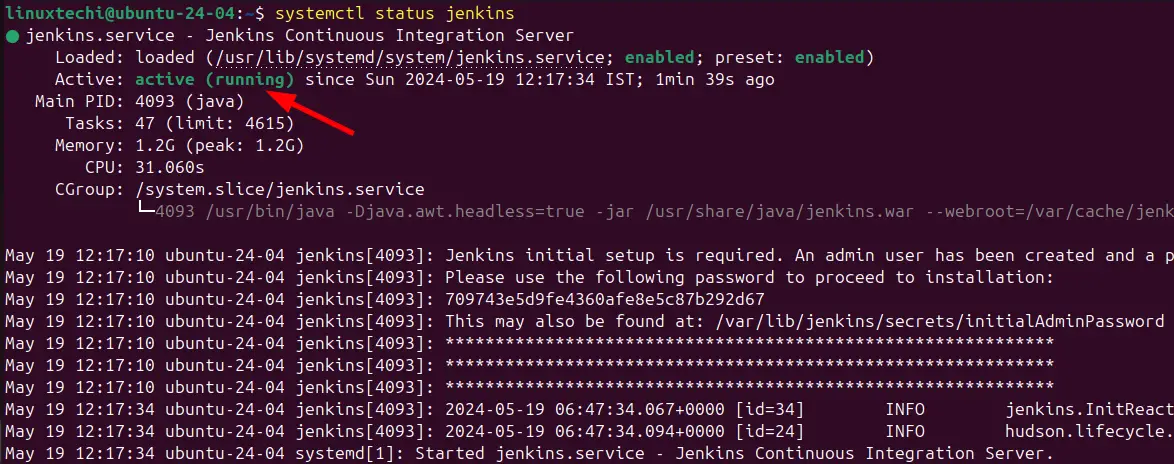
If by any chance Jenkins is not running, execute the following command to start it.
$ sudo systemctl start jenkins
3) Configure Firewall Rules for Jenkins
As we have seen, Jenkins natively listens on port 8080, and if you have installed Jenkins on a server with UFW enabled, you need to open that port to allow traffic.
To enable firewall on Ubuntu 24.04, run
$ sudo ufw enable
To allow port 8080 in ufw firewall, run the command:
$ sudo ufw allow 8080/tcp
Then reload the firewall to effect the changes.
$ sudo ufw reload
To confirm that port 8080 is open on the firewall, execute the command:
$ sudo ufw status
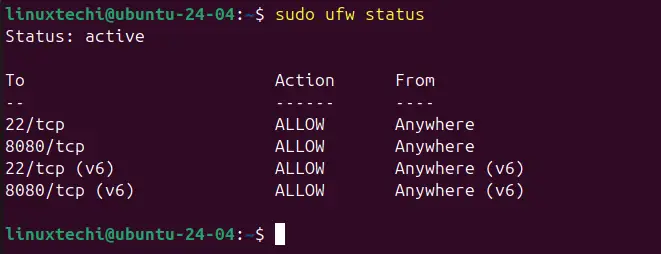
From the output, we can clearly see that Port 8080 has been opened on the system.
4) Finish Jenkins Initial Setup
We are almost done now. The only thing remaining is to finish Jenkins initial setup using web interface. So, head over to the URL bar and browse your server’s address as shown:
http://<Ubuntu-System-IP>:8080
To check your server’s IP address, use the ip command.
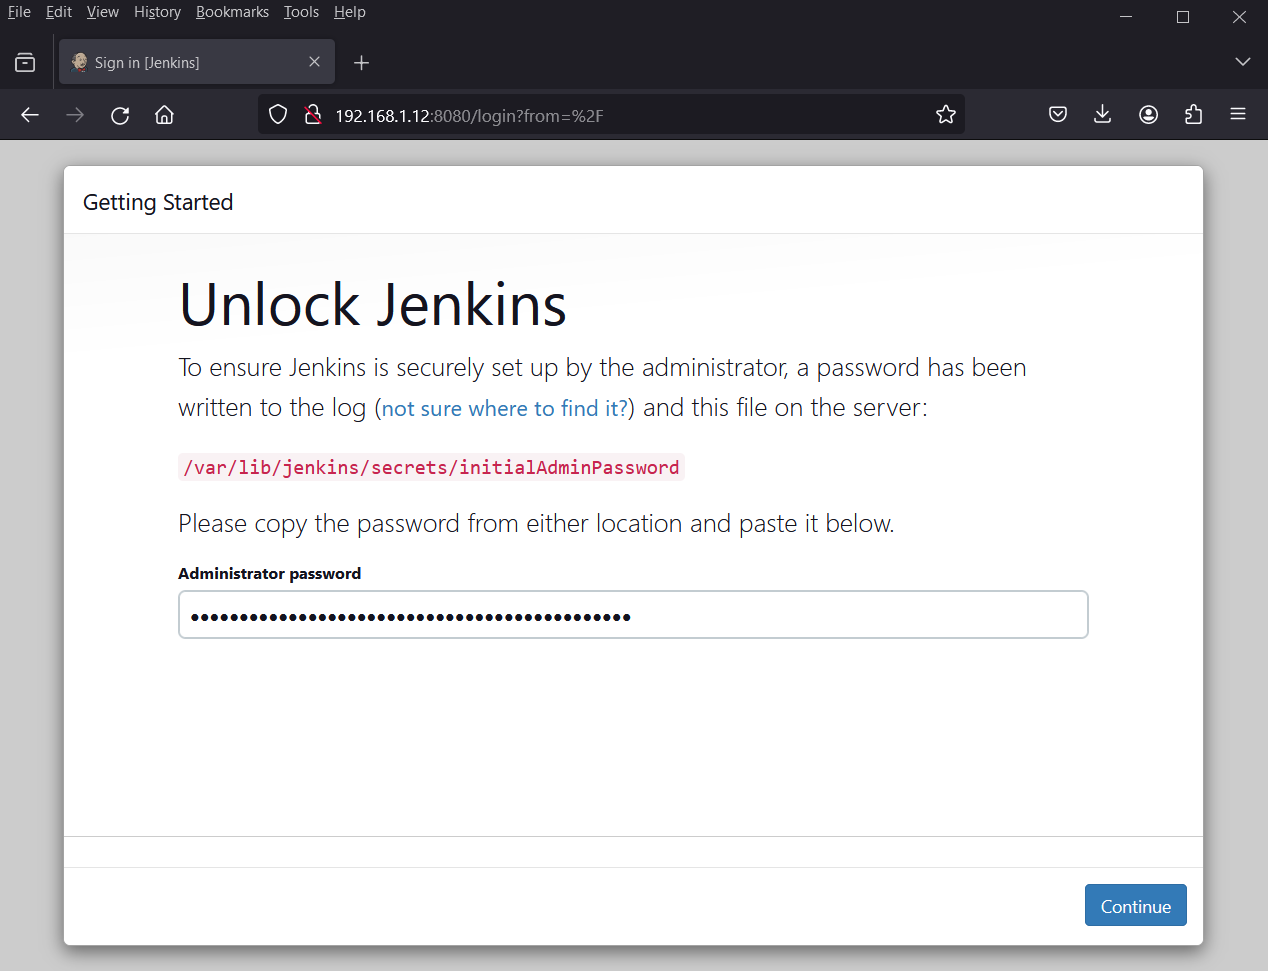
You will get the page similar to what we have below prompting you to provide the Administrator’s password. As per the instructions, the password is located in the file:
/var/lib/jenkins/secrets/initialAdminPassword
To view the password, use the cat command as shown:
$ sudo cat /var/lib/jenkins/secrets/initialAdminPassword
Copy the password and paste it in the text field shown and click the “Continue” button.
In the next step, select ‘Install suggested plugin‘ for simplicity’s sake.
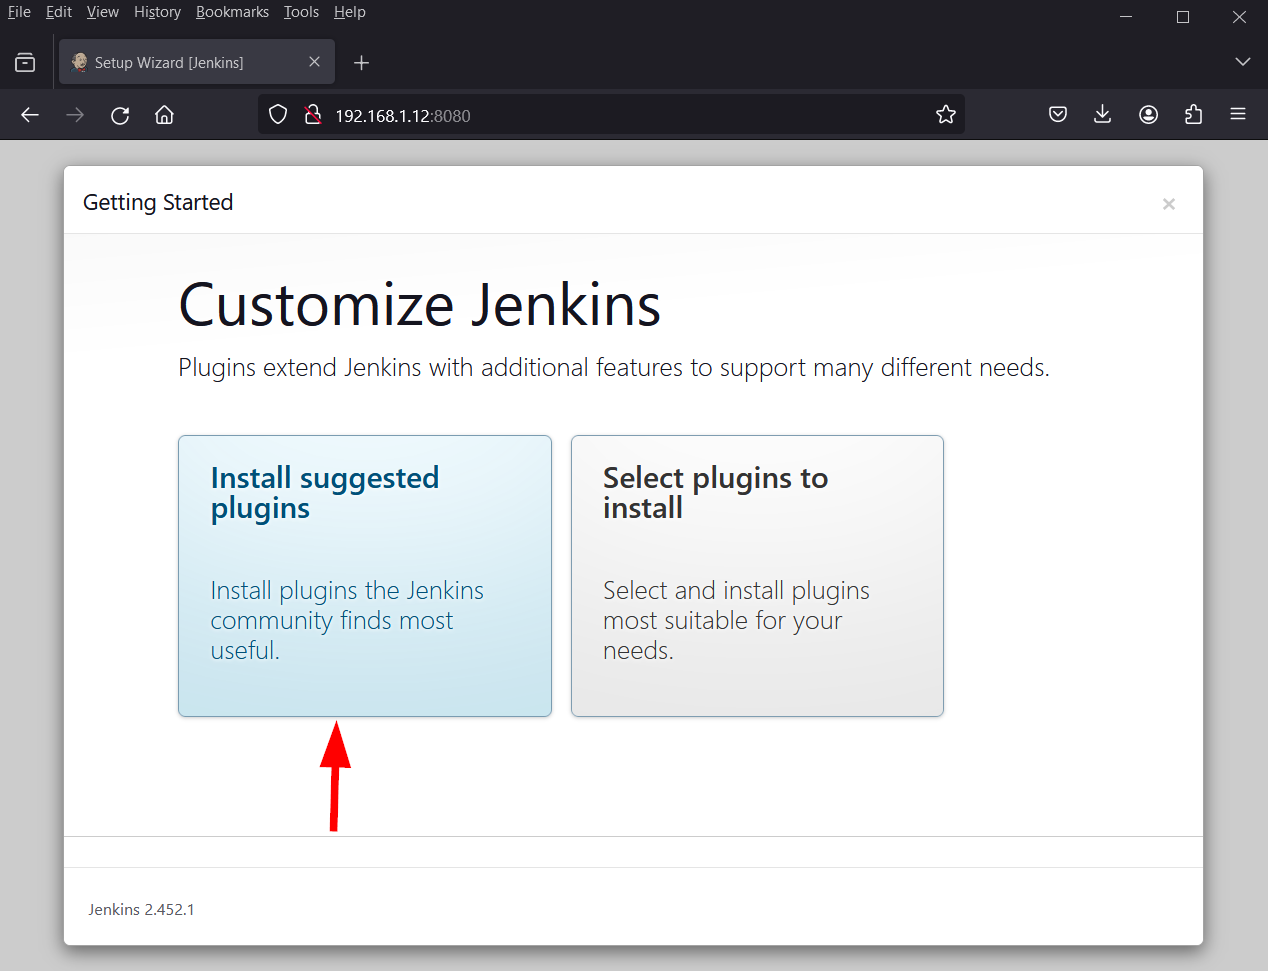
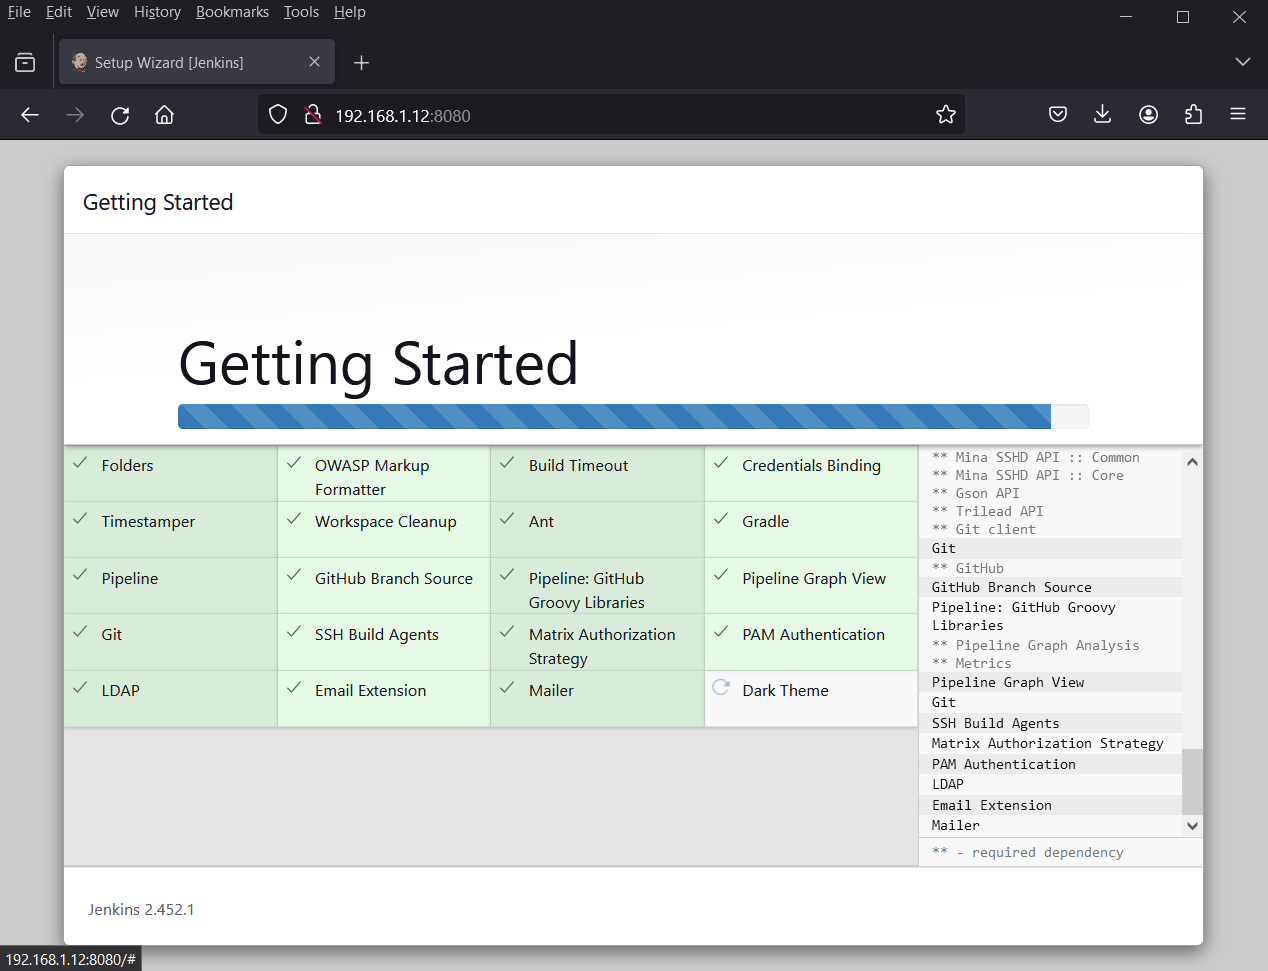
Thereafter, the installation of the necessary plugin required by Jenkins will commence.
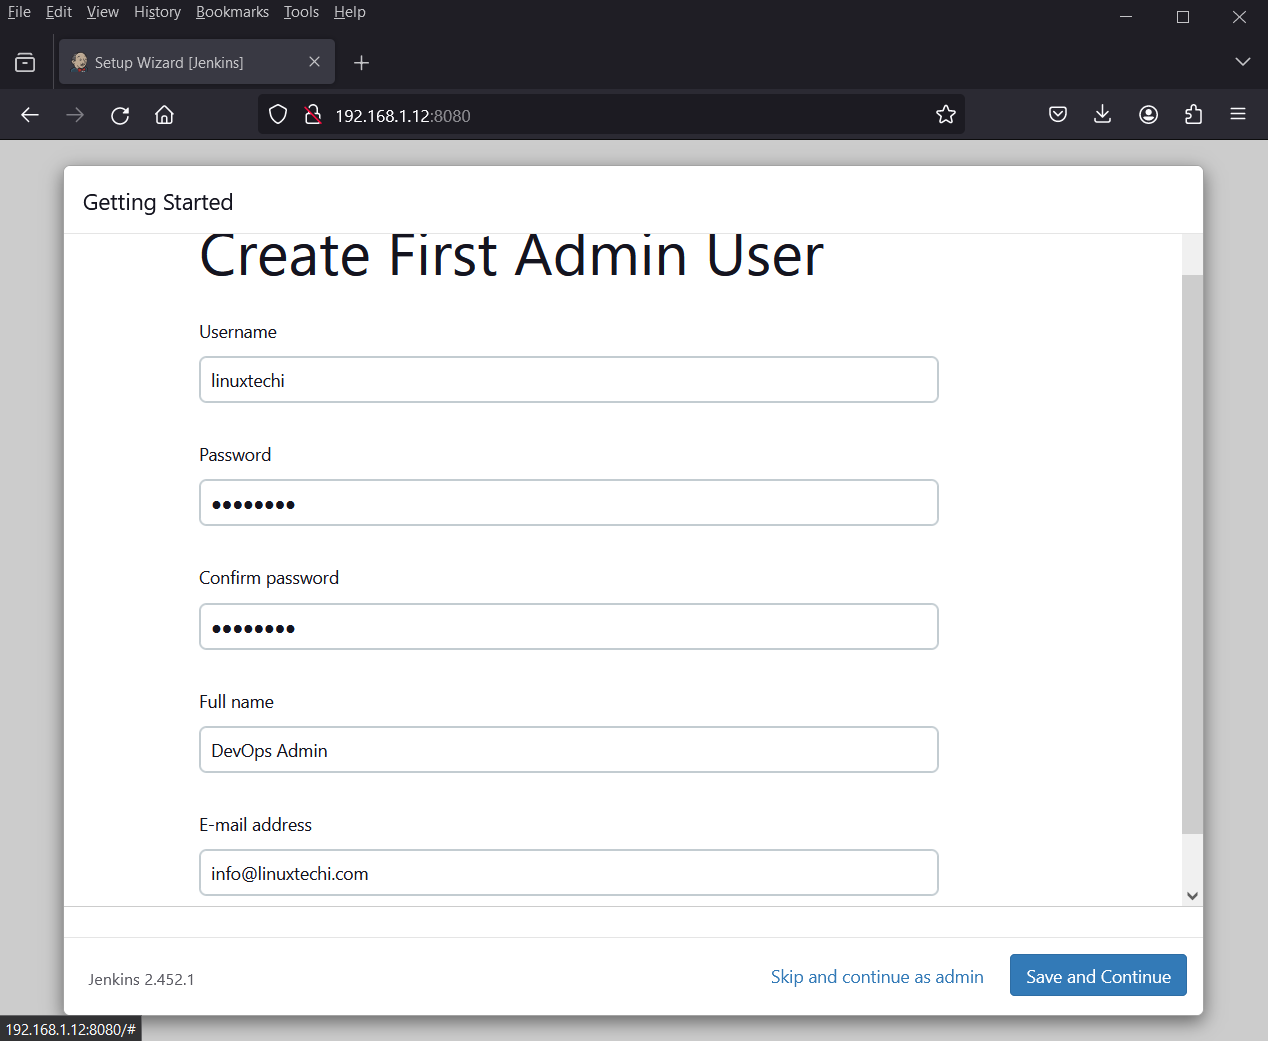
When the installation of plugins is complete, the installer will take you to the next section where you will be required to create an Admin user and click on the ‘Save and Continue’ button.
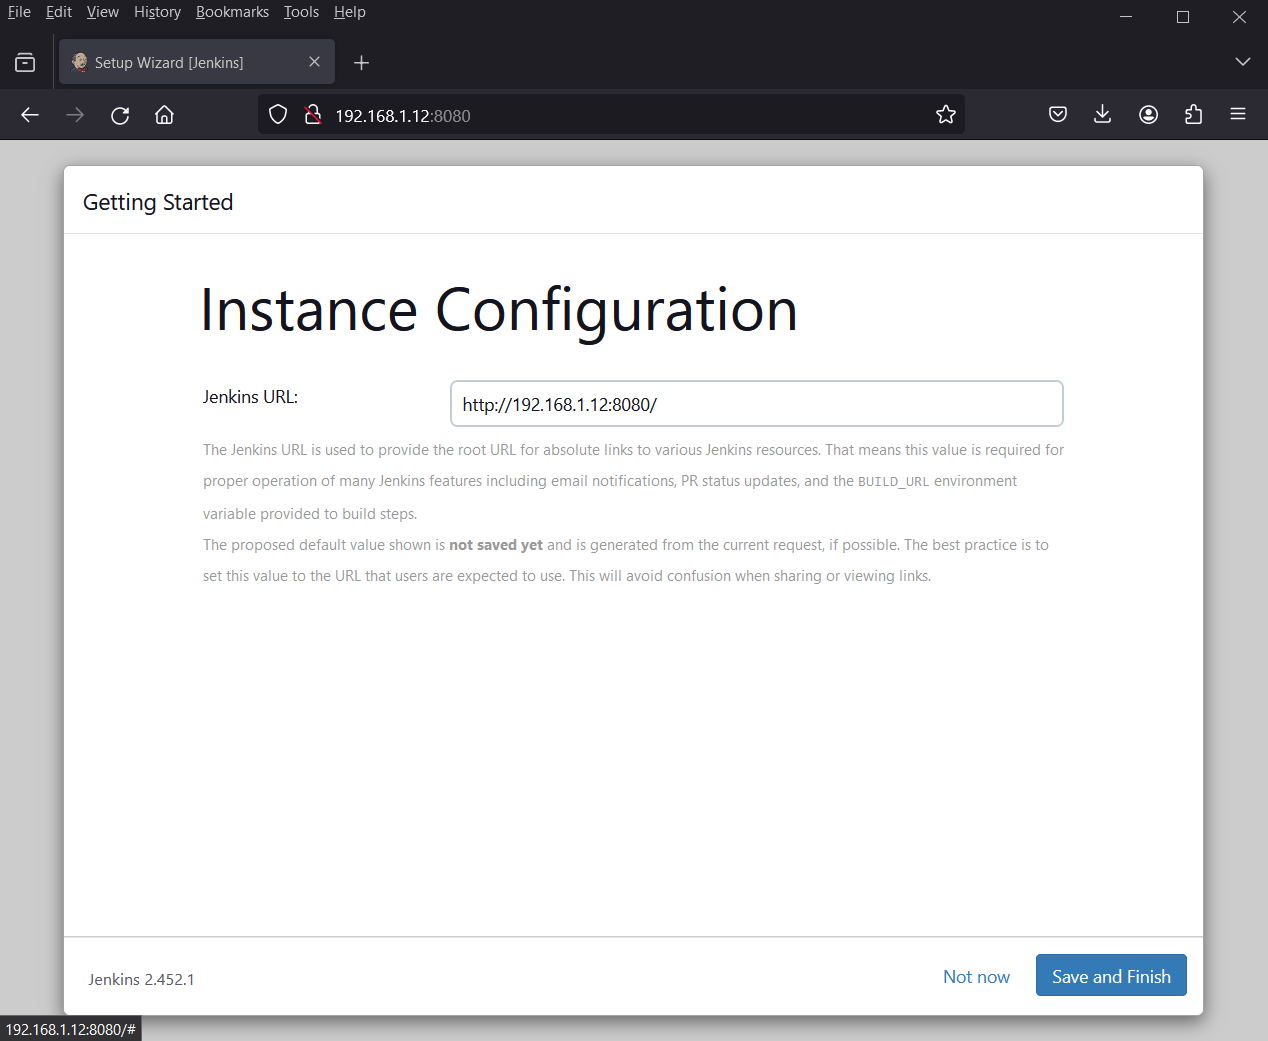
The next step will populate the default URL for your Jenkin’s instance. No action is required, simply click ‘Save and Finish’.
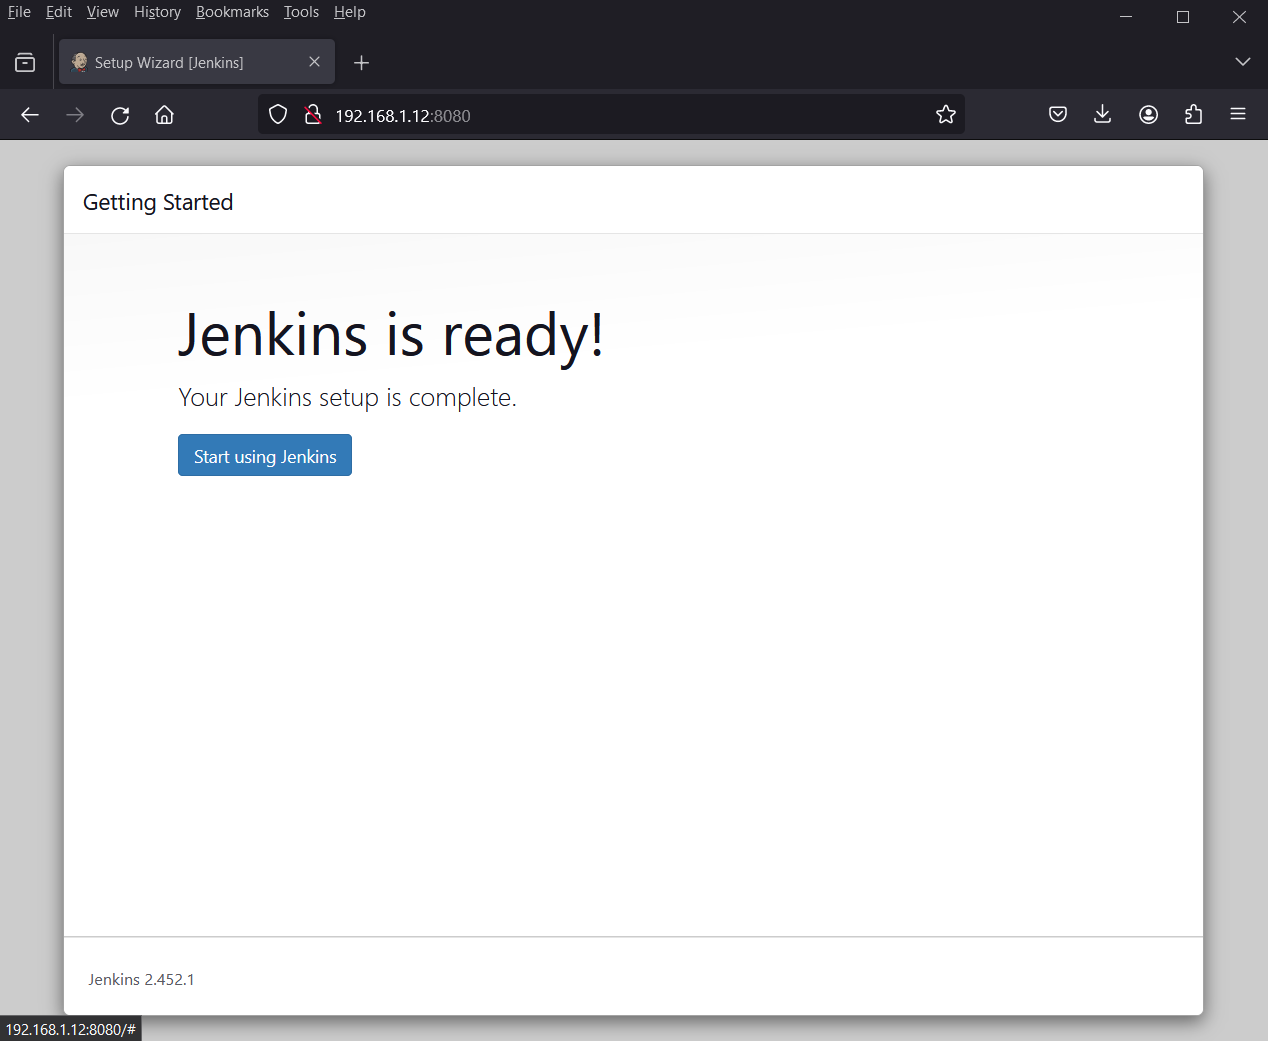
Finally, click on the ‘Start using Jenkins’ button to gain access to Jenkins dashboard.
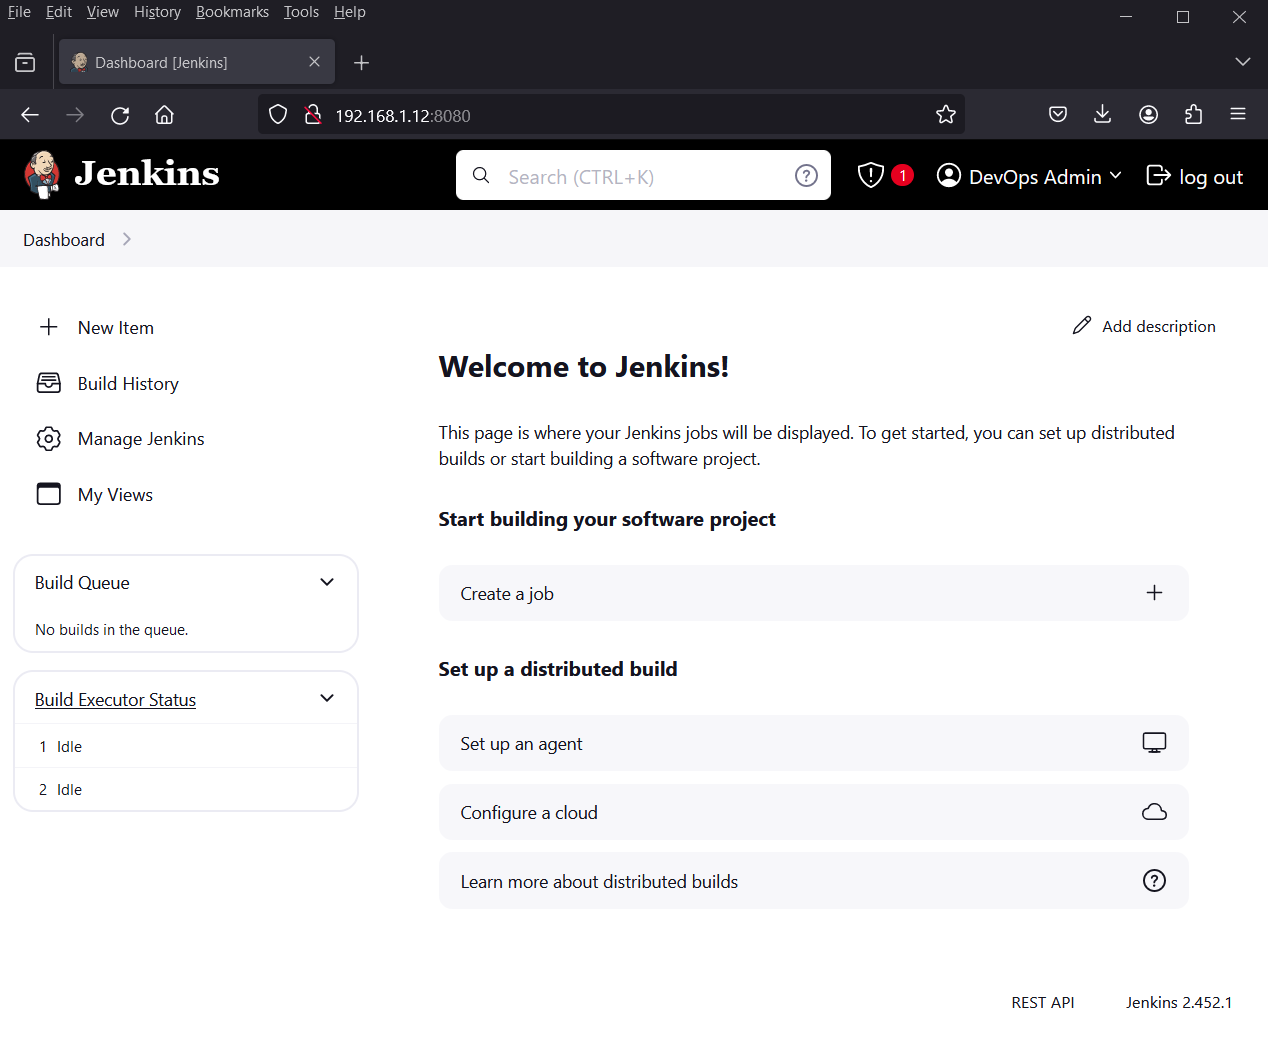
This ushers you to Jenkin’s dashboard as shown.
5) Test Jenkins Installation
In order to test Jenkins installation, let’s create a demo job as shown below,
That’s all from this post, we believe you have found it informative and useful. Feel free to post your queries and feedback in below comment section.
Also Read : How to Install Jenkins on RHEL 9/8 (Simple Guide)
Worked perfectly, thanks a lot
Many thanks it works fine
Worked perfectly, thanks a lot
worked very well thanks a lot
Thank you. Nice tutorial!