NIC teaming is the concept of combining or bonding 2 or more network interfaces into one logical interface to provide high throughput and redundancy. This practice is popular especially with critical servers where high availability is expected at all times. In a server with 2 or more NIC cards, the concept of NIC teaming is critical in the event where one NIC card fails. With NIC teaming, the logical network interface will ensure that the remaining NIC will continue functioning and serving the purpose of the defective NIC. In this guide, we take you through the configuration of NIC teaming in CentOS 8 and RHEL 8.
Let’s take a look at some of the concepts around
- Teamd – This is a daemon that allows you to configure a team network interface. Teamd is a part of the libteam project and leverages the libteam library for implementation of load balancing and round-robin logic.
- Teamdctl – This is a utility tool for querying an instance of teamd for configuration information and detailed statistics.
- Runners – These are distinct units of code in JSON format used for implementing different concepts of NIC teaming such as Round robbin
Runners exist in the following modes:
- Round-robin: In this mode, data is transmitted across all ports in turn.
- Broadcast: Here data is transmitted across all ports.
- Load-balance: Traffic is distributed across all NICs.
- Active-backup: Where one link or port is activated as the rest are reserved as a backup. This is used for failover to provide redundancy as we shall later see in this guide.
- Lacp: Uses the the 802.3ad Protocol for link aggregation
Let’s now go ahead and configure NIC teaming in CentOS 8.
Step :1) Install Teamd daemon
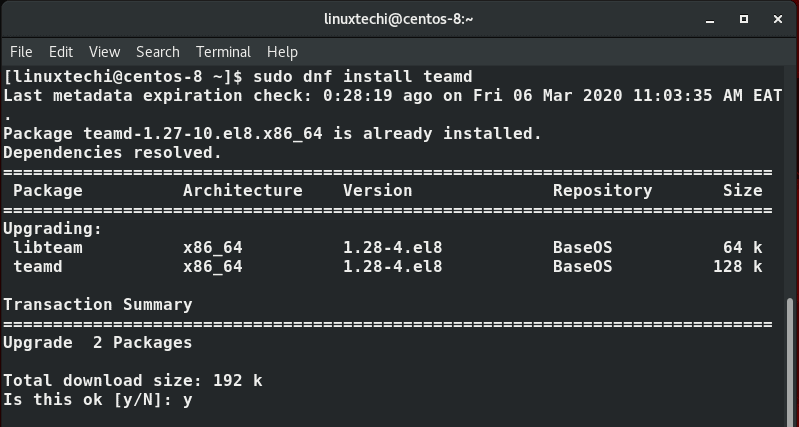
Teamd is the daemon that makes it possible for configuration of team networks. Gladly, CentOS 8 comes with the daemon already installed. If for whatever reason teamd is missing on your CentOS 8 / RHEL 8 system, run the command:
$ sudo dnf install teamd
Upon completion of its installation, you can gather in-depth information about teamd by executing the command:
$ rpm -qi teamd
Step :2) Configure NIC teaming with nmcli tool
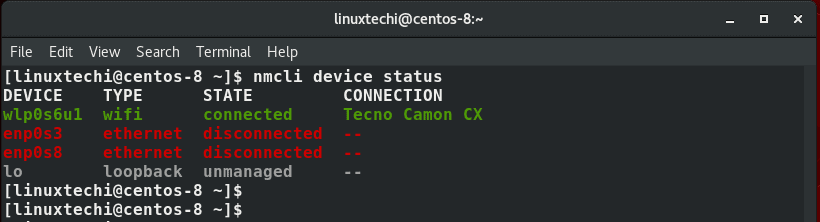
Nmcli is a command-line utility that is used for managing NetworkManager. But first, let’s check the attached network interfaces on our system. Run the command
$ nmcli device status
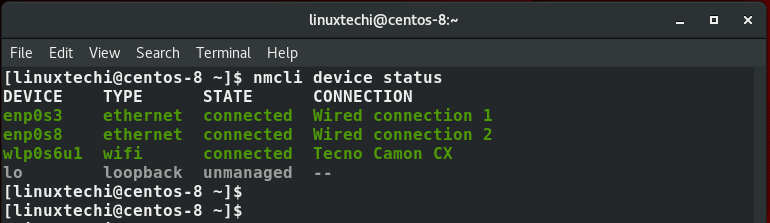
From the output above, there are 2 ethernet connections and 1 Wi-Fi connection on the system. I’m going to use enp0s3 and enp0s8 network devices as slave connections.
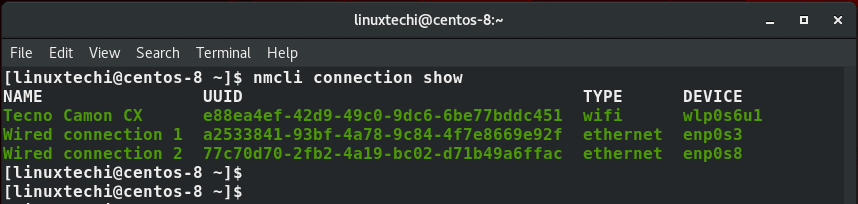
Also you can use the command:
$ nmcli connection show
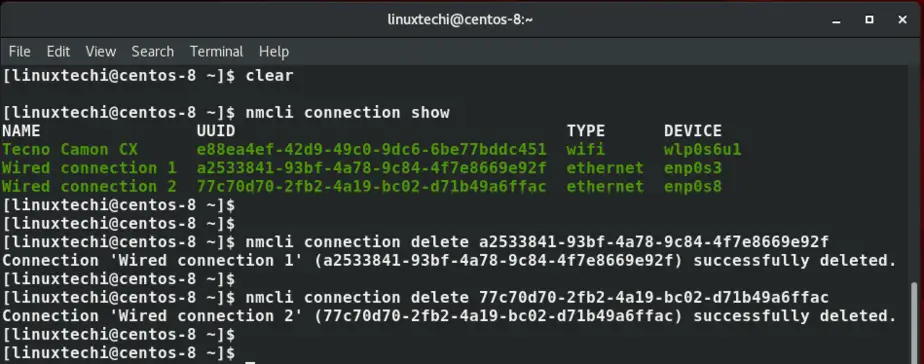
I’m therefore going to delete the enp0s3 and enp0s8 network devices which will be used as slave devices using the syntax
$ nmcli connection delete UUID
So, proceed and run the commands:
$ nmcli connection delete a2533841-93bf-4a78-9c84-4f7e8669e92f
$ nmcli connection delete 77c70d70-2fb2-4a19-bc02-d71b49a6ffac
After deletion, the two network devices should now be disconnected. You can verify this by running:
$ nmcli device status
Now let’s create a new team interface and call it bond0
$ nmcli connection add type team con-name bond0 ifname bond0 config '{"runner": {"name": "activebackup"}}'
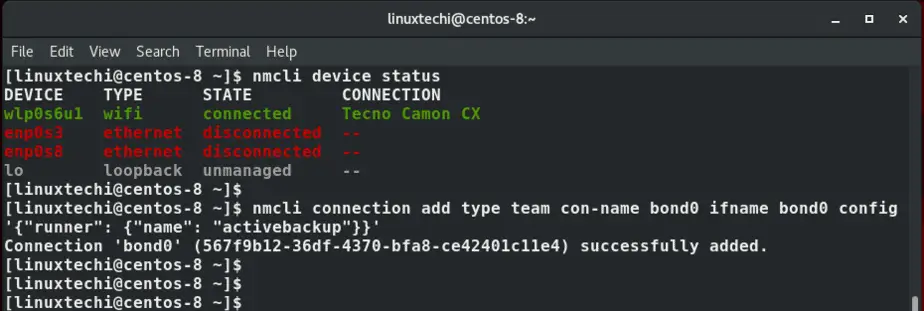
The value ‘activebackup’ is a runner that can be replaced with either round-robin, broadcast , random or lacp.
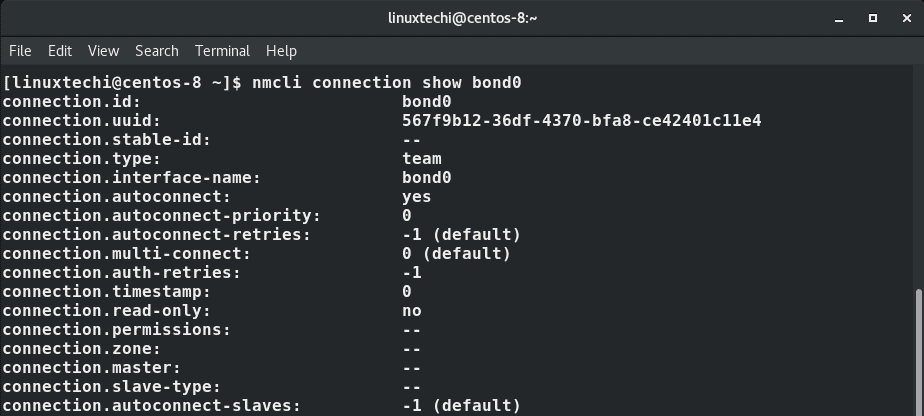
The configuration is appended in the /etc/sysconfig/network-scripts/ifcfg-team-bond0 file. To get a glimpse of other values assigned, execute the command:
$ nmcli con show bond0
To view the interfaces that we have just configured, run the command:
$ nmcli connection show

We now have a bond0 interface. Notice that the enp0s3 and enp0s8 interfaces are not listed because we deleted them earlier on.
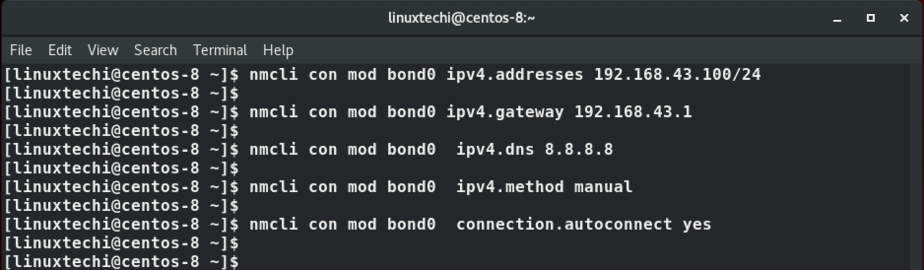
Next, configure IP addressing and DNS entries to the team interface and ensure is autoconnects
$ nmcli con mod bond0  ipv4.addresses 192.168.43.100/24
$ nmcli con mod bond0  ipv4.gateway 192.168.43.1
$ nmcli con mod bond0  ipv4.dns 8.8.8.8
$ nmcli con mod bond0  ipv4.method manual
$ nmcli con mod bond0  connection.autoconnect yes
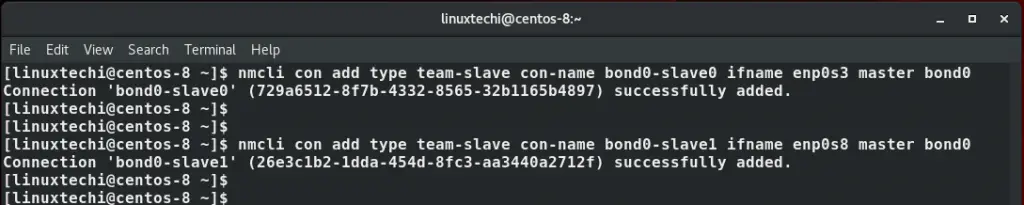
Next add the network slaves to the team interface
$ nmcli con add type team-slave con-name bond0-slave0 ifname enp0s3 master bond0
$ nmcli con add type team-slave con-name bond0-slave1 ifname enp0s8 master bond0
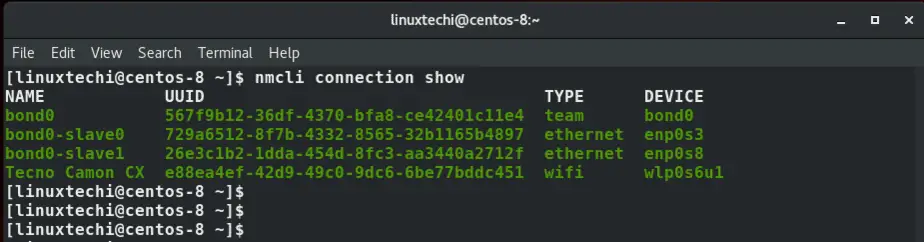
To view the team interface and slaves, yet again run the command:
$ nmcli connection show
Finally restart the team interface
$ nmcli connection down bond0 && nmcli connection up bond0

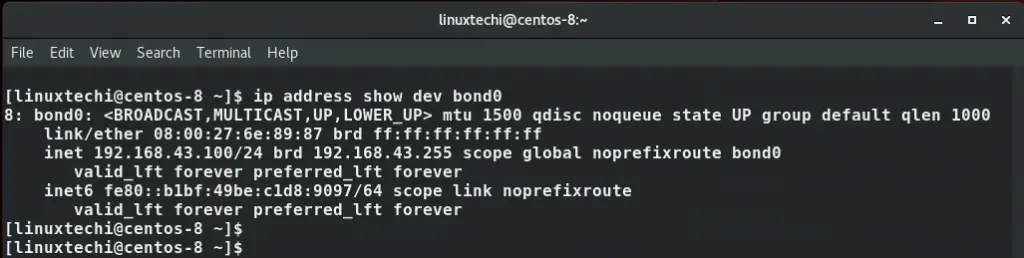
To view the team interface use the command:
$ ip address show dev bond0
Use the teamdctl command to gather finer details about the team interface
$ sudo teamdctl bond0 state
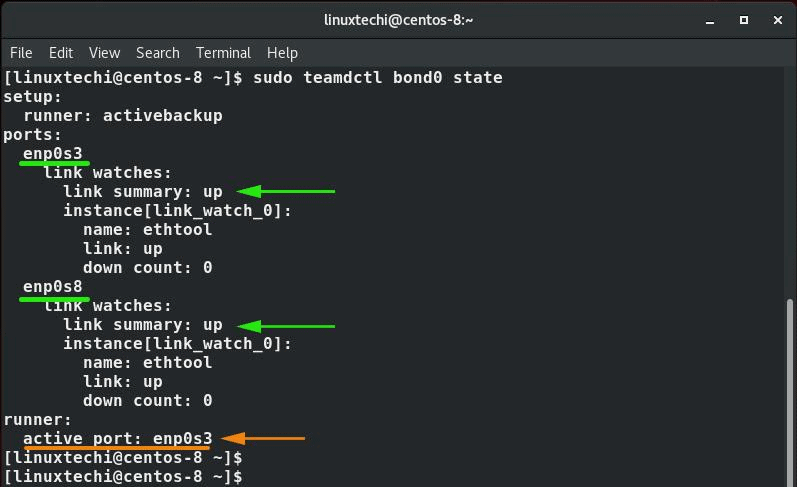
From the output above, we can clearly see that we have 2 links which are up – enp0s3 and enp0s8 and the active port is enp0s3.
Testing the functionality of Active-Backup Teaming
To test Active-backup for redundancy,we are going to bring down the active port labelled enp0s3 and check whether the other link will come up.
$ nmcli device disconnect enp0s3
$ sudo teamdctl bond0 state
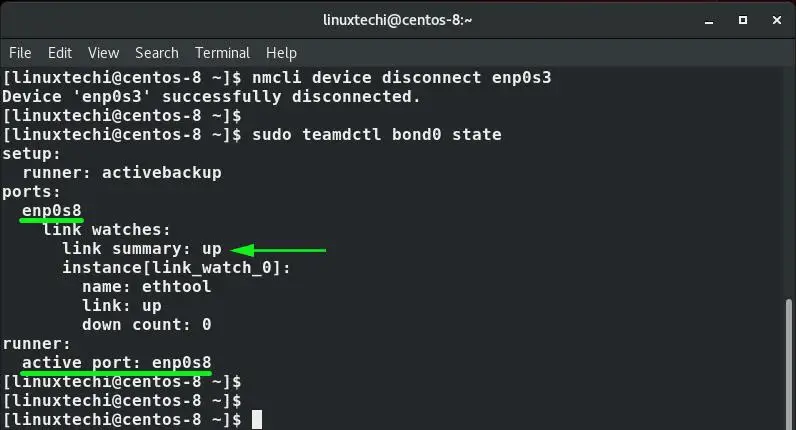
As you can see, link enp0s8 has kicked in and is now the active port. This happens in a matter of milliseconds and shows that even when one link is down for one reason or the other, connectivity to the server will still be maintained by the other link.
Pinging the default gateway and DNS will also yield a positive result.
At this point, we have successfully configured NIC teaming and tested the redundancy function using the Active-Backup runner.
How to delete a Team
The first step in deleting a team is to deactivate to bring down the team interface.
$ nmcli connection down bond0

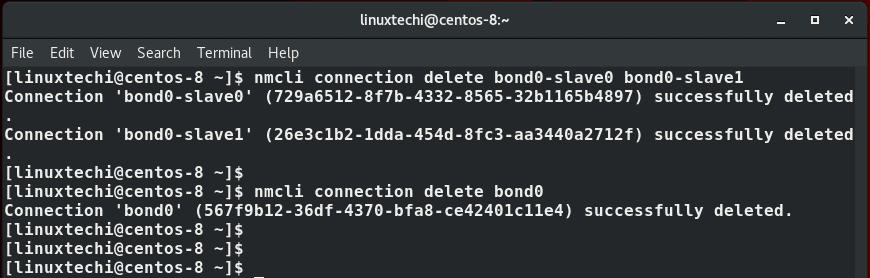
Next, proceed and delete the slaves as shown
$ nmcli connection delete bond0-slave0 bond0-slave1
Finally delete the team that was created
$ nmcli connection delete bond0
This brings us to the end of this guide on how you can configure NIC teaming on CentOS 8.