Joomla is an Open Source Content Management System (CMS) , which allow the users to create or build their own website and applications. Joomla is very popular because of its ease-of-use and extensibility.
Joomla in the backend uses the PHP, Web server (Apache2) and database like MariaDB or MySQL. In this Post we will discuss how to install and Configure Joomla 3.4.1 on Ubuntu 14.10
Step:1 Install the Necessary Packages or Prerequisites Using below Command.
linuxtechi@node1:~$ sudo apt-get update
linuxtechi@node1:~$ sudo apt-get install apache2 php5-mysql libapache2-mod-php5 mysql-server php5-json phpmyadmin php5-curl unzip mysql-client
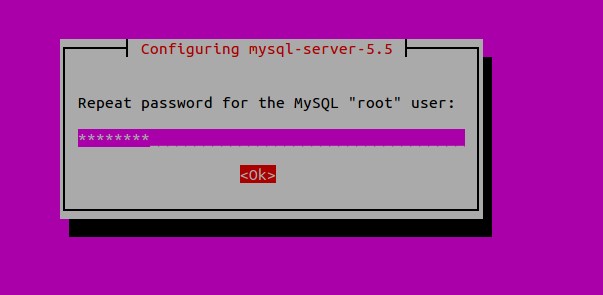
During the Installation of database Server , you will be prompted to set root password as shown below :

Confirm the root password.
Step:2 Create Database for Joomla and give privilege rights to the User.
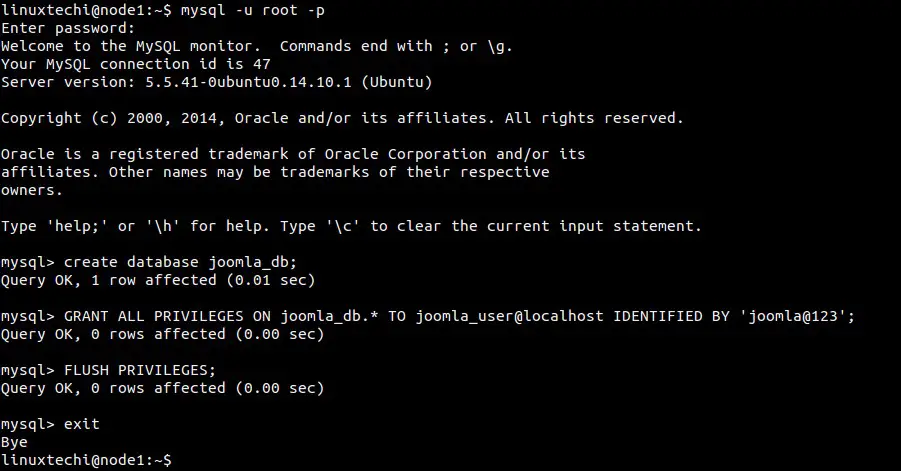
Login to MySQL console with root privileges and create Joomla Database (joomla_db)
linuxtechi@node1:~$ mysql -u root -p

mysql> create database joomla_db;
Create a Joomla User as “joomla_user” and grant all the rights on Joomla Database. (joomla_db).

mysql> GRANT ALL PRIVILEGES ON joomla_db.* TO joomla_user@localhost IDENTIFIED BY 'joomla@123';
Query OK, 0 rows affected (0.00 sec)

mysql> FLUSH PRIVILEGES;
Query OK, 0 rows affected (0.00 sec)

mysql> exit
Restart Web Server and Database Services
linuxtechi@node1:~$ sudo service apache2 restart ; sudo service mysql restart
Step:3 Download & install latest version of Joomla (3.4.1)
linuxtechi@node1:~$ cd Downloads/
linuxtechi@node1:~/Downloads$ sudo wget http://joomlacode.org/gf/download/frsrelease/20021/162258/Joomla_3.4.1-Stable-Full_Package.zip
Create Joomla Directory under /var/www/html and unzip the downloaded file under /var/www/html/joomla
linuxtechi@node1:~/Downloads$ sudo mkdir /var/www/html/joomla
linuxtechi@node1:~/Downloads$ sudo unzip -q Joomla_3.4.1-Stable-Full_Package.zip -d /var/www/html/joomla
Assign the necessary Permission on the Directory .
linuxtechi@node1:~/Downloads$ sudo chown -R www-data.www-data /var/www/html/joomla
linuxtechi@node1:~/Downloads$ sudo chmod -R 755 /var/www/html/joomla
Step:4 Now start the web installation of Joomla
Open the web broswer , type : http://<Your_System_IP>/joomla
OR
http://<Hostname_of_Your_System>/joomla
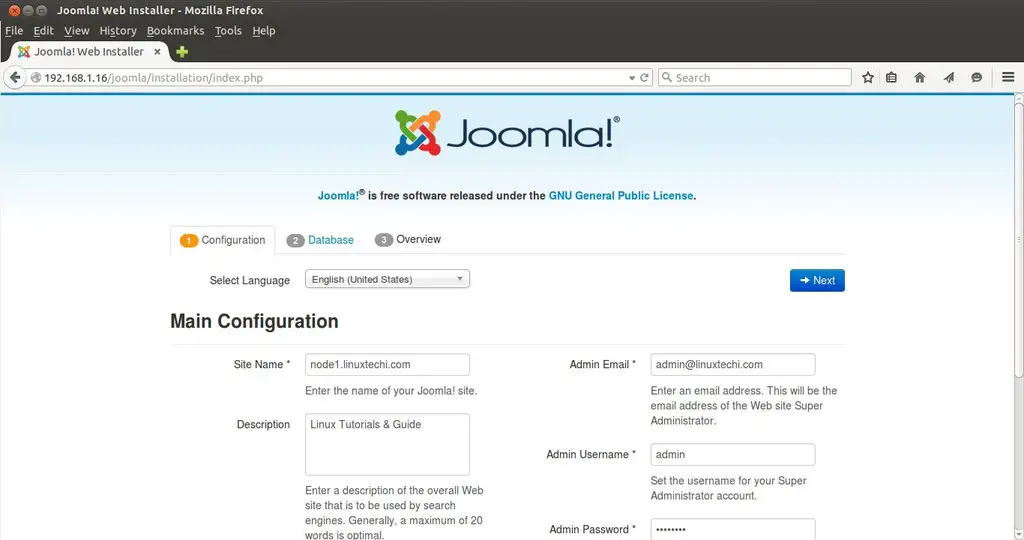
Define the Values and Click On Next, in My case i have define below :
Site Name = node1.linuxtechi.com
Description = Linux Tutorials & Guide
Admin Emal = [email protected]
Admin User Name = admin
Admin Password = xxxxxx
Step: 5 Define the Database type, Host Name, User Name and its Password.
In My Case i have define the followings :
Database Type = MySQLi
Host Name = localhost
User Name = joomla_user
Paswword = xxxxxx
Database Name = joomla_db
Table Prefix = j4_
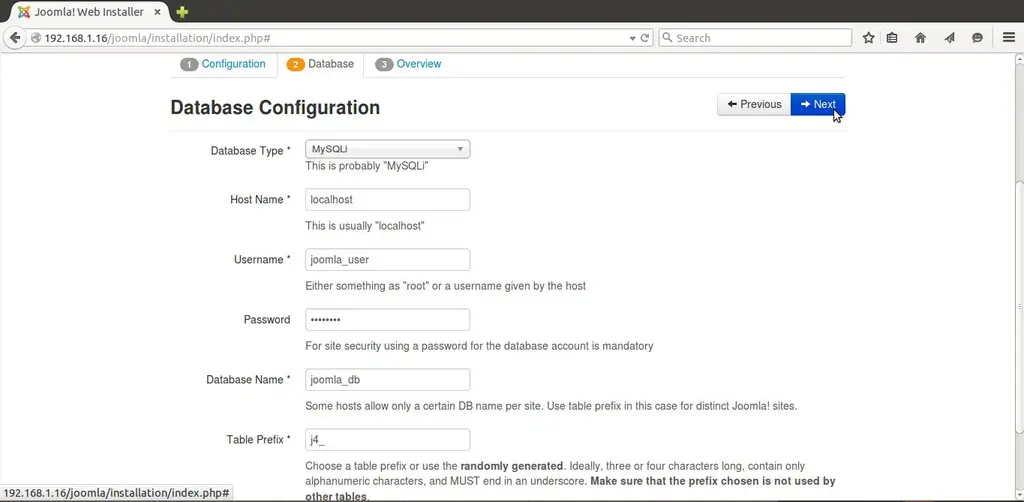
Click On Next…
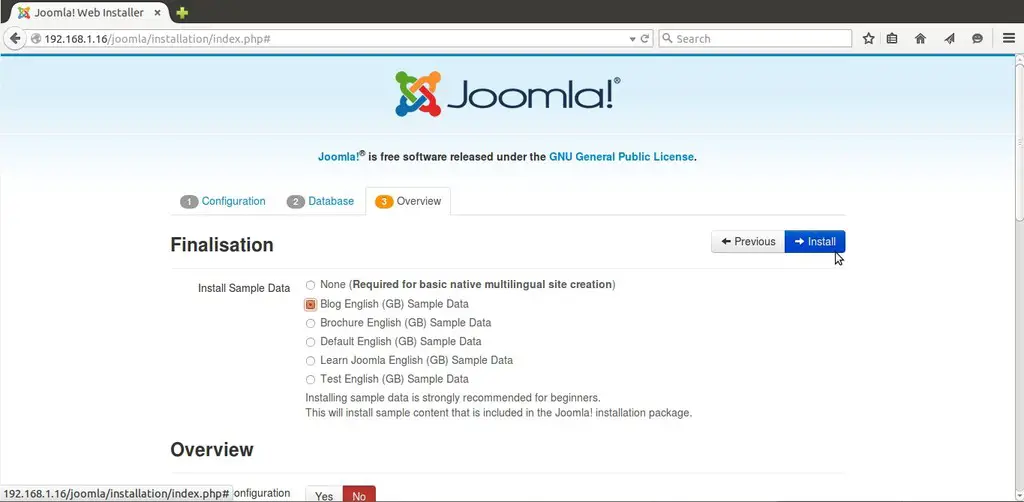
Step:6 Select “Blog English Sample Data” and then Click on Install.
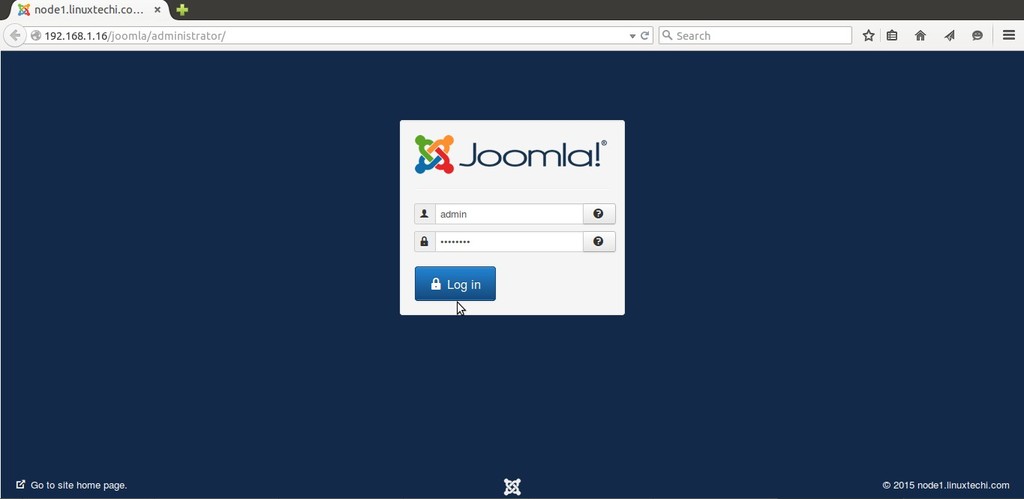
Step:7 Now Login to Joomla Admin Panel with Credentials set during installation.
Open the Web Browser , type http://<Your_System_IP>joomla/administrator/
In My case it is “http://192.168.1.16/joomla/administrator/”
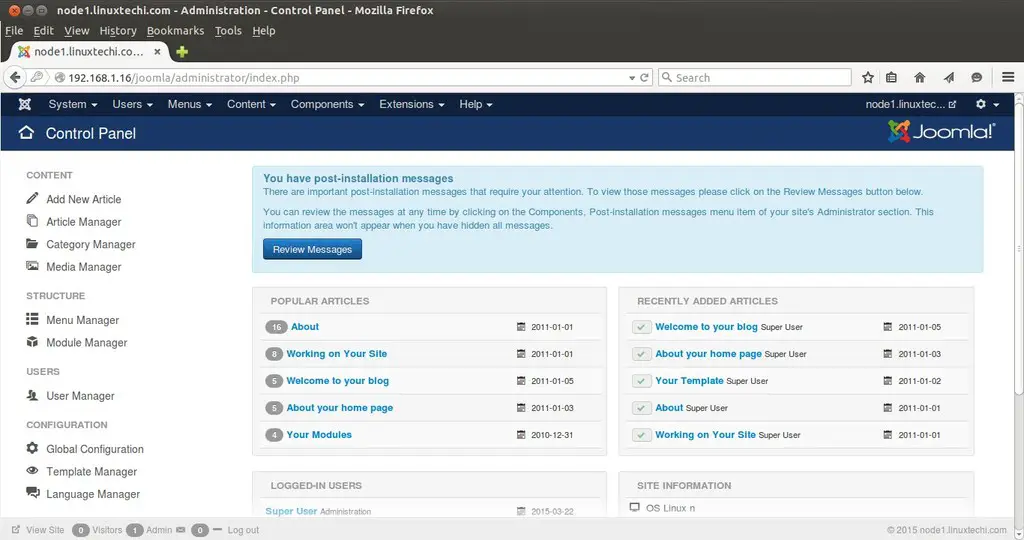
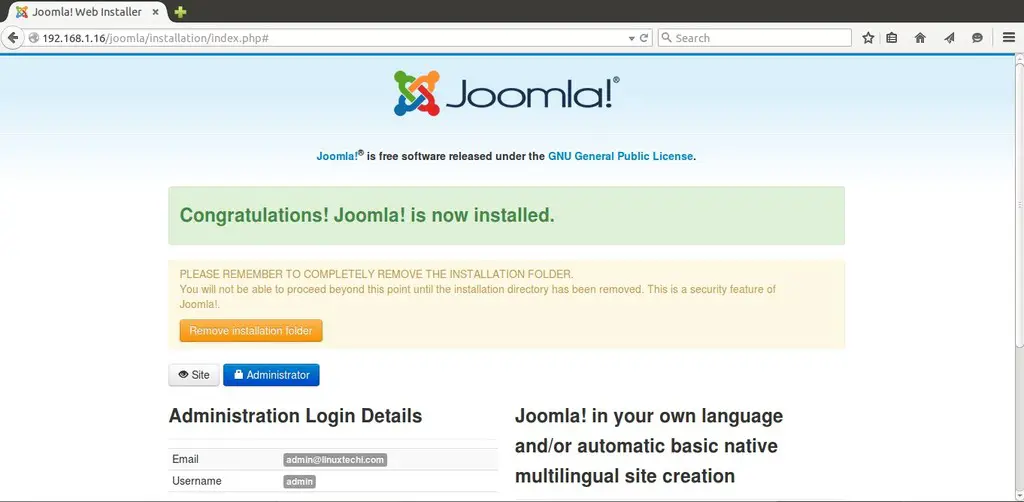
Now Joomla Installation is Completed, Enjoy and Have Fun 🙂
Found the wget URL redirects to only the upgrade package and not the full one. Look at ‘https://downloads.joomla.org/cms/joomla3/3-4-1’ for a better download link.