Top on the list of every IT operation team is ensuring that servers are secure from unauthorized users or malicious scripts. There are a number of solutions that you can apply to ward off attacks and breaches. Among them is the implementation of the Fail2ban software tool.
Fail2ban is an open-source intrusion detection measure that mitigates brute-force attacks that target various services such as SSH, and VSFTPD to mention a few. It comes with an array of filters – including SSH – that you can customize to update the firewall rules and block unauthorized SSH login attempts.
The fail2ban utility monitors the server’s log files for any intrusion attempts and blocks the IP address of the user after a predefined number of failed attempts for a specified duration. The user’s IP is placed in a ‘jail’ which can be set, enabled, or disabled in the /etc/fail2ban/jail.conf configuration file. This way, it helps to secure your Linux server from unauthorized access, and more specifically from botnets and malicious scripts.
What comprises a jail? A jail is made up of the following key elements:
- The log file to be analyzed.
- Filters to be applied on the log file.
- The action to be taken when the filter matches
- Additional parameters to elaborate on the type of matches. For instance, maxtry (maximum try) and bantime (ban time) etc.
In this tutorial, we will walk you through the installation and configuration of Fail2ban on RHEL 8 / CentOS 8.
Step 1) Install EPEL Repository
First up, log in to your server and install the EPEL (Extra Package for Enterprise Linux) package as follows.
For CentOS 8
$ sudo dnf install -y epel-release
For RHEL 8
$ sudo dnf install https://dl.fedoraproject.org/pub/epel/epel-release-latest-8.noarch.rpm -y
Step 2) Install Fail2ban
To install Fail2ban, run the simple command below:
$ sudo dnf install -y fail2ban
Step 3) Configuring Fail2ban
By design, fail2ban parses the log files and attempts to match the failregex that is specified in the filters. Filters pick up failed authentication attempts for a specific service, for example, SSH login attempts using regular expressions – regex. When the maximum number of ‘maxtry’ times is achieved in the log entries, an action is triggered.
By default, this happens after 3 failed authentication attempts, and the user is banned or put into a ‘jail’ for 10 minutes. These parameters can easily be configured in the /etc/fail2ban/jail.conf file which is the global configuration file.
All the important configuration files are located under /etc/fail2ban/ directory.
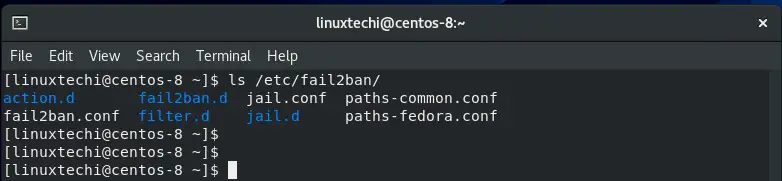
Filters are stored under the /etc/fail2ban/filter.d directory. There are dozens of filters for various services including SSH, Webmin, postfix and so much more.
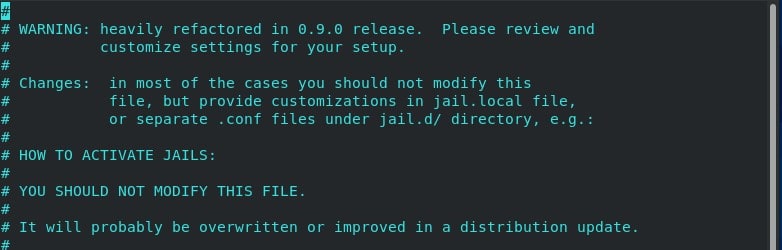
/etc/fail2ban/jail.conf is the main configuration file. However, it’s not recommended to directly modify this file, because as the file spells it out, the configurations are likely to be overwritten or improved at a later distribution update.
A workaround is to create a jail.local file in the /etc/fail2ban/jail.d directory and add your custom configurations for the desired services that you want to secure.
NOTE: Parameters defined in the jail.local file will override the jail.conf file. Which makes it even more preferable to leave the main configuration file intact.
For demonstration purposes, we are going to create a jail file that will secure SSH connections.
$ sudo vim /etc/fail2ban/jail.local
Here’s the sample configuration file.
[DEFAULT]
ignoreip = 192.168.2.105
bantime  = 86400
findtime  = 300
maxretry = 3
banaction = iptables-multiport
backend = systemd
[sshd]
enabled = true
Let’s breakdown the parameters and see what they stand for.
- ignoreip – Defines a list of IP addresses or domain names that are not to be banned.
- bantime – As the name suggests, this specifies the duration of time that a remote host gets banned in seconds.
- maxretry – This is the number of failed login attempts before the host is blocked/banned.
- findtime – Time duration in seconds during which a host will be blocked after achieving the maxtry attempts.
- banaction – The banning action.
- backend – The system used to fetch log files
Our configuration implies the following:
When an IP address records 3 failed authentication attempts within the last 5 minutes, then it will be banned for 24 hours with the exception of a host with IP 192.168.2.105.
Save and exit the configuration file.
Step 4) Start and enable Fail2ban
With the configuration of the jail file for SSH done, we are going to start and enable fail2ban on boot. Usually, the service is not running upon installation
To start and enable fail2ban, run the command:
$ sudo systemctl start fail2ban
$ sudo systemctl enable fail2ban
To reveal the status of fail2ban, invoke the command below:
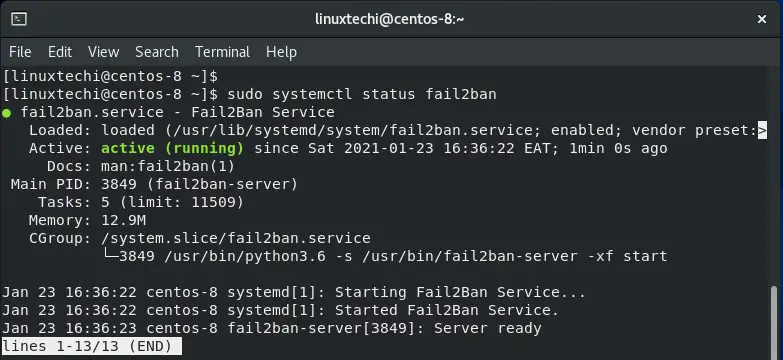
$ sudo systemctl status fail2ban
This time around, we can observe that fail2ban is running as expected.
Now let us proceed and see how Fail2ban works.
Step 4) Fail2ban in action
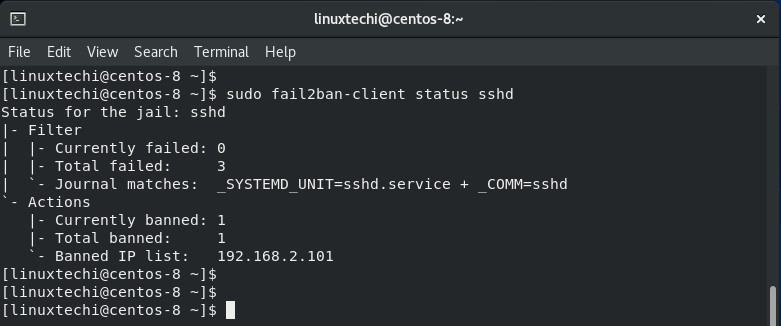
Let’s now go a step further and see Fail2ban in action. To keep an eye on banned IP addresses, the fail2ban-client utility comes in handy. For example, to get the status of ssh jail, run the command:
$ sudo fail2ban-client status sshd
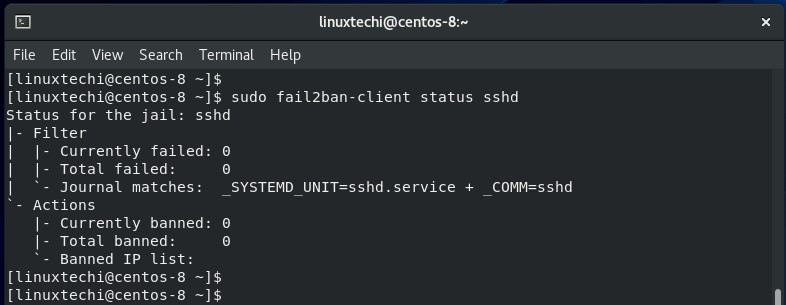
At the moment, there are no banned IP entries because we have not logged in remotely to the server yet.
We are going to attempt to log in from putty SSH client from a Windows PC with an IP different from the one specified in jail.local configuration file.
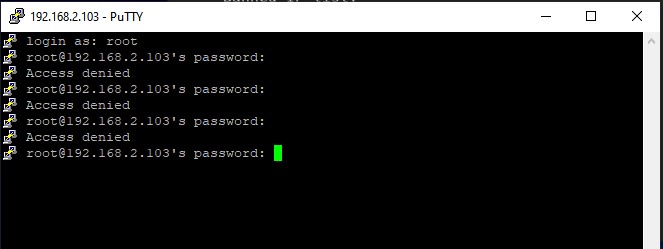
From the output, we can clearly see that we cannot get access to the server. When we check the status again, we find that one IP has been banned as shown.
To remove the IP from the banned list, unban it as follows.
$ sudo fail2ban-client unban 192.168.2.101
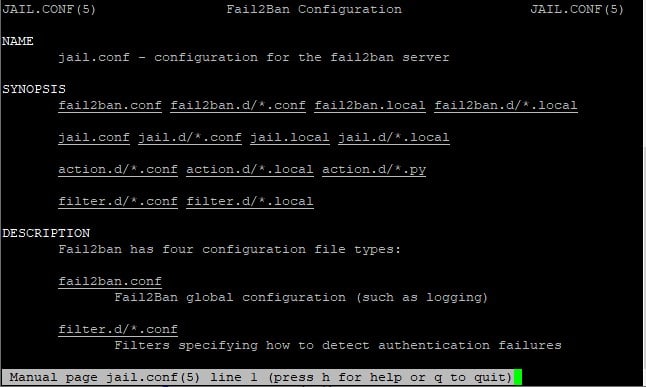
To gather more information about fail2ban rules and policies, visit the jail.conf manpages as shown
$ man jail.conf
Any comment or feedback? Feel free to reach out and we’ll get back to you.
Also Read: 12 IP Command Examples for Linux Users