In this blog post, we will learn how to install KVM on Debian 12 step-by-step.
KVM, short for Kernel-based Virtual Machine, is a free and open-source Type 2 hypervisor that runs on Linux-based distributions. Once KVM is installed, your system becomes a virtualization server, enabling the creation and management of multiple virtual machines simultaneously. KVM requires a processor with hardware virtualization support, such as an Intel processor with VT-x (Virtualization Technology extension) or an AMD processor with AMD-V (AMD64 Virtualization Extension).
Prerequisites
- Pre Installed Debian 12
- User with sudo rights
- 2GB RAM and 2 CPU
- 20 GB free disk space on /var
- Internet Connectivity
Without any delay, let’s jump into KVM installation steps.
1) Check Whether Virtualization Extension is enabled or not
Login to your Debian 12 system, open the terminal and run the below grep command,
$ grep -E -c '(vmx|svm)' /proc/cpuinfo
4
$
If output of above command is more than zero then we can say Virtualization technology enabled on your system. If the output is zero then we must restart the system, go to bios settings and then enable VT-x (Virtualization Technology Extension) for Intel processor and AMD-V for AMD processor.
Run the below command to verify whether your processor is Intel / AMD and support hardware virtualization,
$ grep -E --color '(vmx|svm)' /proc/cpuinfo
If the output contains vmx then you have a Intel based processor and svm confirms that it is AMD processor.
2) Install KVM / QEMU
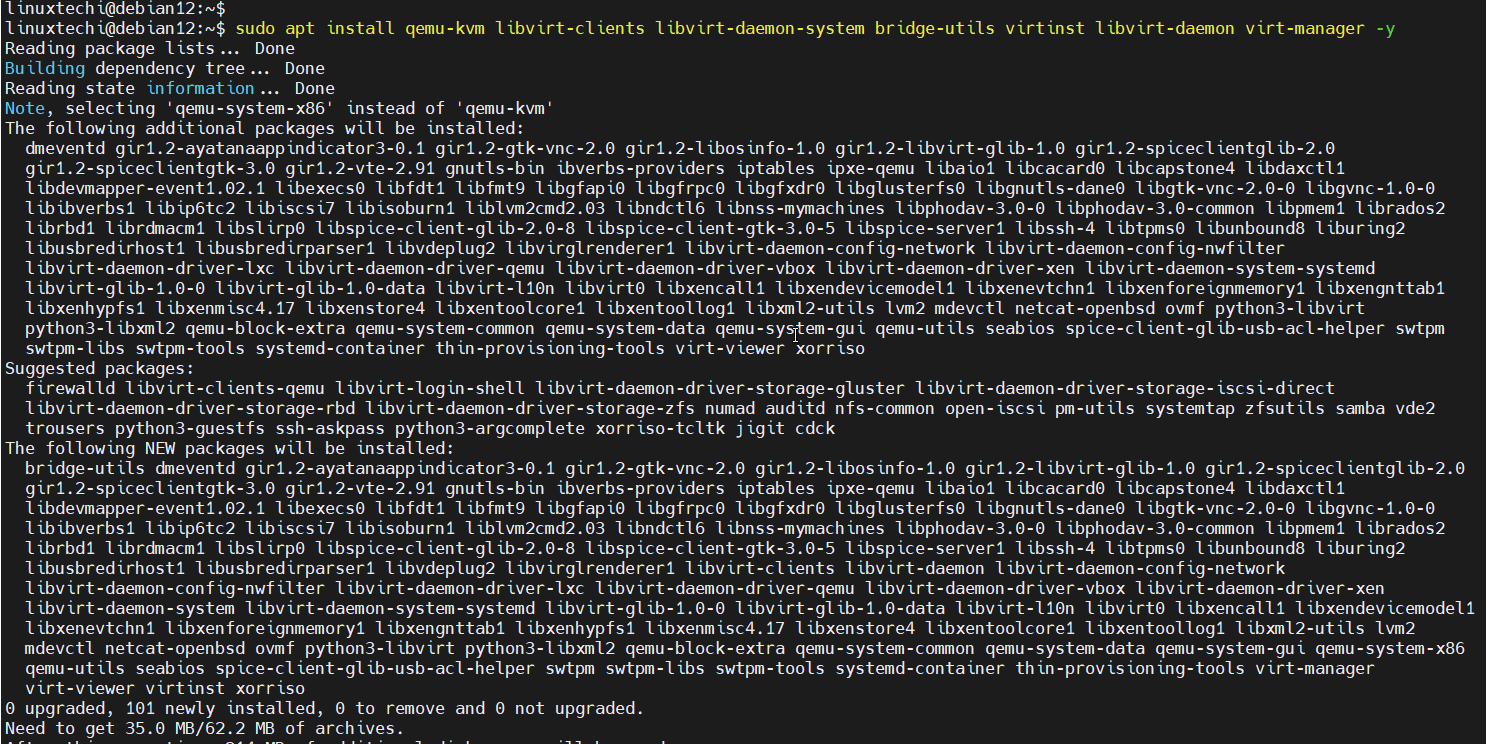
All the KVM and Qemu packages like qemu-kvm, libvirt and virt-manager packages are available in the default repositories of Debian 12, run the beneath apt command to install these packages,
$ sudo apt install qemu-kvm libvirt-clients libvirt-daemon-system bridge-utils virtinst libvirt-daemon virt-manager -y
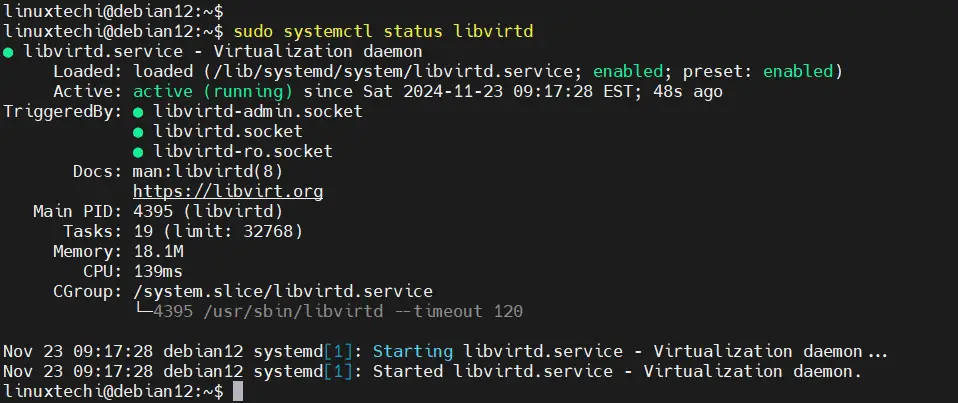
Once above packages are installed successfully then libvirtd service will start automatically, run the below systemctl command to verify the status of libvirtd,
$ sudo systemctl status libvirtd
3) Start default network and add vhost_net module
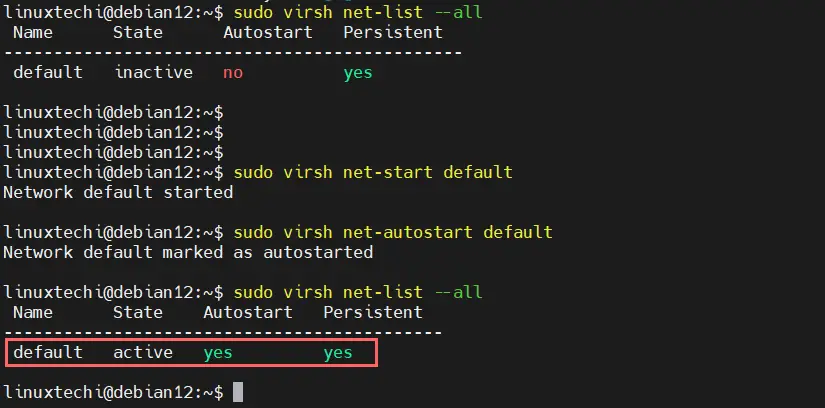
Run the below virsh command to list available networks for kvm VMs
$ sudo virsh net-list --all
Name     State      Autostart Persistent
----------------------------------------------
default  inactive   no        yes
$
As we can see in above output, default network is inactive so to make it active and auto-restart across the reboot by running the following commands,
$ sudo virsh net-start default
Network default started
$ sudo virsh net-autostart default
Network default marked as autostarted
$
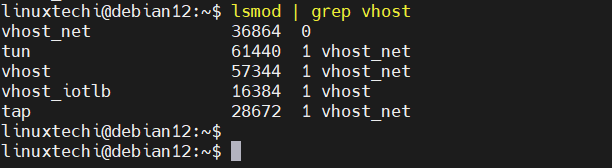
If you want to offload the mechanism of “virtio-net” and want to improve the performance of KVM VMs then add “vhost_net” kernel module on your system using the beneath command,
$ sudo modprobe vhost_net
$ echo "vhost_net" | sudo tee -a /etc/modules
vhost_net
$
$ lsmod | grep vhost
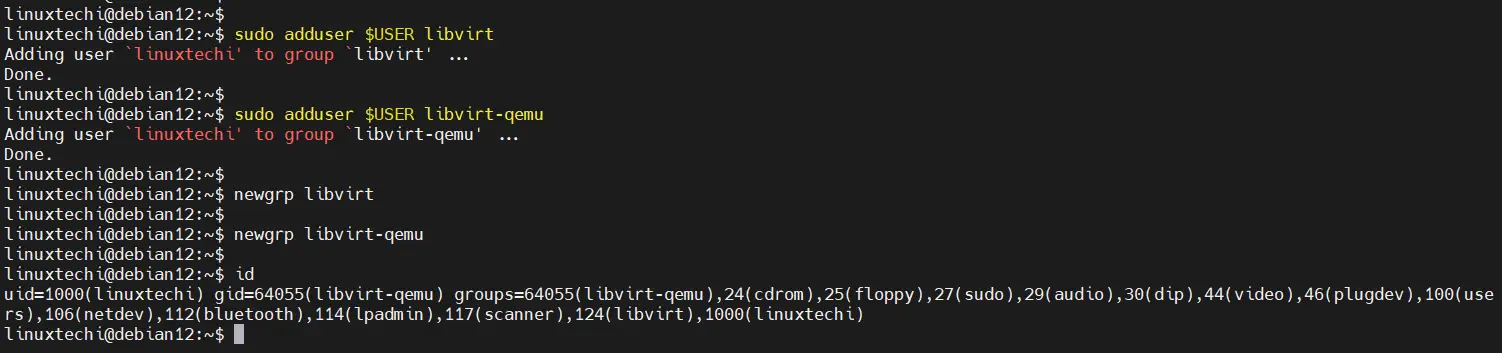
Note: If you want your local user to use virsh commands then add that user to libvirt and libvirt-qemu group using the following commands
$ sudo adduser $USER libvirt
$ sudo adduser $USER libvirt-qemu
To refresh or reload group membership run the followings,
$ newgrp libvirt
$ newgrp libvirt-qemu
4) Create Network Bridge(br0) for KVM VMs
When we install KVM then it automatically creates a bridge with name “virbr0“, this is generally used for the test environments but if you wish to access your KVM VMs outside of your KVM hypervisor then create Linux bridge which will be attached to physical nic (or lan card) of your system.
Install resolvconf package to manage dns server ips via bridge file
$ sudo apt install -y resolvconf
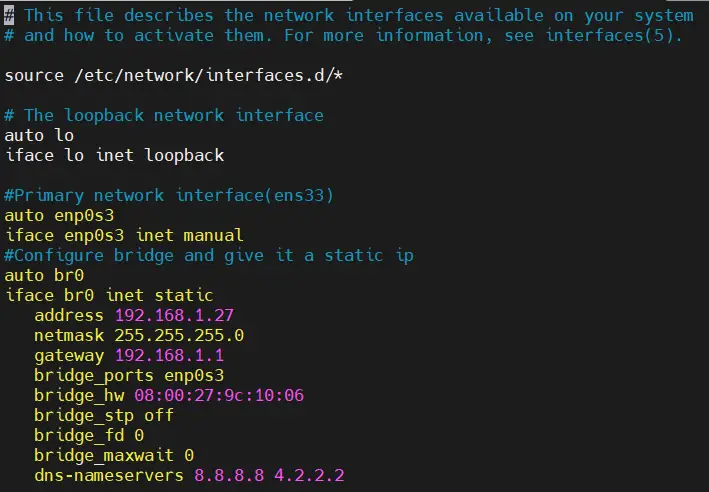
To create a network bridge in Debian 12, you can configure the network settings by editing the file /etc/network/interfaces. Below is an example configuration:
In this example, enp0s3 is the physical NIC, and br0 is the Linux bridge. The IP address initially assigned to enp0s3 is now assigned to the bridge br0. (Ensure that the IP address is removed from enp0s3.)
Replace the interface name, bridge name, and IP address details according to your setup. The bridge_hw parameter specifies the MAC address of the physical interface (e.g., enp0s3 in this case).
Here is the configuration:
$ sudo vi /etc/network/interfaces
source /etc/network/interfaces.d/*
# The loopback network interface
auto lo
iface lo inet loopback

#Primary network interface(ens33)
auto enp0s3
iface enp0s3 inet manual

#Configure bridge and give it a static ip
auto br0
iface br0 inet static
   address 192.168.1.27
   netmask 255.255.255.0
   gateway 192.168.1.1
   bridge_ports enp0s3
   bridge_hw 08:00:27:9c:10:06
   bridge_stp off
   bridge_fd 0
   bridge_maxwait 0
   dns-nameservers 8.8.8.8 4.2.2.2
save and close the file.
To make above changes into the affect restart the networking service using the following command.
$ sudo systemctl restart networking
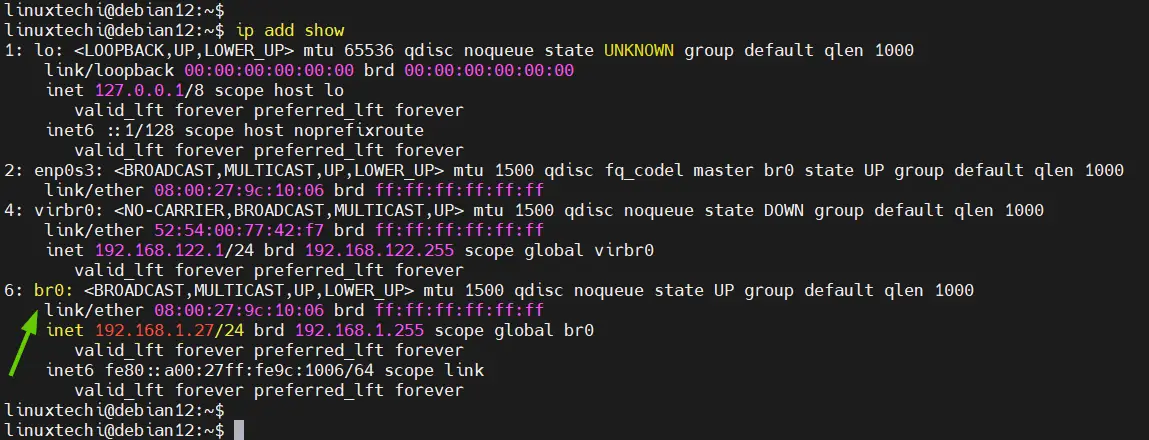
Next, run ip command to ensure bridge is setup correctly or not.
$ ip add show
5) Creating Virtual Machine Using Virt-Manager
There are two ways to create virtual machines in KVM, first one is via virt-manager GUI tool and second way is via command line using virt-install utility.
In order to create virtual machine using virt-manager, Access the virt-manager GUI tool from Desktop environment.
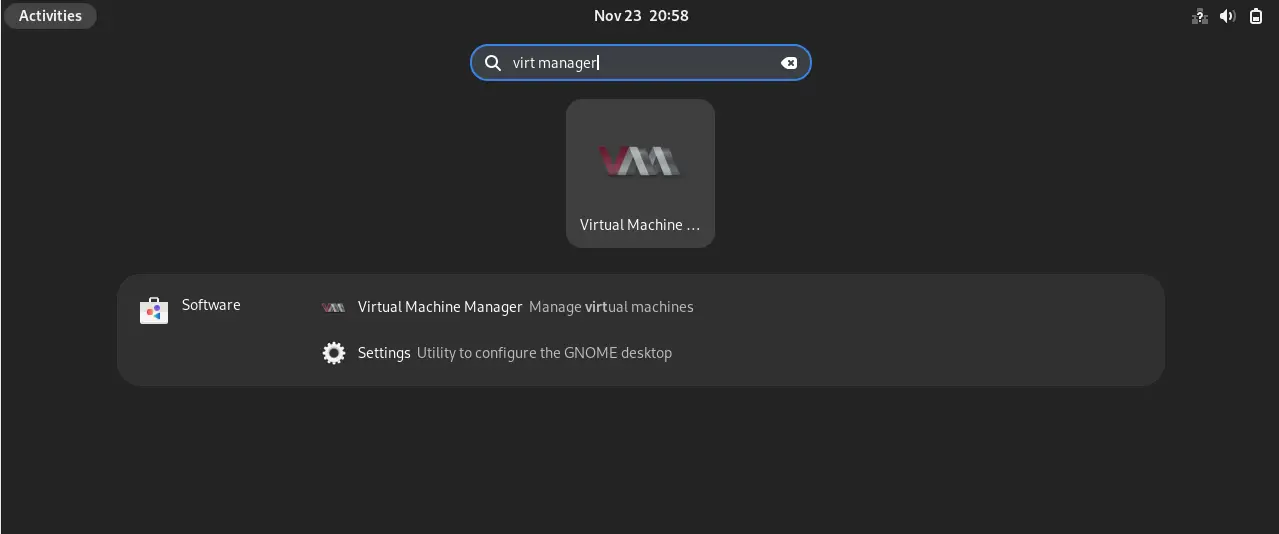
Click on Virtual Machine Manager icon
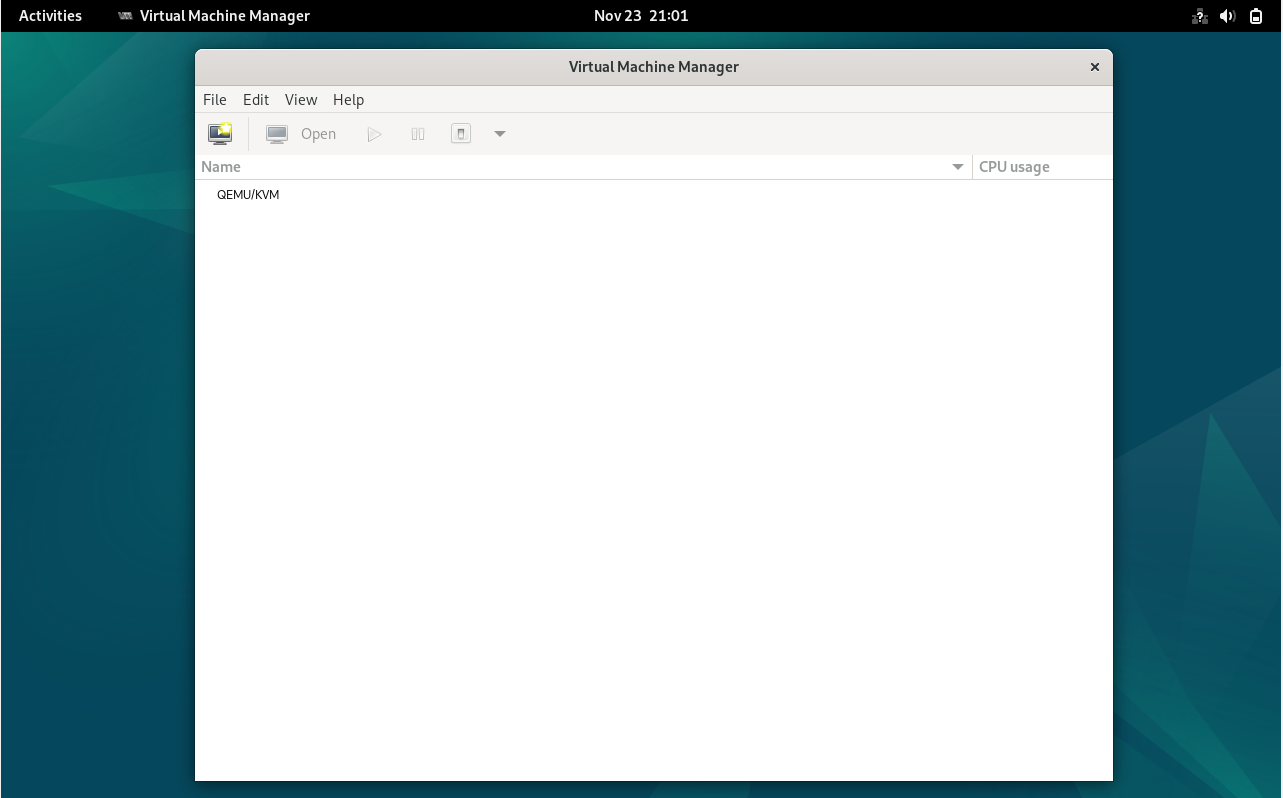
Click on monitor icon to create a new virtual machine.
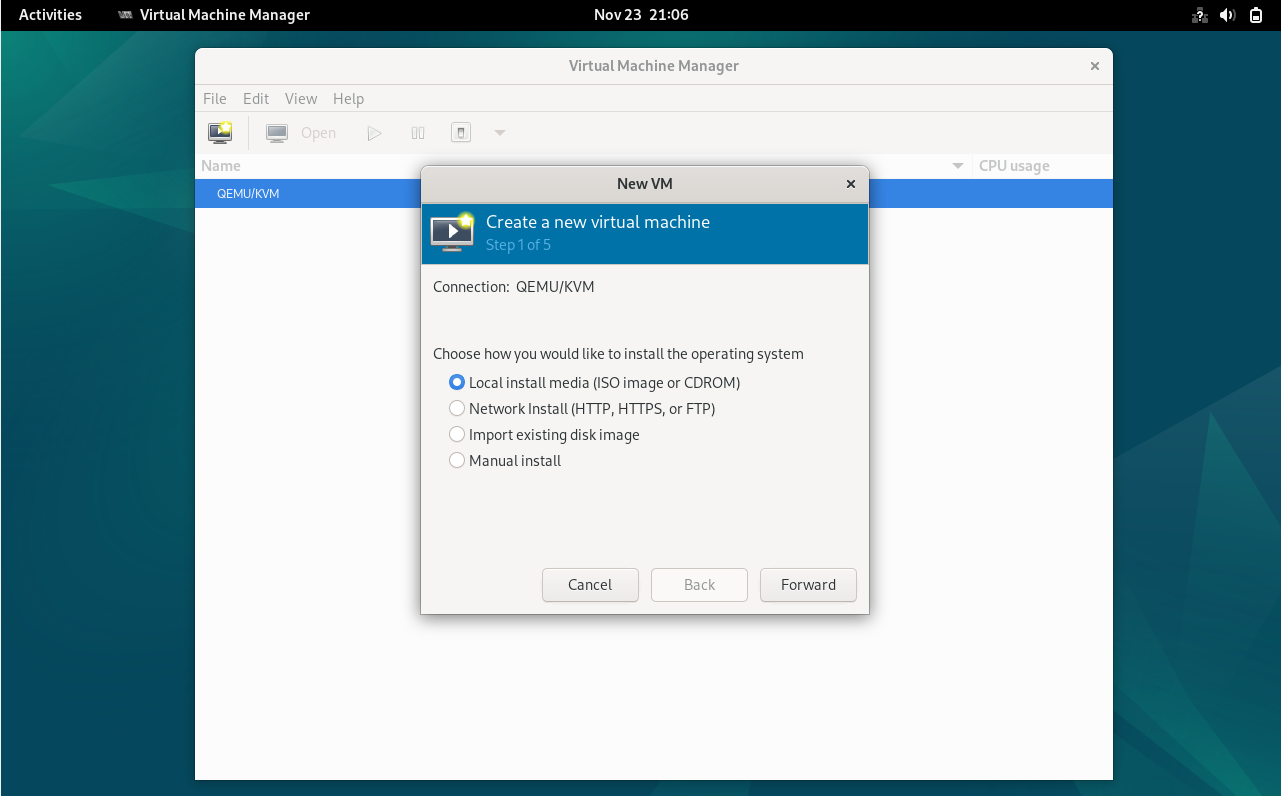
Choose “Local Install media” and the click on Forward.
Browse and select the ISO file, then click on “Forward.” In my case, I have already uploaded the RHEL 9 ISO to the Debian 12 system, so I will use that ISO for the operating system installation.

Click on Forward, in the next window, specify the RAM and CPU for the VM
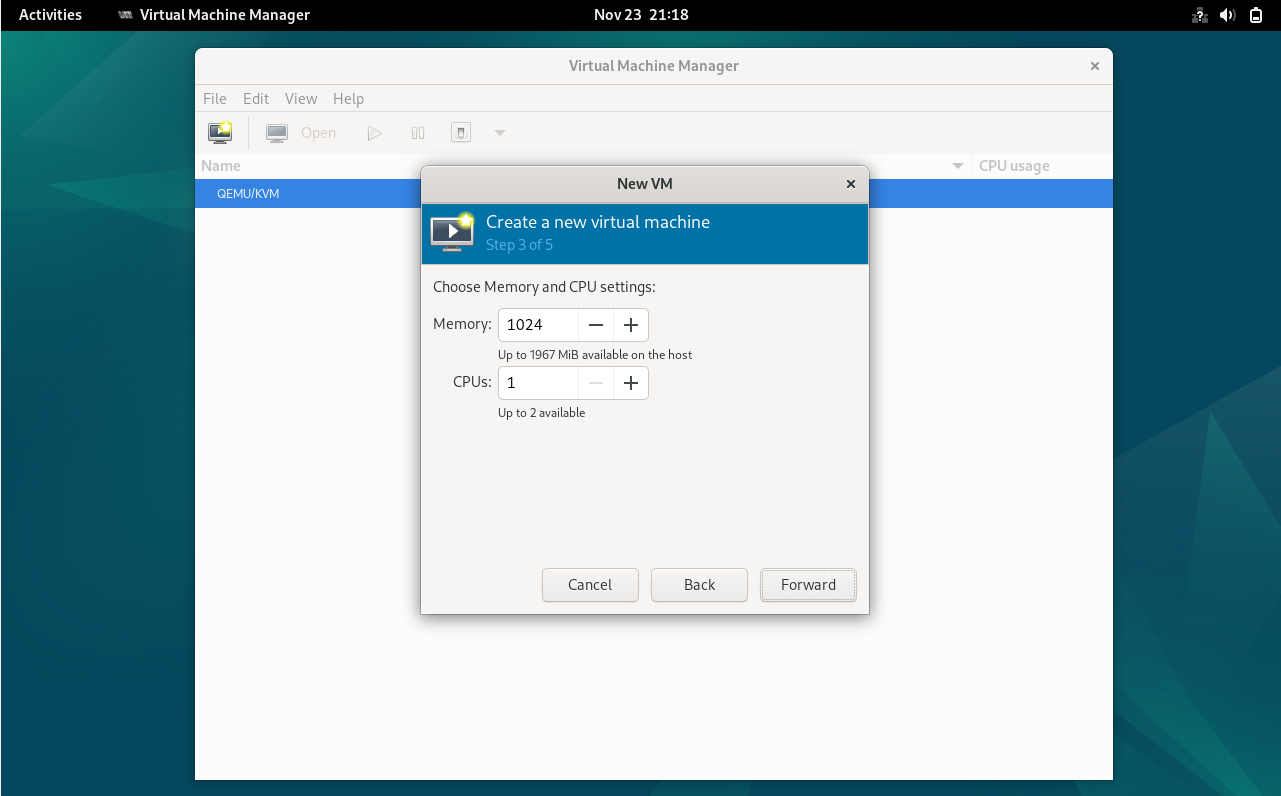
click on Forward to proceed further and allocate the disk space for virtual machine.
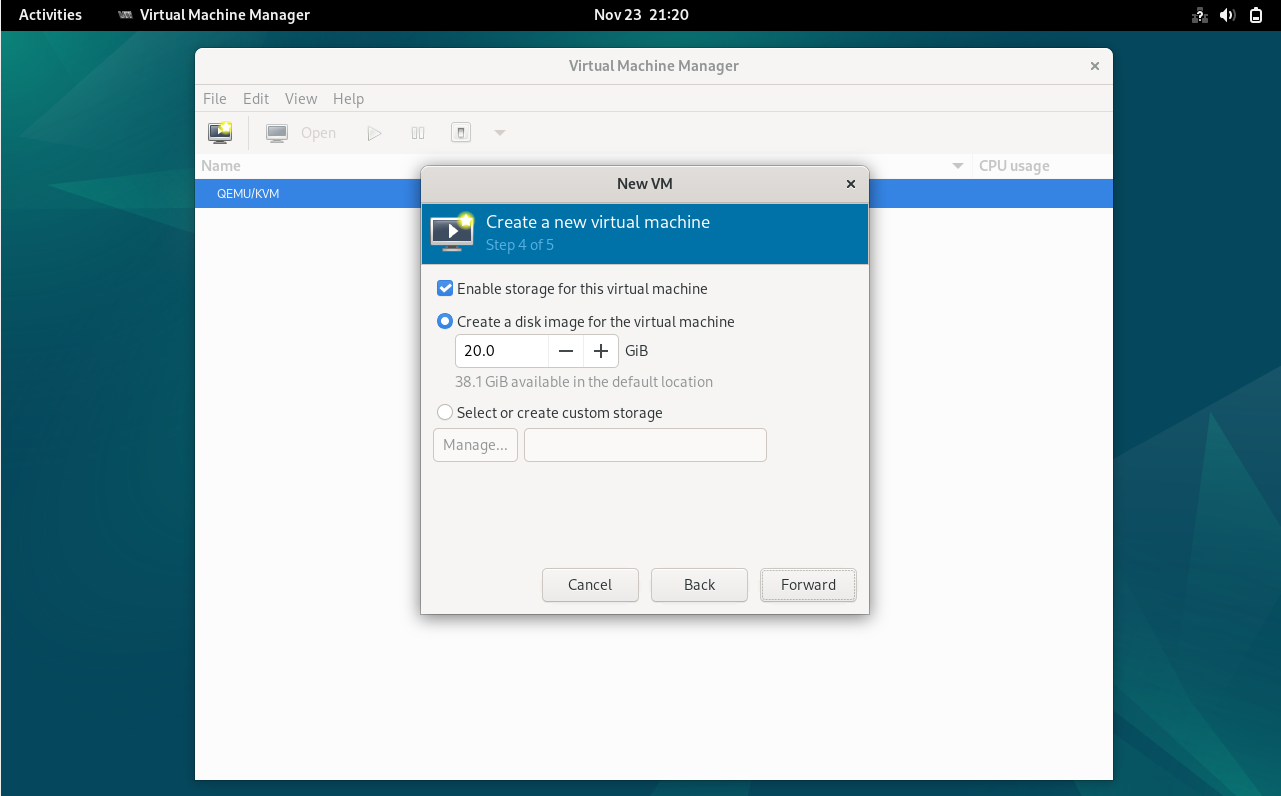
Click on Forward and in next screen specify the VM name and its network.
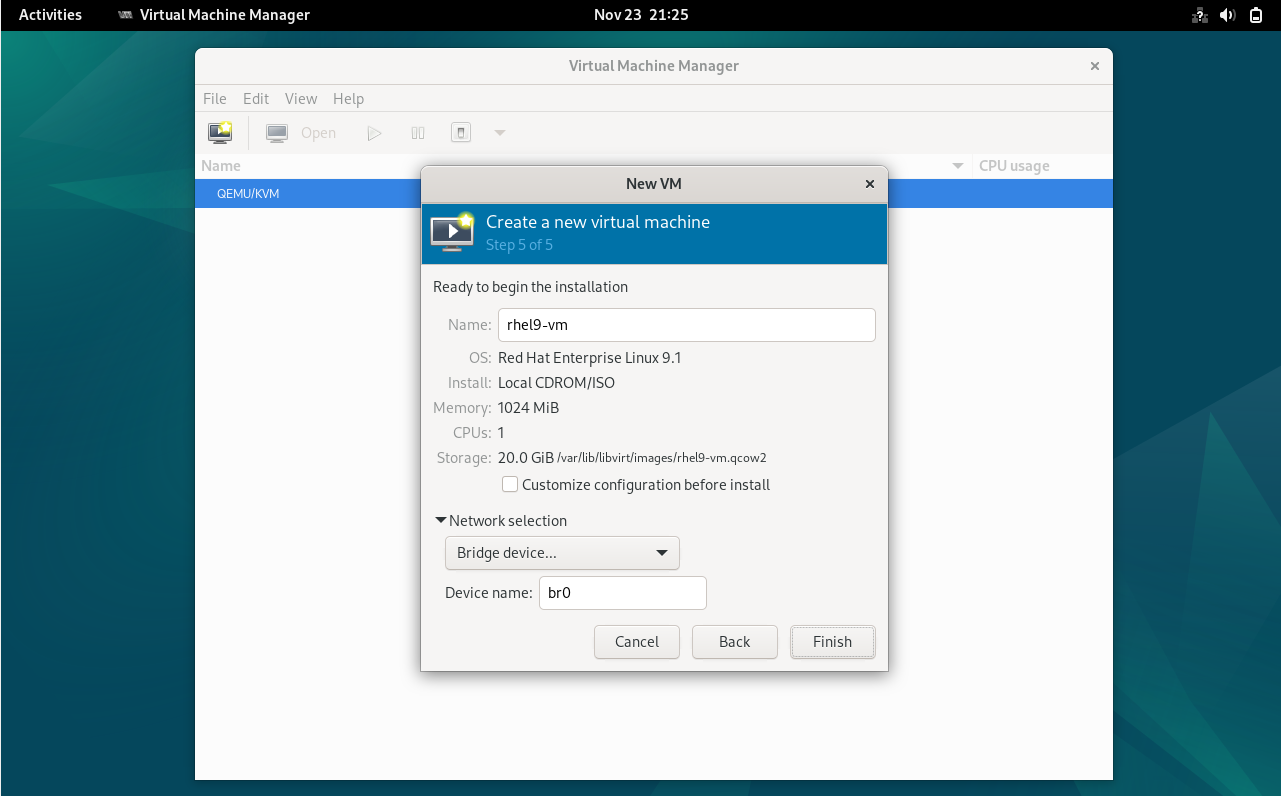
Click on Finish to proceed with operating system installation,
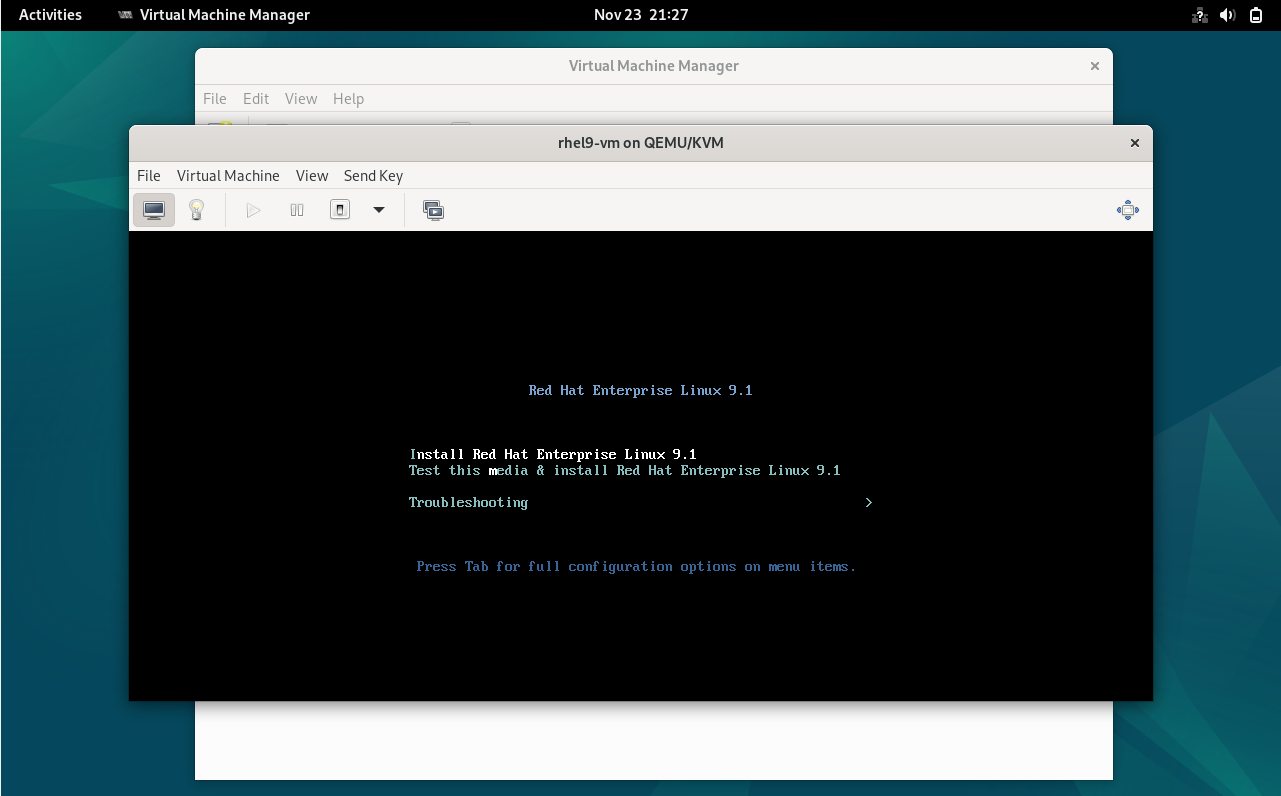
Follow the screen instructions and complete the installation.
Creating VM Using virt-install from the command line
Virt-install is a command-line utility used to create virtual machines, which is particularly useful if you don’t have a desktop environment installed on your Debian 12 system. After creating the VM, you can access its VNC console to complete the operating system installation. Example is shown below,
$ sudo virt-install --name ubuntu24-04-vm --os-variant ubuntu-lts-latest --ram 2048 --vcpu 1 --disk path=/var/lib/libvirt/images/ubuntu24-04-vm.qcow2,size=20 --graphics vnc,listen=0.0.0.0 --noautoconsole --hvm --cdrom /home/linuxtechi/noble-desktop-amd64.iso --boot cdrom,hd

As we can see in above output, we can connect to ubuntu24-04-vm using VNC console to finish the OS installation.
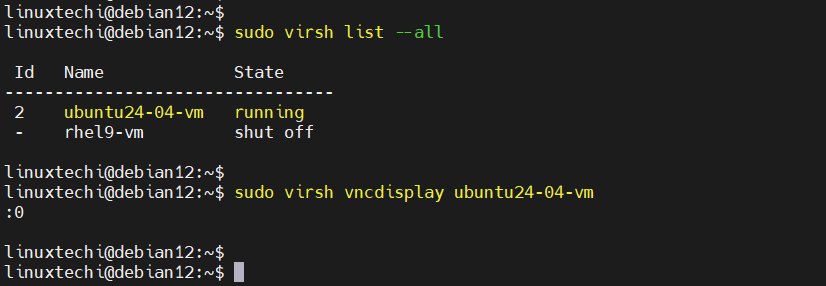
Run the following commands to find VNC display port for ubuntu24-04-vm,
$ sudo virsh list --all
$ sudo virsh vncdisplay ubuntu24-04-vm
Now start VNC viewer tool and connect to VM console using IP address of your Debian 12 system and vnc port as “5900“, example is demonstrated below,
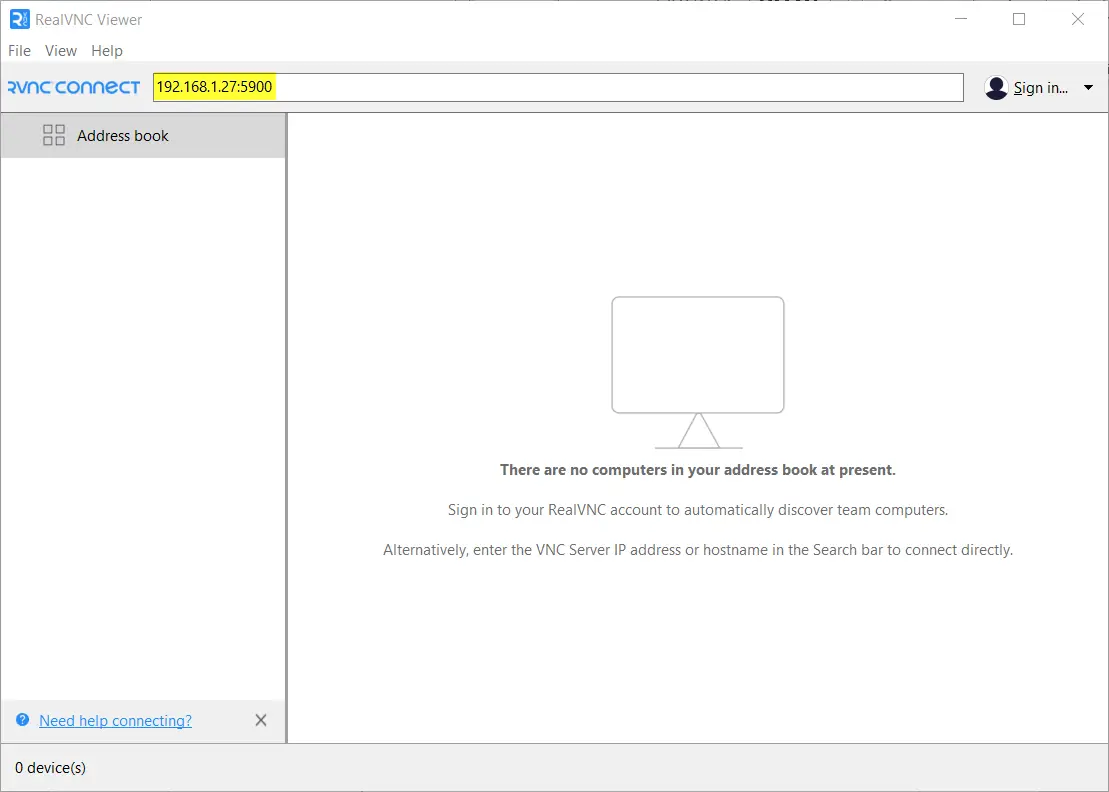
Press Enter to connect,
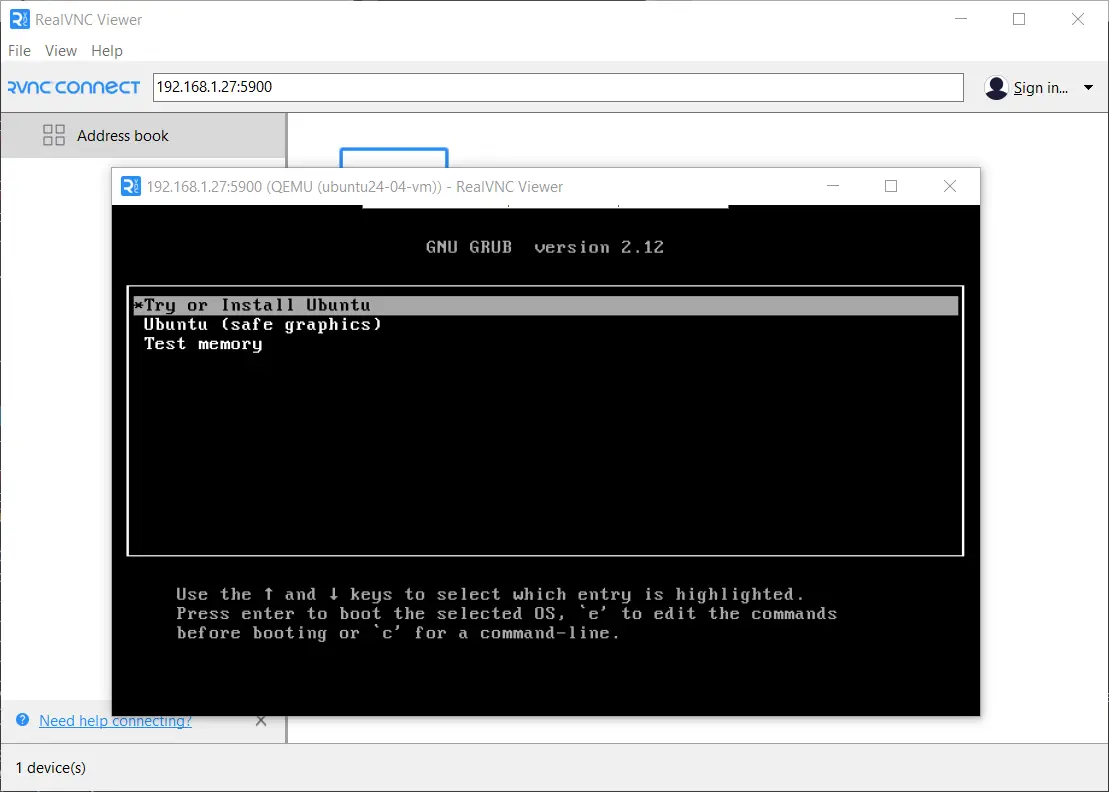
Follow the screen instructions and complete Ubuntu 24.04 Installations.
That’s all from this blog post, I hope you found it useful and informative, feel free to post your queries and feedback in below comments section.

This is very technical information on Debian 10 buster
Thank for so detailed steps for KVM set up. 🙂
after
sudo virsh net-start default
i got this error:
error: Cannot check dnsmasq binary /usr/sbin/dnsmasq: file or directory not found
I canno instal dnsmasq. systemd-resolved ist blocking port 53. so what can i do?
Thanks Pradeep! This is just what I was looking for.
I followed your step i only see LXC in virt-manager. I am using debian buster
‘https://ibb.co/FzLYXYM’
Hmm, I have wlan0 (no eth0) and under KDE worked NetworkManager.
When I use network config like write above – wlan0 is not worked and no accessible in NetworkManager.
How to rewrite configs to get worked br0, wlan0, and NetworkManager?
Wireless interfaces do NOT support bridging and will not work with KVM/QEMU. They DO seem to work with VirtualBox in Windows tho. 🙁
Huge Thanks for this article. Very helpful to setup my first KVM VM. Main thing I was looking for is how to access the VNC console of a remote server to complete the installation procedure of VM.
Thank you 🙂