In this guide, we will cover, how to create a VM (Virtual Machine) using VMware workstation on Ubuntu 22.04 step-by-step.
In our previous guide, we have already cover How To Install VMware Workstation On Ubuntu 22.04 | 20.04. So, let’s get started,
1) Start VMware Workstation
From the Activity, search vmware workstation, Click on it’s icon as shown below

We will get beneath workstation GUI,
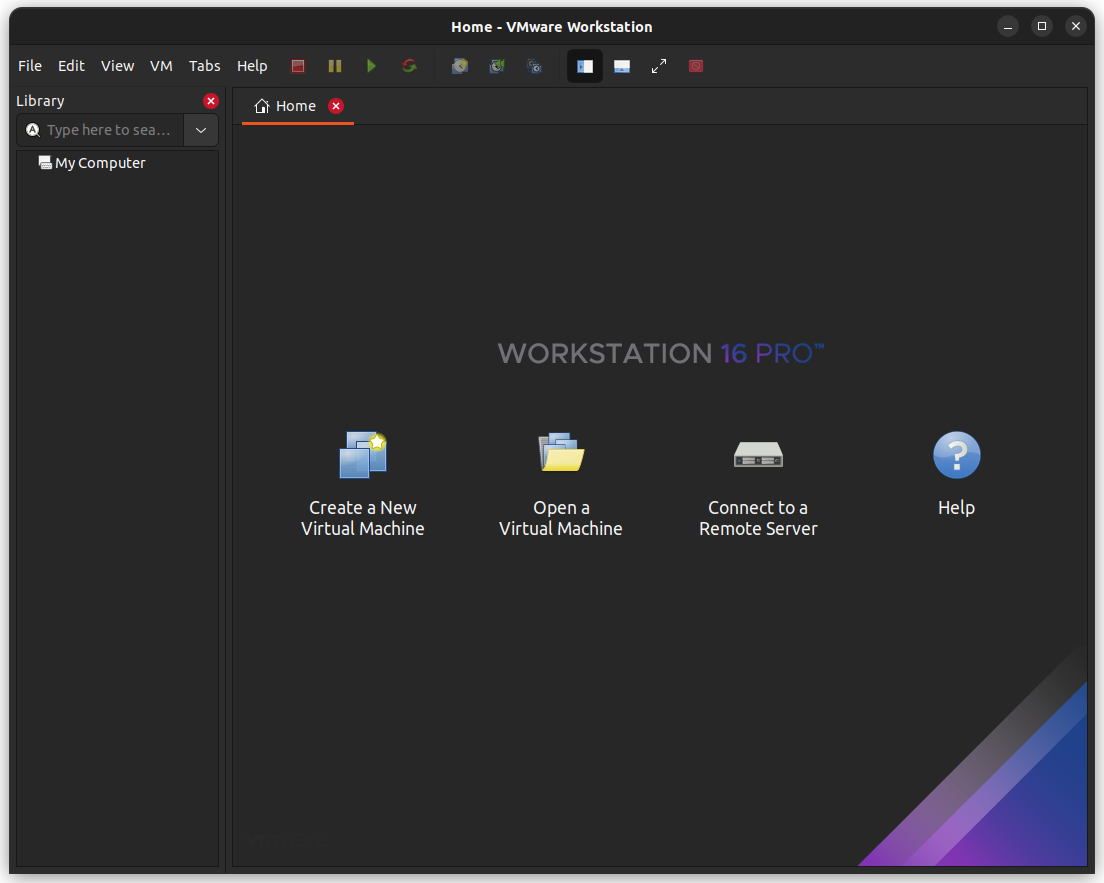
Click on “Create a New virtual Machine” option
2) Select Virtual Machine Configuration
Choose the first option ‘Typical (recommended‘

Click on Next…
3) Specify the installation media
Installation media can be physical device like CD / DVD or ISO file. In my case, I am using an ISO file of Linuxmint-21
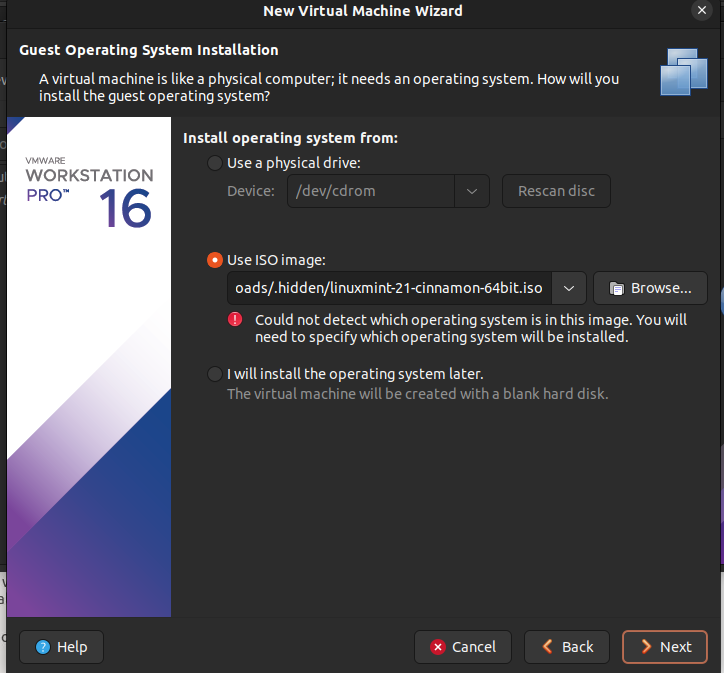
Click on Next to proceed further,
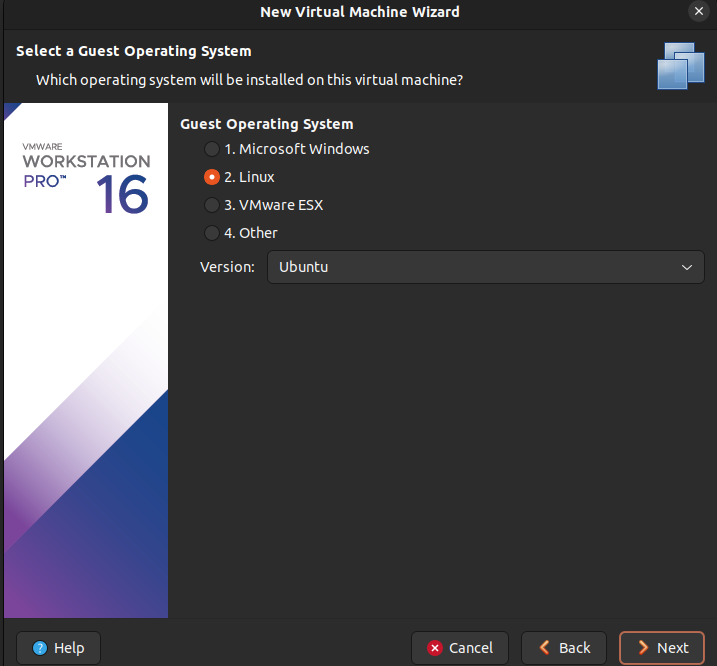
4) Choose Guest Operating System and its Version
5) Specify VM Name and location for VM Files
By default vmware workstation create operating system image in user’s home directory under vmware folder. You can change this location if required,
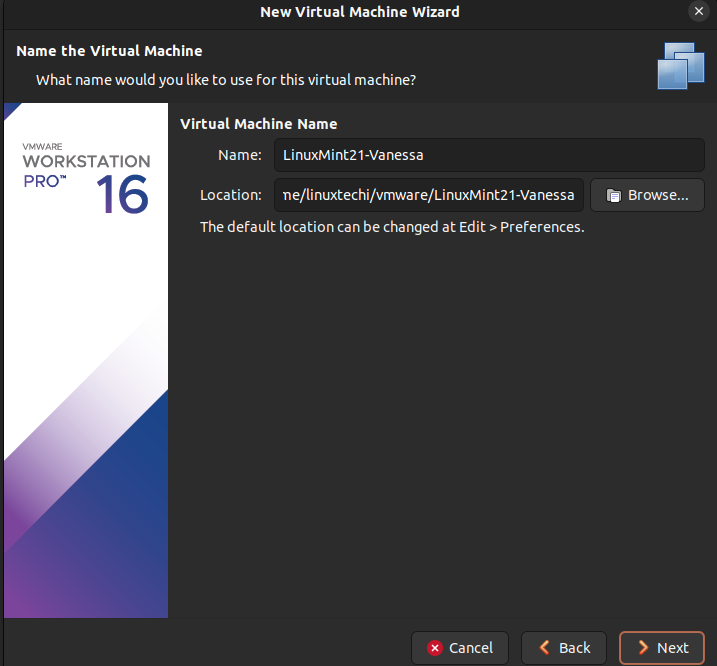
Click on Next
6) Disk Space for the Virtual Machine
In this step, enter the disk space that you want allocate for the VM.
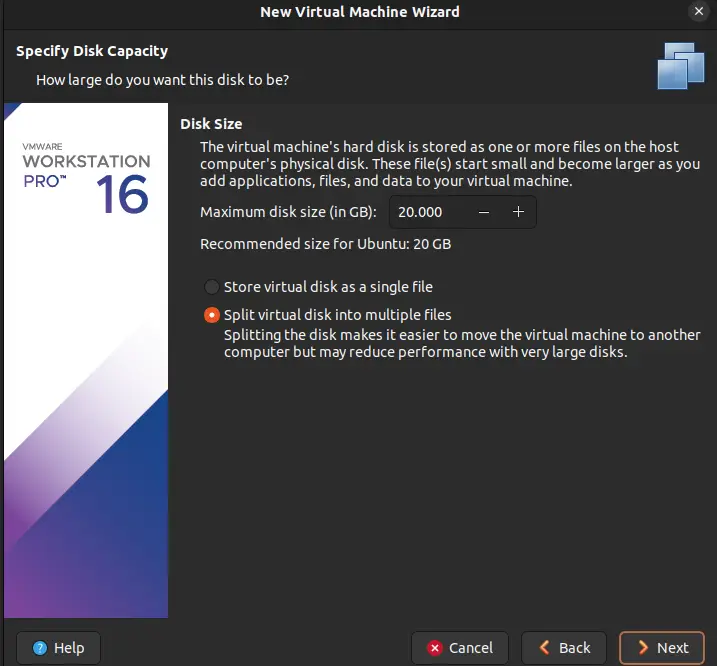
Click Next to proceed further,
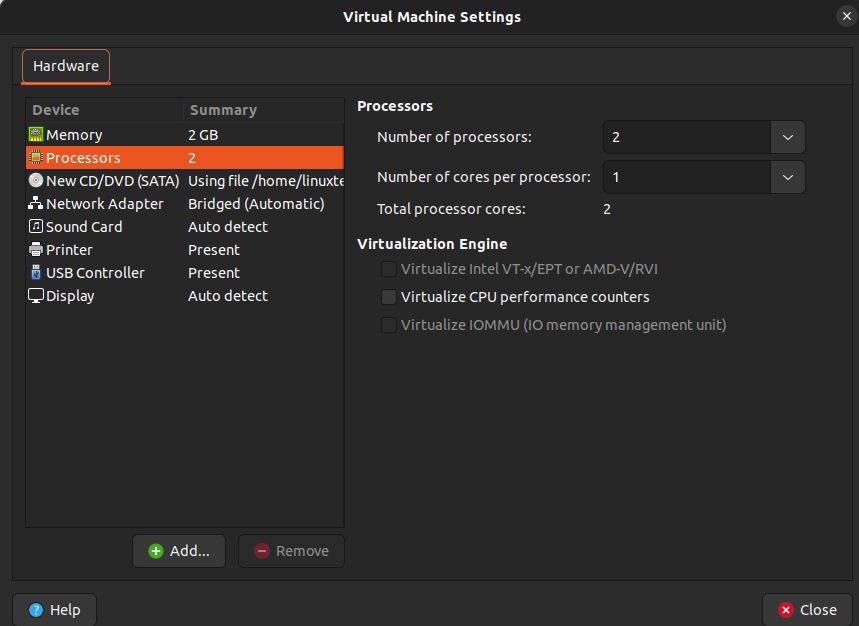
7) Define VM Resources like CPU and Memory
On this we can modify the VM resources like CPU, Memory and networking.

Click on Customize Hardware.
Specify the CPU and Memory for the virtual machine as per your requirement.
To define the network for the VM (Virtual Machine) click on Network Adapter option, choose either Nat or Bridge (directly connected to physical NIC). In this guide, we are going with bridge network
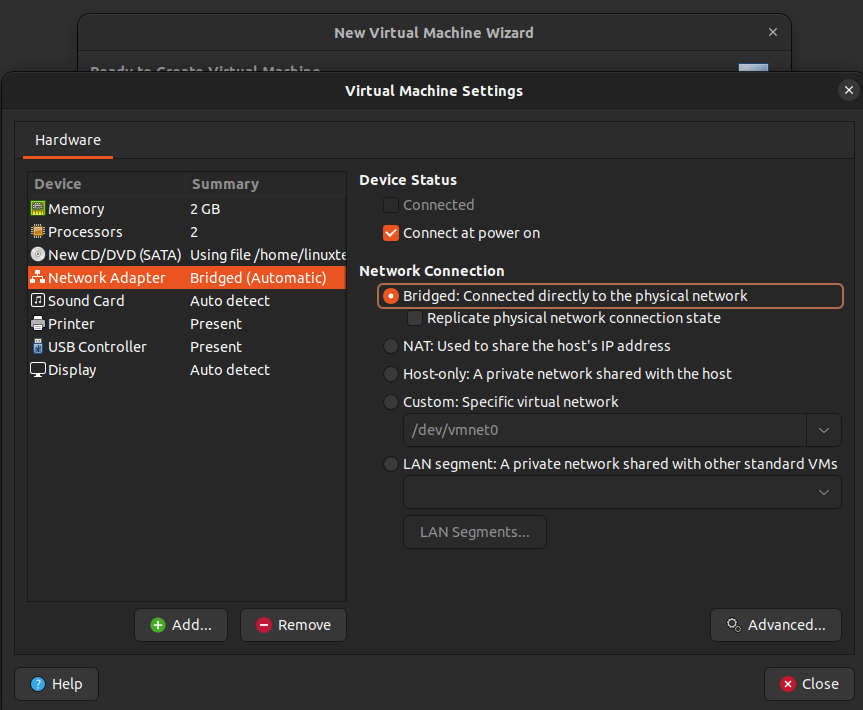
Click On Close and then Click on Finish
8) Start the OS Installation
On this step, OS installation will start as shown below,
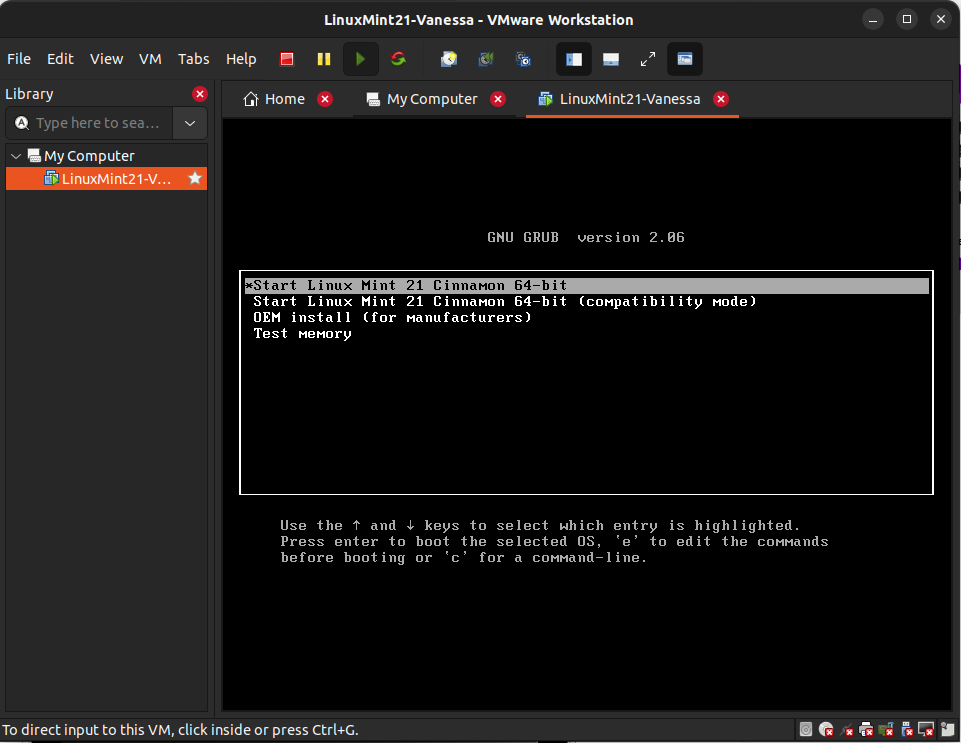
Follow the screen instruction and complete the OS installation.
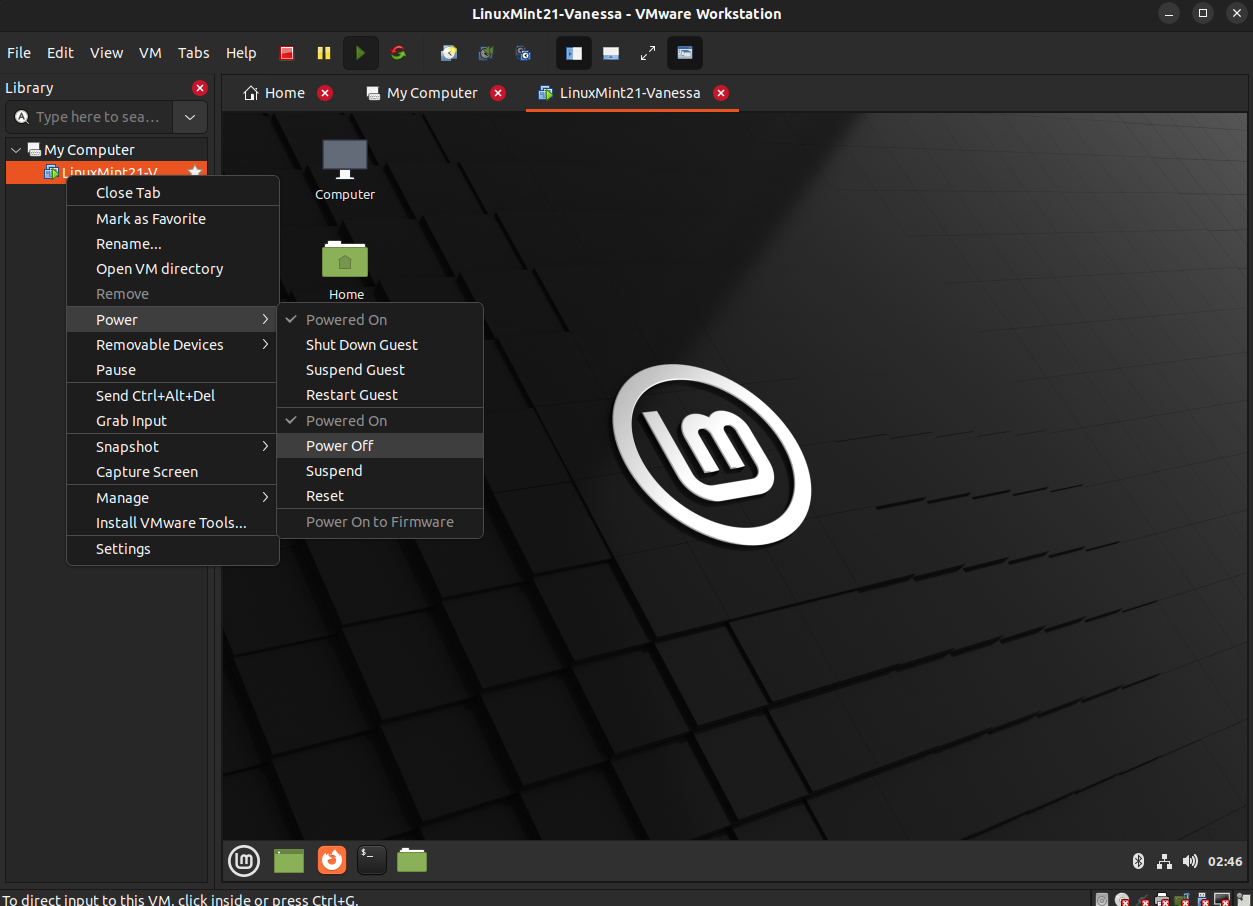
9) Manage Virtual Machine
To power off, start and restart a virtual machine, right click on the VM and choose the option as shown below,
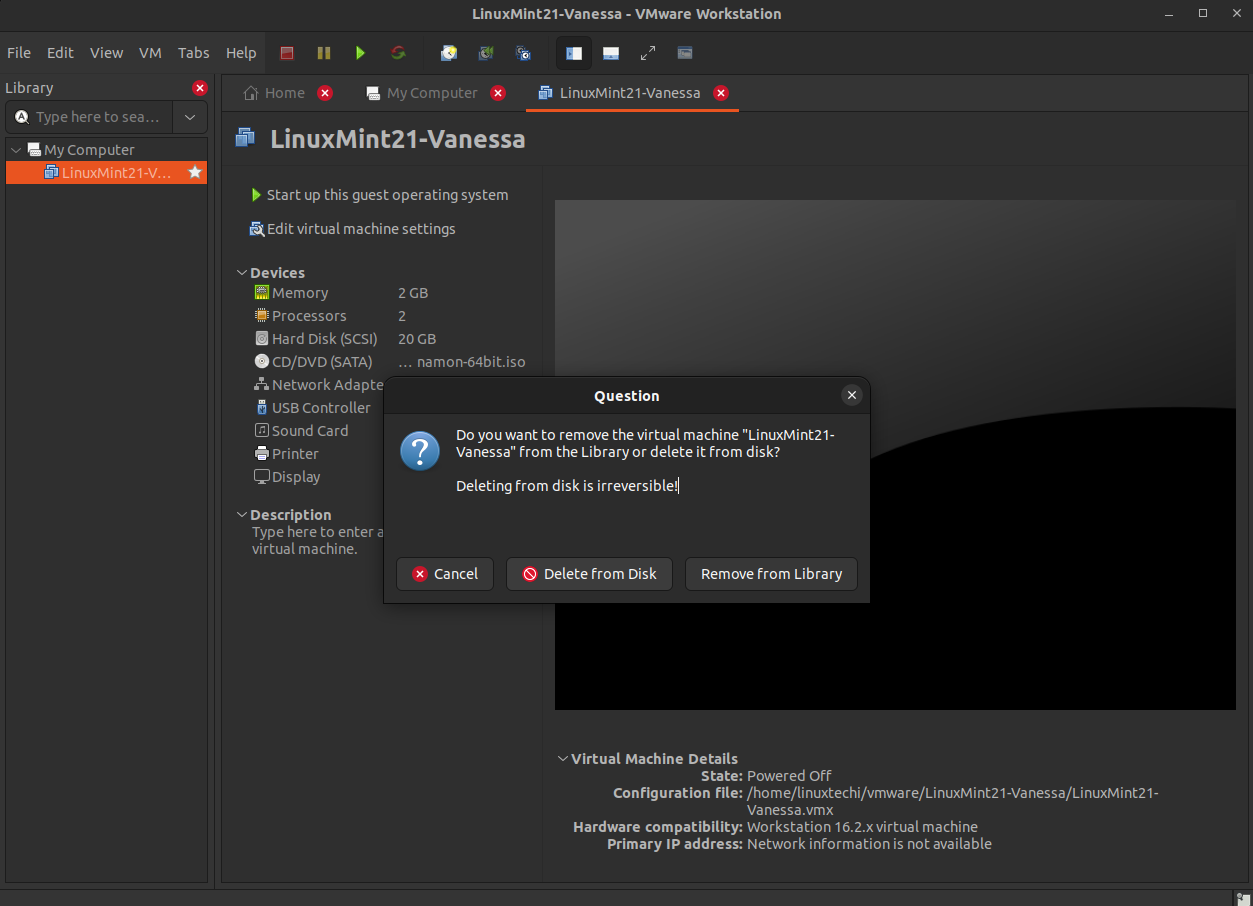
To remove or delete a VM , first make sure it is power off and then choose ‘Remove‘ option as shown below,
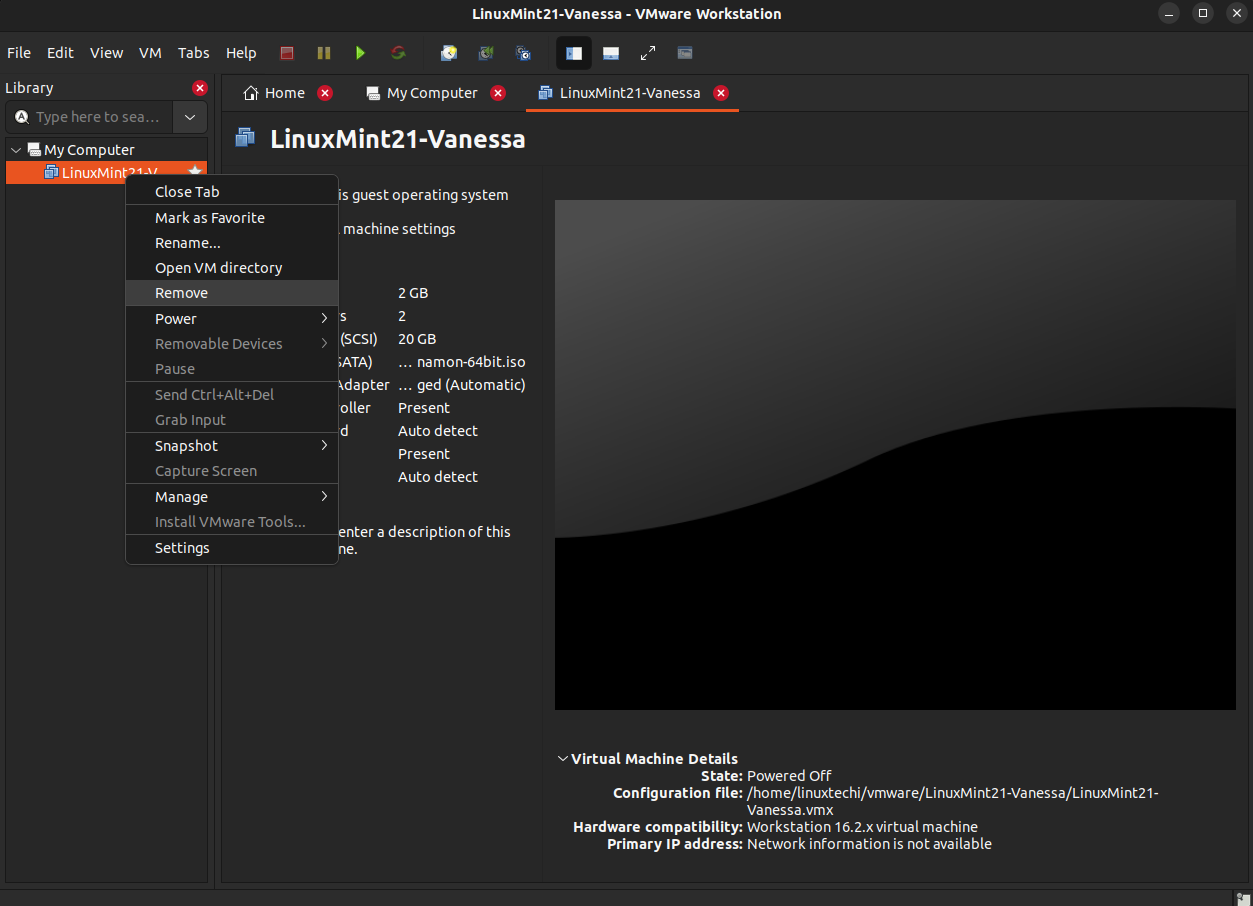
To remove the VM from disk as well, choose ‘Delete from disk’ option.
That’s all from this guide. I hope you have found this guide informative and useful. Kindly do post your queries and feedback in below comments section.
And in 4 to 6 weeks it will stop working, the kernel will be updated and it will no longer compile. In a year to 2 years you will stop being able to find fixes for this problem on the internet, or it will be above your technical expertise to apply the fixes and you will cease being able to use VMware at all without spending hundeds of dollars to “upgrade” to the next version. Which is ridiculous for a “free” operating system.
Which is why I have stopped using VMware.