Overview :
Linux Mint is a Linux based desktop level operating system for the home users and companies can use it at no cost and which is as efficient, easy to use, and elegant as possible. Linux mint is designed for most of the modern system, including x86 & x64 PCs.
The main focus of Linux Mint is to make desktop more usable and more efficient for day to day tasks for the users. This OS is dependent on the Ubuntu & debian projects because it uses their system as a base.
In this post we will go through the installation Steps of ‘Linux Mint 17 Cinnamon‘
Step:1 Download the Linux Mint ISO file
To download the iso file , visit the url : http://www.linuxmint.com/download.php & choose the edition as per requirement.
Burn the ISO file into a DVD or any USB bootable drive and boot your system with bootable DVD or bootable USB drive.
Step:2 Below Installation Screen will come after booting system from bootable DVD / USB.
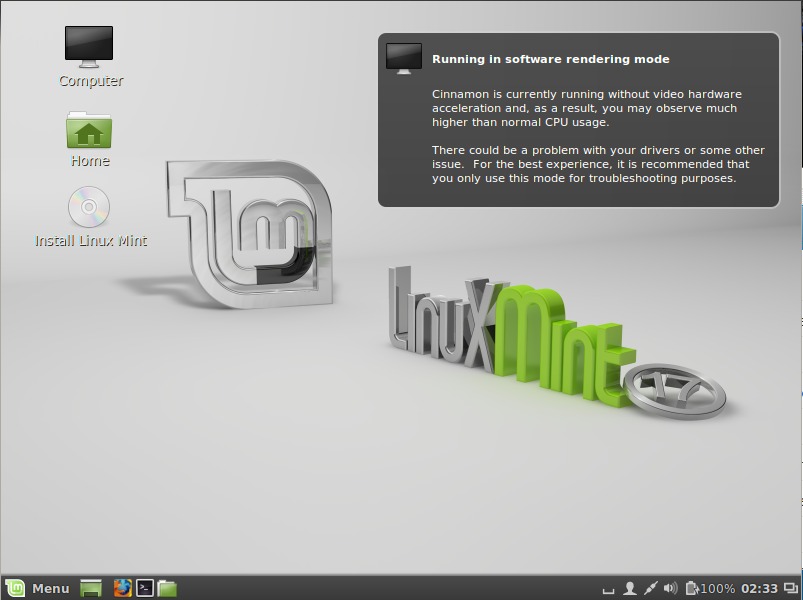
Next Screen : Click on ‘Install Linux Mint‘ and Press Enter
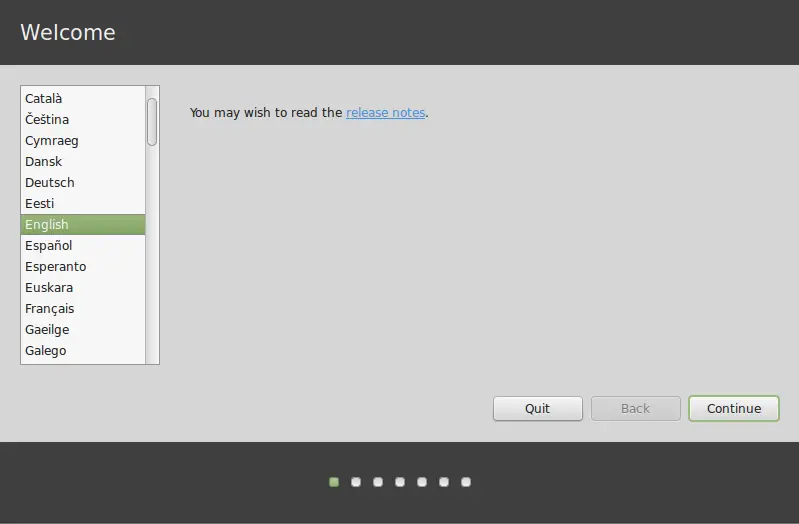
Step:3 Select your respective Language & Click on ‘Continue’
In the Next screen just make sure that your system has enough disk space and connected to Power source & Internet.

Click on Continue.
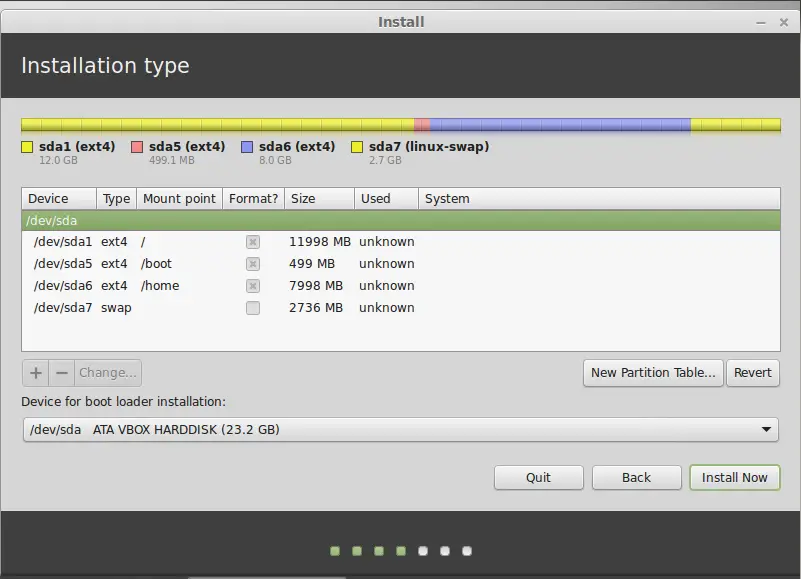
Step:4 Select the Installation Type .

- If you choose to use the entire disk, its content will be erased and Linux Mint will be installed as the only operating system on your computer.
- If you choose to install it alongside other operating systems, the installer will use the free space available on other partitions to create a new one for Linux Mint. You will be asked how much space you want to allocate to it. The installer will then shrink a partition and take care of everything for you. Post-installation your computer will have a boot screen from which you’ll be able to boot all your operating systems.
- If you choose to specify partitions manually, a partition editor will appear, giving you full control over the partitioning of your hard drive. This is recommended only to advanced users who understand how partitioning works under Linux. Note that Linux Mint requires a partition of at least 6GB and that the recommended size for a swap partition is 1.5 times the amount of RAM available on the computer
Sample Customize Partition Scheme is given below :
Step:5 Choose your respective Region by clicking on the city which is the nearest to you. The purpose of this step is to identify your time zone.
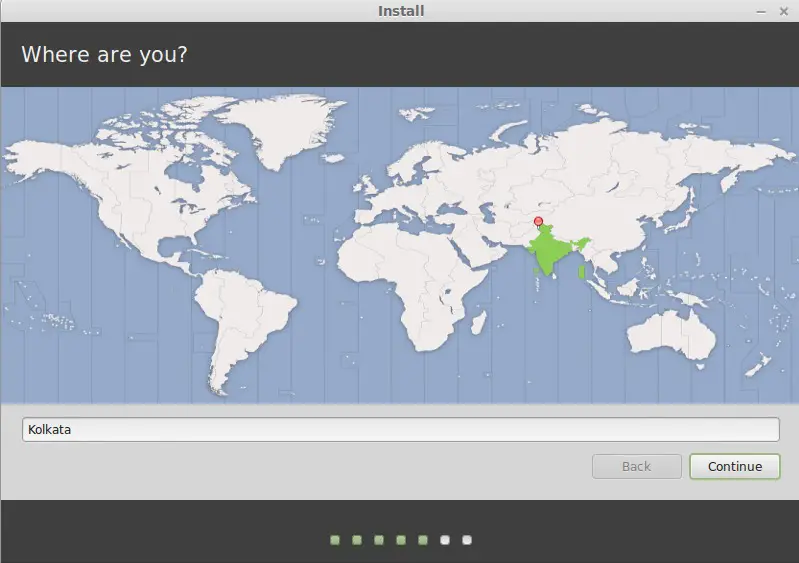
Click on Continue….
Step:6 Select your Keyboard Layout.
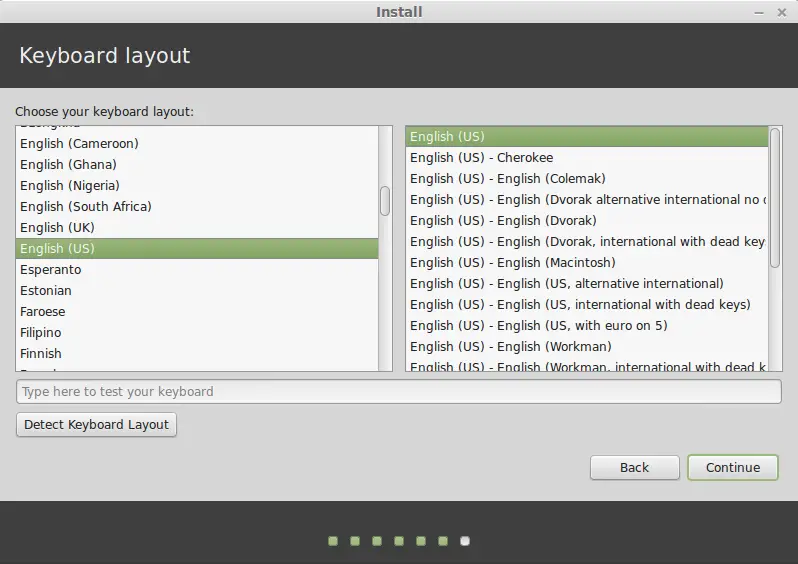
Click on Continue….
Step:7 Enter your real name and a username and password. Every time you will use Linux Mint you’ll use your account with this username and password.
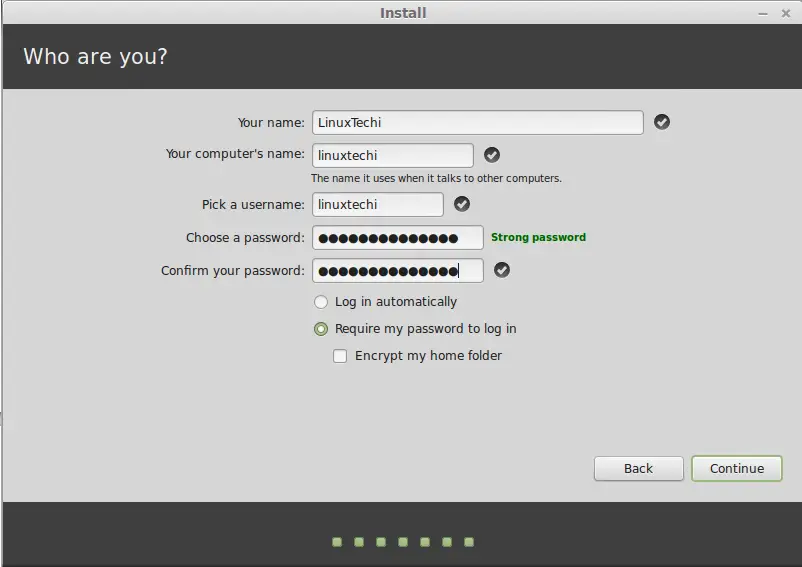
Once we Click on Continue.. , Installation will start as shown below :

Step:8 Once the Installation is completed , it will ask for the reboot ( click on Restart Now)
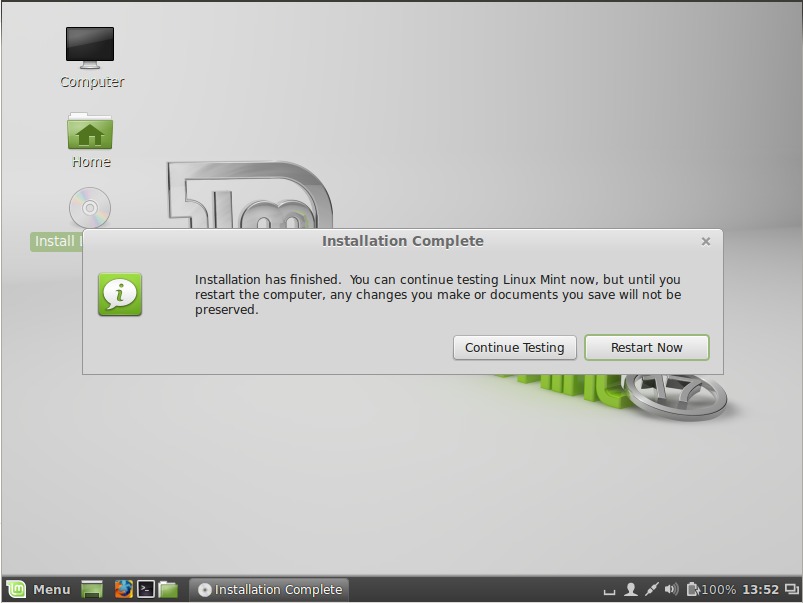
When prompted, remove the DVD from the drive or remove the USB and press Enter. Your system is now ready to boot Linux Mint from the hard drive.
Step:9 Login Screen of Linux Mint.
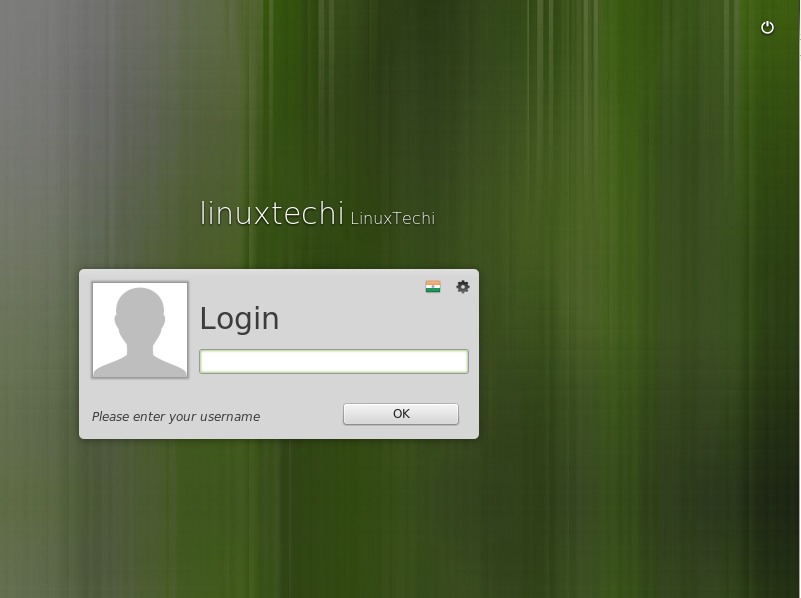
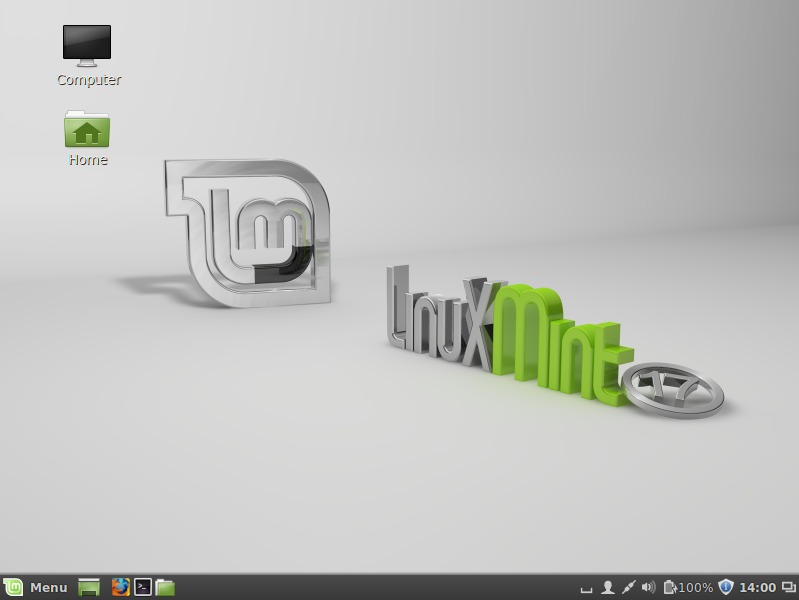
Enter the User Name & Password that you created during the installation and then below Desktop Screen will appear.
Solved, I had already installed Linux mint.. that partition was corrupted.