
Introduction
Kali Linux is an open source Debian based Linux distro that is specially design and built to enhance the penetration testing and security auditing methodologies. Being funded and maintained by Offensive Security, one of the leading company and the front-runners in the field of penetration testing and security services. Kali Linux is equipped with hundreds of tools to enable extensive development in information security services including Forensics, Reverse engineering, high-end security research and analysis and penetration testing. Backtrack the predecessor to Kali Linux had some major issues with the version updates as many believed that the system will break if the updates are made and that is the reason it was withdrawn and many more new feature and tools were added to release the most promising distro, Kali Linux.
Kali Linux – Highlights
Open Source
You don’t need to pay a single dime to download and use Kali Linux as it’s entirely a free and open source Debian distribution.
Equipped with around 600 Pentest tools
Kali Linux is armed with a wide range of tools and utilities to be used in the field of penetration testing, security services and forensic fields. These tools help the system admin and other users to gather, analyze and report information that can help them in keeping their systems and network in a safe and secure condition.
FHS Compliant
Kali Linux confirms to all the standards and guidelines of the FHS or also called as the File Hierarchy System. So this means that one can find all kinds of binaries and files easily and quickly.
Support for Multi-language
Kali Linux provides multi language support so that users across different countries can enjoy the services of Kali Linux using their own languages.
Complete Customization Capabilities
Everyone has a different thinking and hence the Kali Linux development team has allowed its users to customize Kali to their own liking. Some of the customization options include rebuilding the source package of Kali linux, build an entirely customized Kali Linux ISO using the live-build Debian scripts or go further to recompile the Kernel according to your needs.
Support for Wireless Interface
Support for various wireless devices also included with this distribution
Kali Linux – Installation
Prerequisites
- Requires at least 10GB of HDD space
- 2GB RAM recommended but a minimum requirement of 1GB is enough on i386 or amd64 systems
- ISO or VMware image of Kali Linux. Download it here
Installation
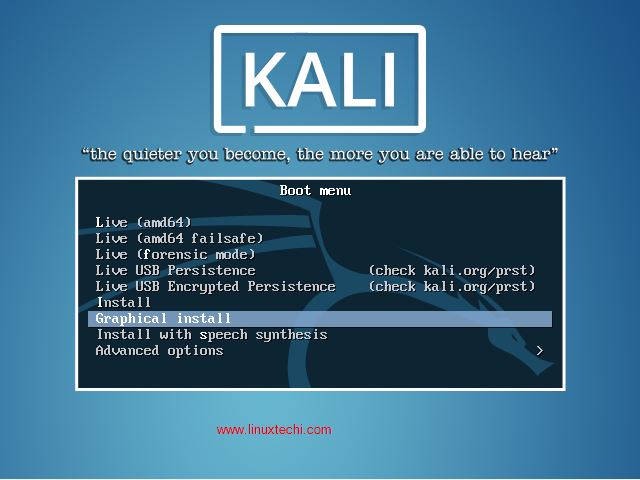
1) Begin your installation process with booting your Kali Linux using either the USB or CD/DVD medium. You would be presented with the boot screen of Kali Linux, where you can either Graphical or Text Mode, Graphical mode will be a lot easy and so am that one
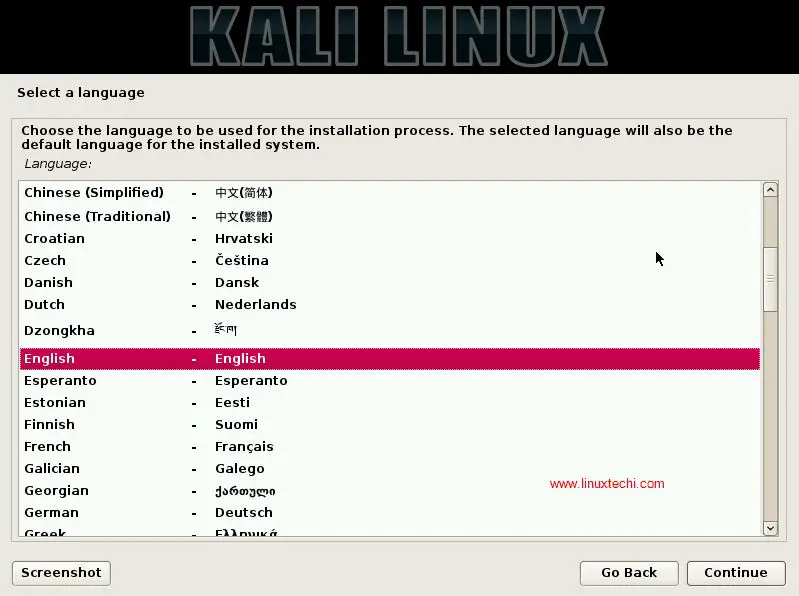
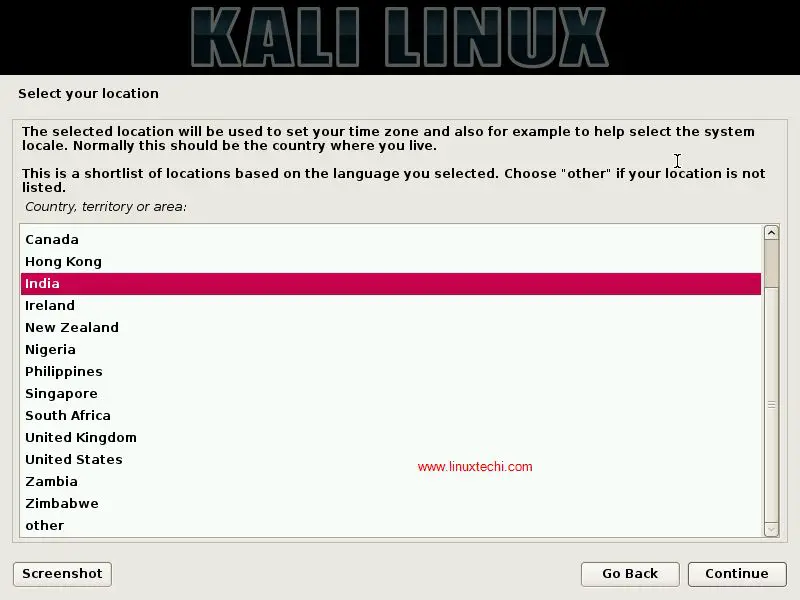
2) Select your preferred language and your country
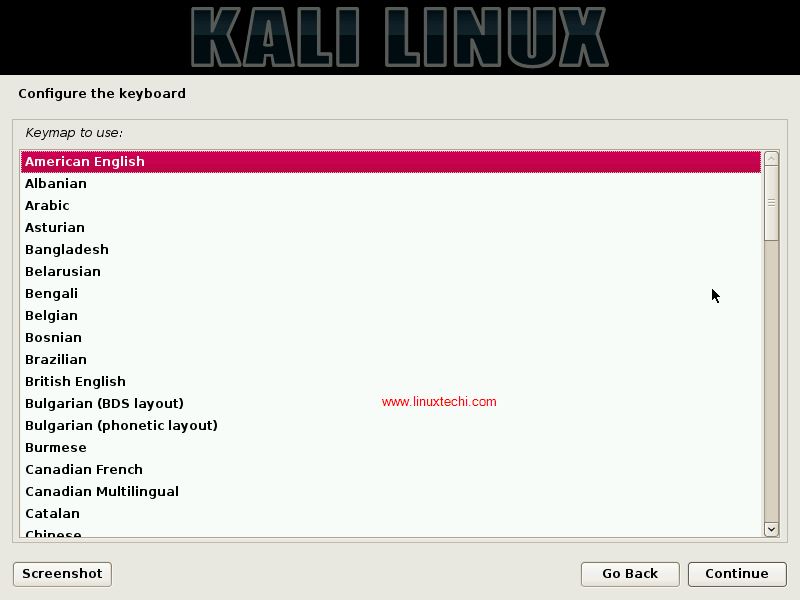
In the next windows select the Keyboard layout as per your setup
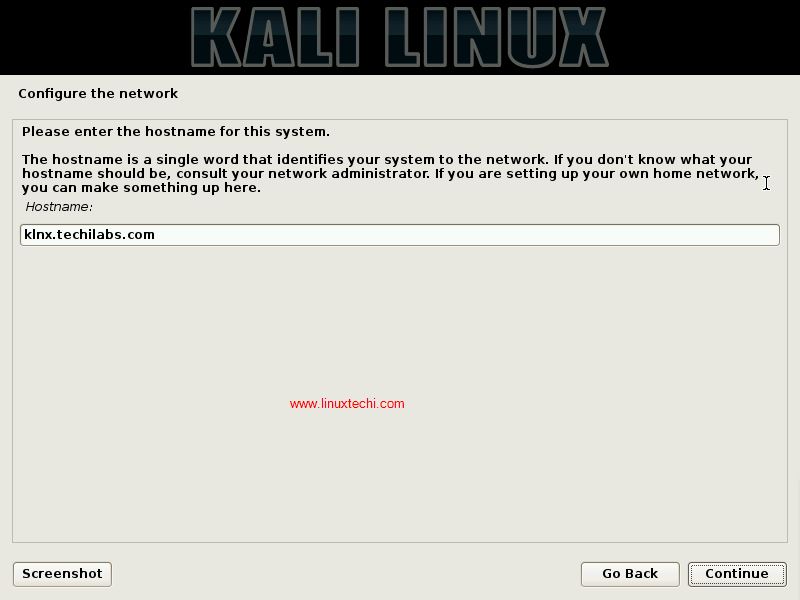
3) Next enter the host name you prefer for your system, Use “Klnx.techilabs.com” if needed or whatever you need to, no issues. If you are installing in a network, get the hostname from your system admin
4) Set the Root Password, Root is a system administrative account.

Click on Continue
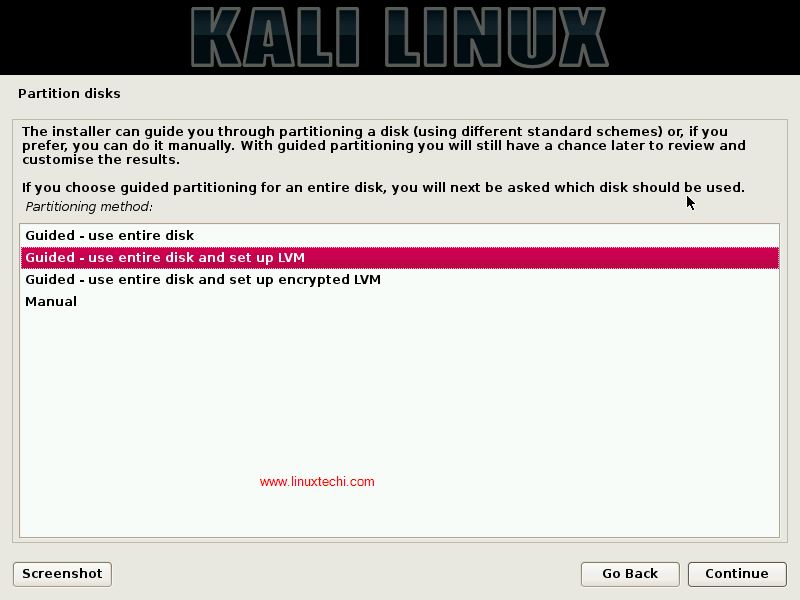
5) Select the partitioning options for installation. Choosing the LVM mode is recommended
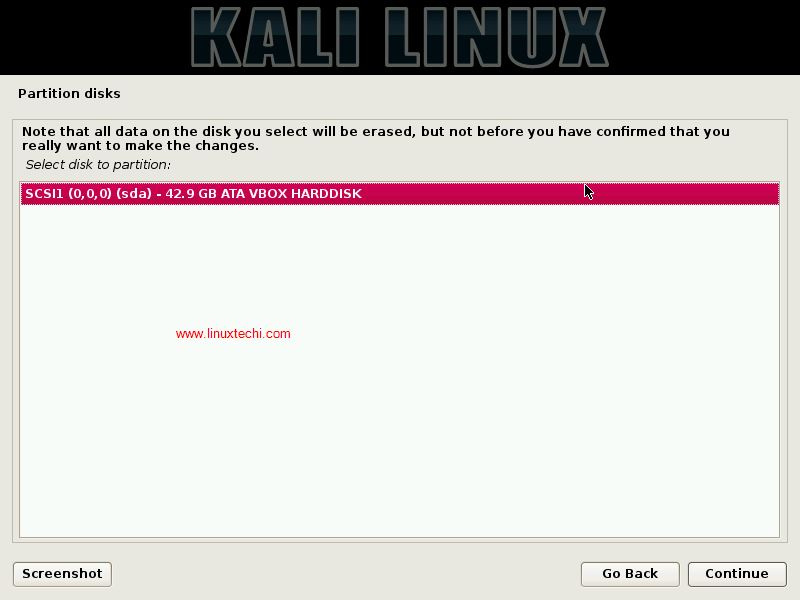
6) Now select the disk to be partitioned
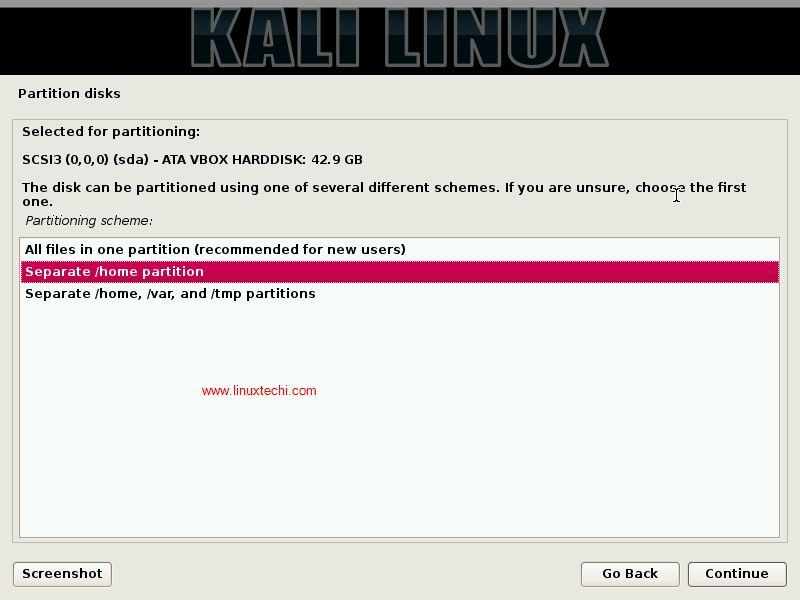
7) Now choose the partitioning options
For the new users it is recommended to select the first option “All files in One partition“. If you are aware about the partitions of Linux then you can go for second option for separate /home partition. In My case I am selecting Separate partition option.
In the next window select the yes option to write changes to the disk
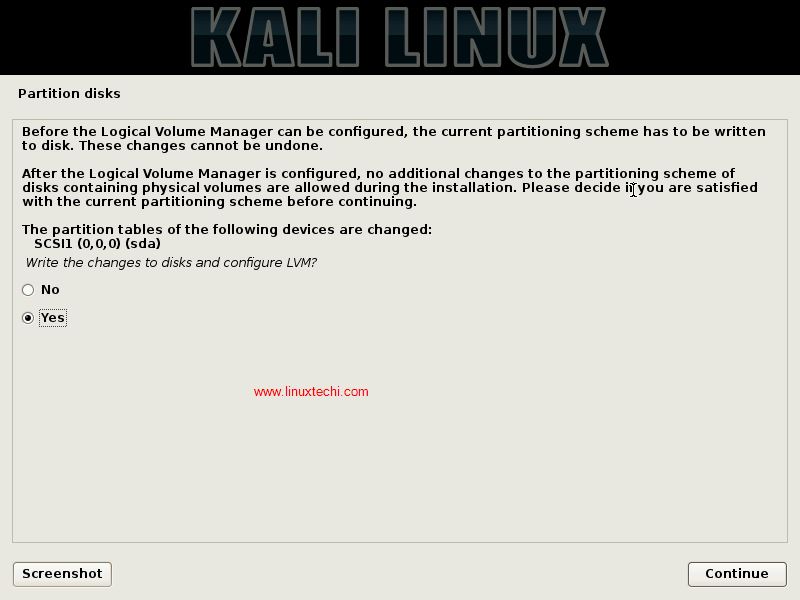
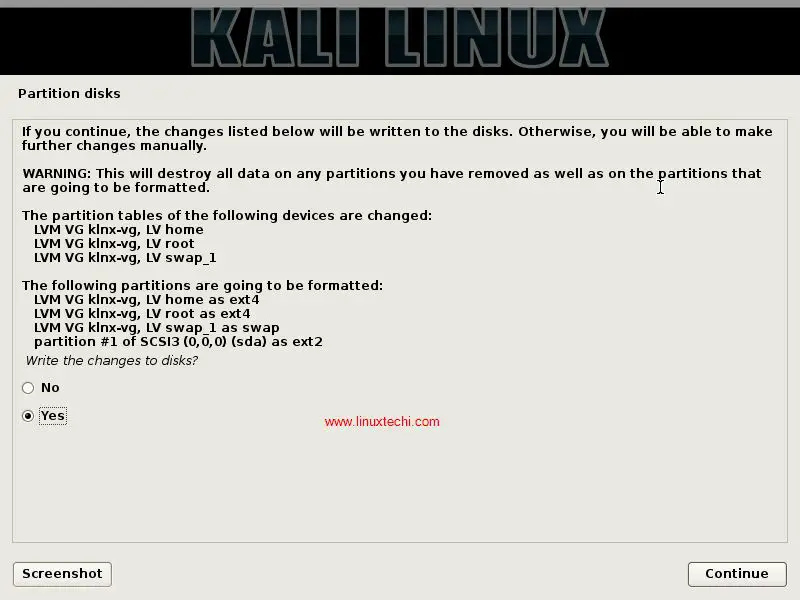
8) Confirm your disk partitioning as once the configuration is done, it would be irreversible

In the next window, Select ‘Yes’ to write changes and then Click on Continue
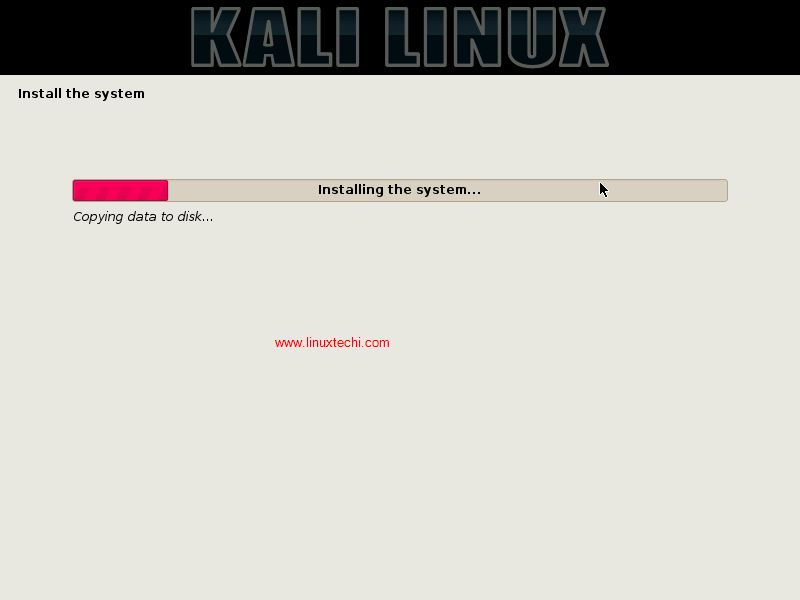
9) Kali Linux Installation is in Progress
As we can see Kali Linux installation has been started and is in progress
10) Configure the network mirrors for Software Package Manager
Select ‘Yes’ to configure “Network Mirror“, It will configure the required repositories of software or we can say it will configure software package manager and allows us to get latest version of software.
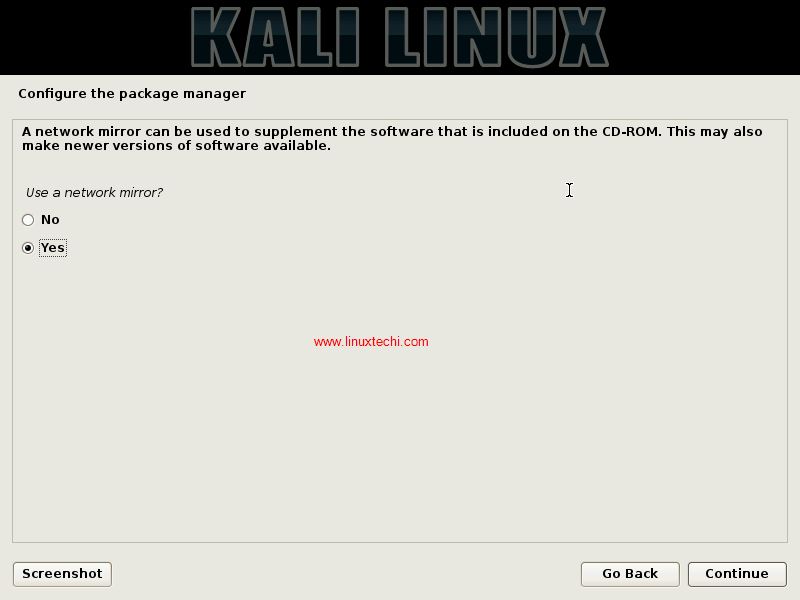
Click on Continue.
In case your system is running behind the proxy Server then specify the proxy server ip address, user name and its password else leave it as blank.

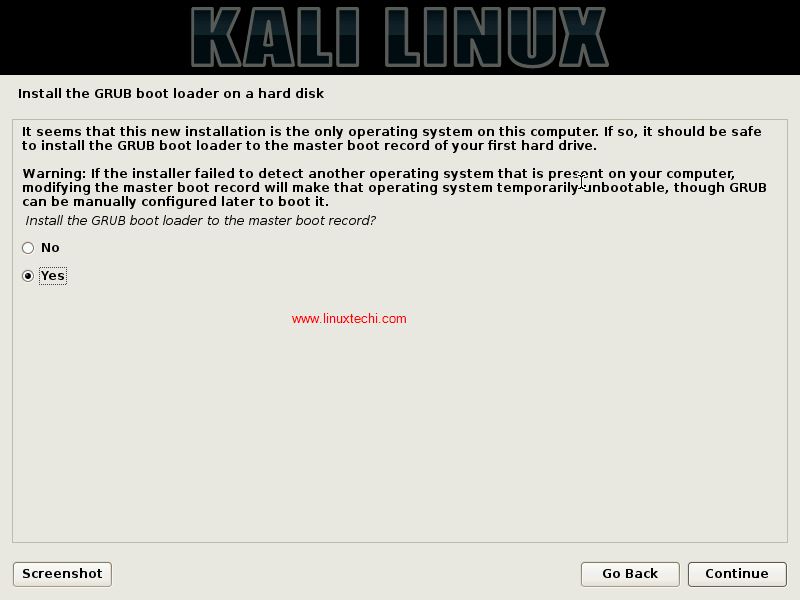
11) Install the GRUB boot loader
12) Installation gets completed, Now Click Continue to go into your new Kali Linux system
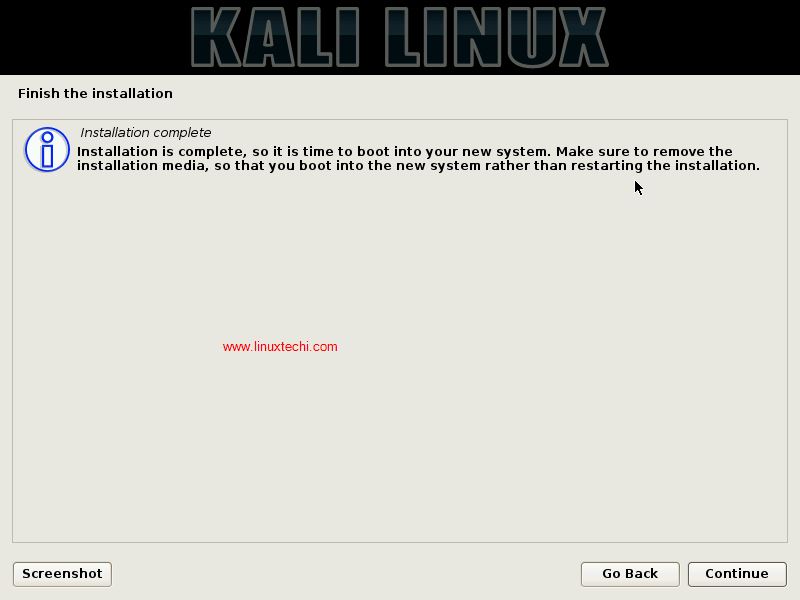
Once the Installation is finished, installer will reboot your system automatically. Login with the user name as ‘root‘ and password that we set during the installation.

Conclusion
Kali Linux is growing to be one of the popular Linux distros targeting the security and penetrating testing users. The team looks dedicated and responsive and seems to be listening to their user’s comments and suggestions and posting updates accordingly.
Hope the above review of Kali Linux, its features and the installation guide would have provided a thorough understanding of Kali Linux and if you have any queries or suggestions, please don’t forget to write us with your valuable views. It is your views and suggestions give us the enthusiasm and passion to write more in LinuxTechi.com. See You!! Bye!!!!
How to make kali Linux full screen on VM
It’s pretty easy for me on parrot Os, but I find it pretty difficult to make it work on kali Linux
Hi its very help full this all images thanks for upload.
Hello there, I have really read some of the articles of this site and it really seems like the content of this website is genuine. keep up the good work.
Hi….how to fix missing firmware…
hi I am can’t log in kali Linux why